
How to make a fully lined Draw string Bag
Blog Post by Cathy - Picklecreations
This is a nice project for a beginner. The bag has no zips, or, complicated bits, relying instead on a simple drawcord design to open/close and provide the carry back straps. Designed originally, as a swim bag, but is a versatile style of bag that can be used for many other purposes as well.
Once you are familiar with the instructions, you can adapt the design to any size you require!
Cutting List
|
Number Required |
Dimensions |
Material |
Comments |
|
2 |
17” x 17” |
Denim, cotton, light weight canvas, or similar. |
Front and back, main bag material |
|
2 |
17” x 17” |
Cotton |
Lining |
|
2 |
17” x 3” |
Denim, cotton, light weight canvas, or similar. |
Main cord channel, for straps |
|
2 |
17” x 3” |
Cotton |
Lining for cord channel. Not visible, but adds stiffness. |
|
2 |
3” x 3” |
Denim, cotton, light weight canvas, or similar. |
Tabs |
|
2 |
80” |
Nylon para cord, or similar, for straps. |
Para cord comes in all sorts of lovely colours and is widely available on-line, via eBay, etc.. You can also fuse the end, by CAREFULLY melting in a naked flame. |
Embellishment
To further enhance this project, you can additionally add an appliqué embroidery design of your choice
Note
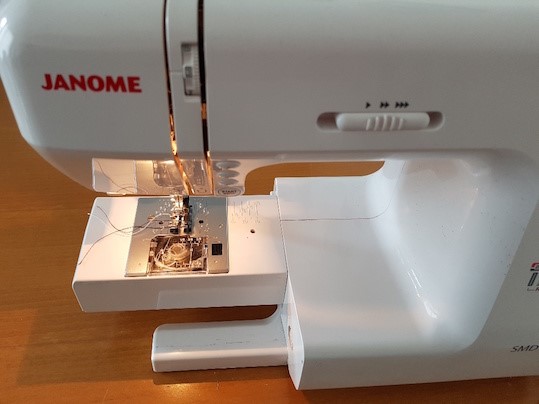
When making bags it helps to use a sewing machine that has a free arm, when machining around the bag. This feature is also useful for machining around cuffs and trouser legs. On a free arm machine, it is normal to remove the accessory box to give the free arm capability.
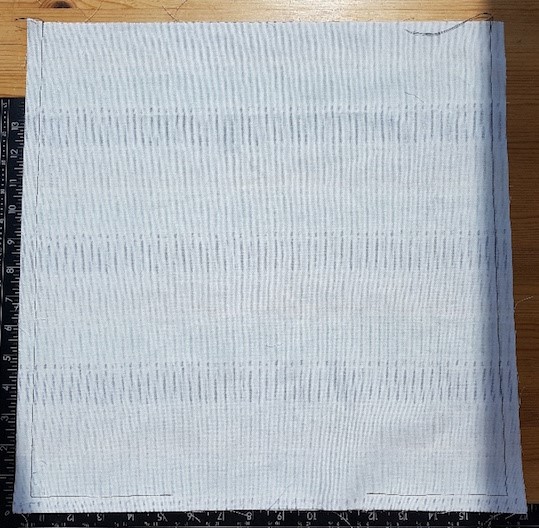
STEP 1 – Cutting Out
|
|
|
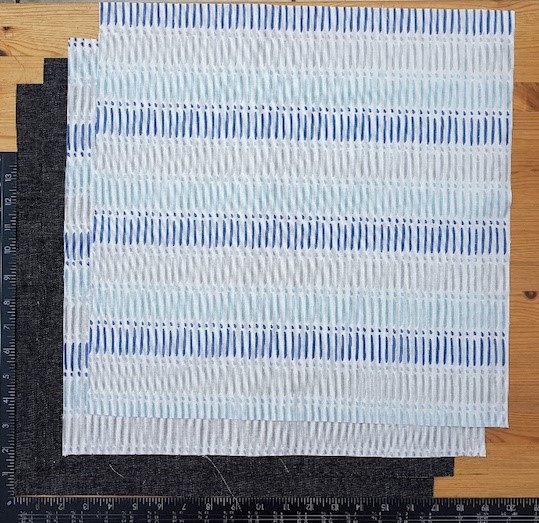
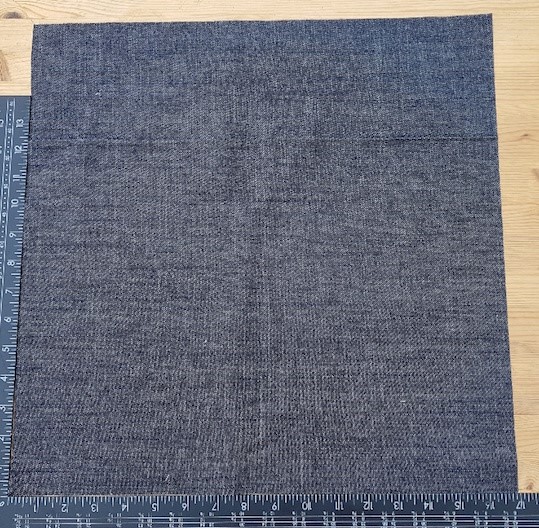
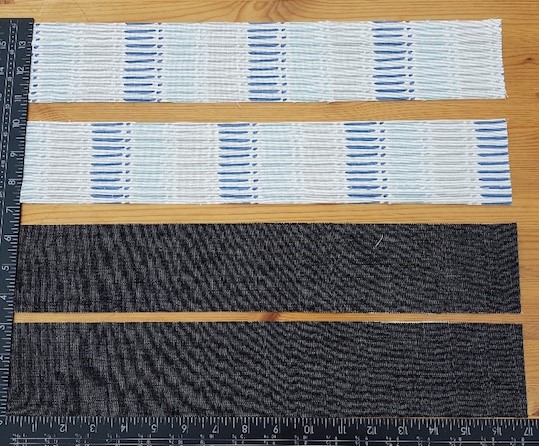
The picture above shows 2 pieces of main fabric 17” x 17” for the bag and the 2 pieces for the lining, which are also 17”x 17”. |
|
|
|
For this project I used a denim fabric for the main material for the bag. |
|
|
|
2 main cord channels 3” x 17” plus 2 pieces of cord channel lining, also 3” x 17”, |
|
|
|
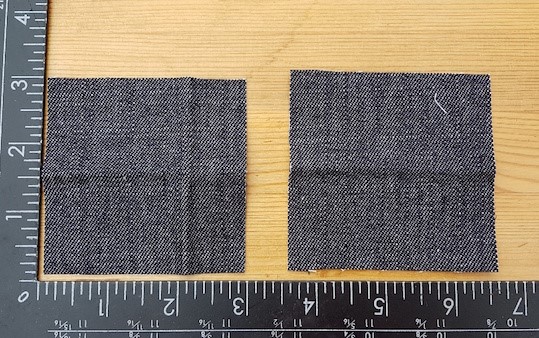
2 tabs, each 3” x 3”. |
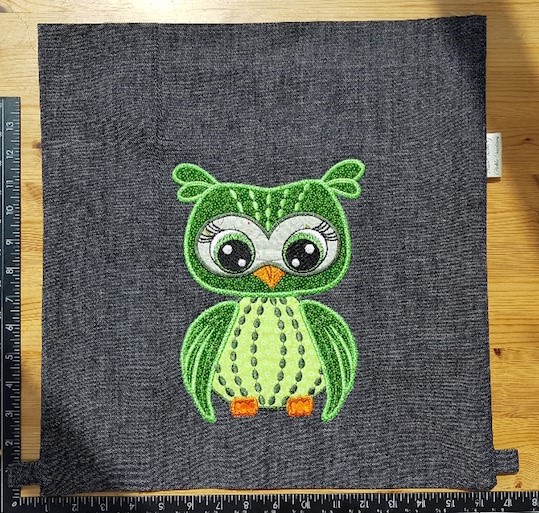
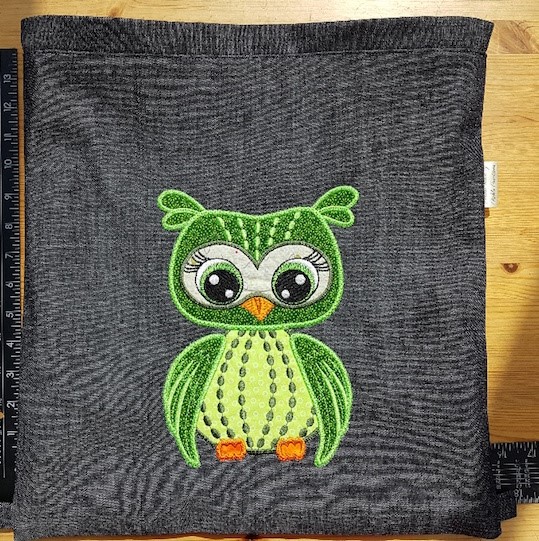
STEP 2 – Appliqué Embellishment
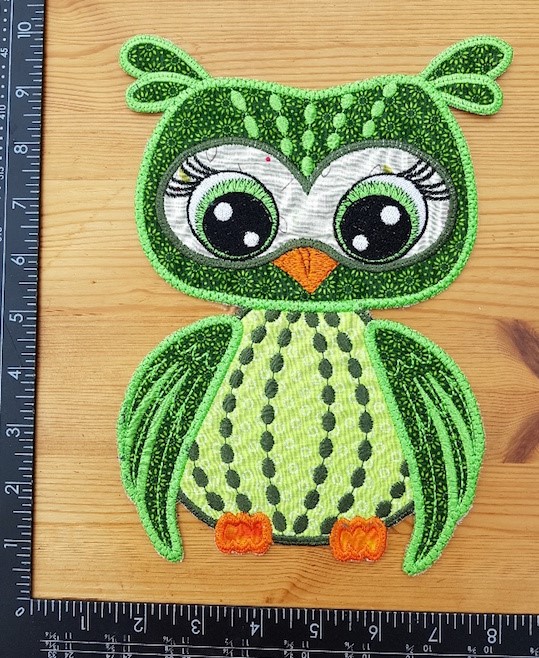
Design used - Large Owl Applique
|
|
|
So many great appliqué designs to choose from at KK, but thought this one would really pop against the denim. |
|
|
|
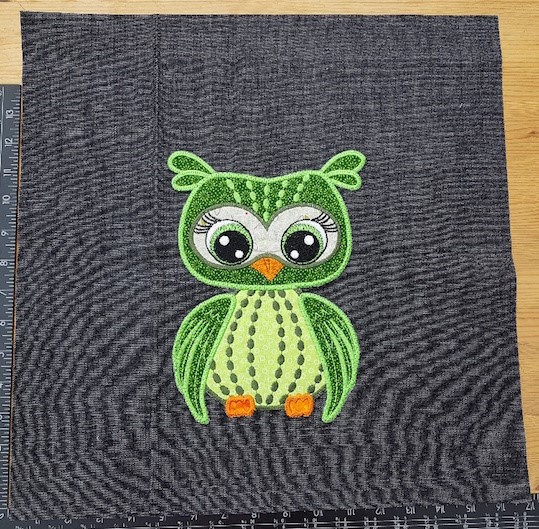
Position centrally horizontally and slightly below central in the vertical and attach the appliqué panel with a zig zag sewing machine stitch, using the same colour cotton as used for the outer of the appliqué panel. |
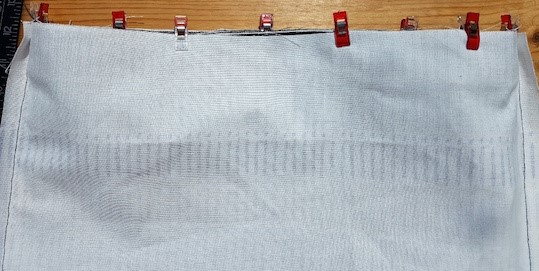
STEP 3 – Cord cord channels
|
|
|
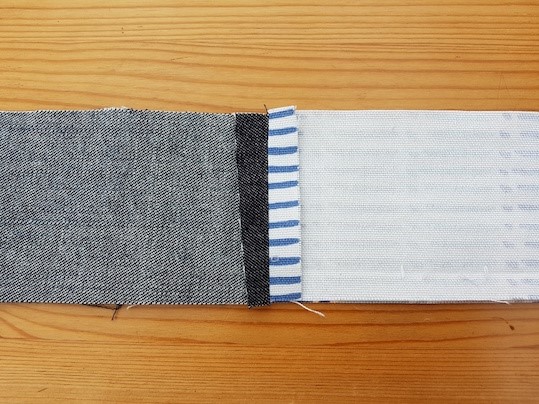
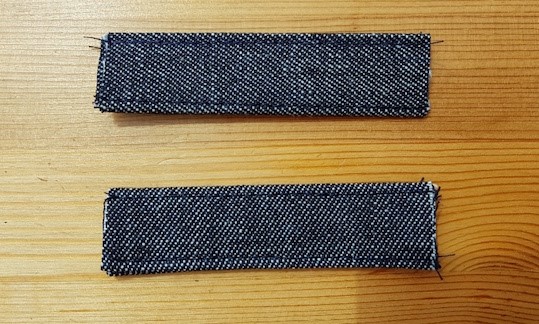
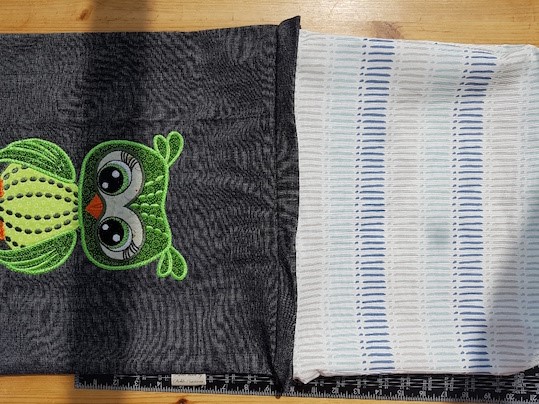
Pin the cord channel outer and linings together, as shown above, right sides together. |
|
|
|
Join the short ends together with a ½” seam, press seam open with iron. Repeat for the other end. Then repeat for the other cord channel. |
|
|
|
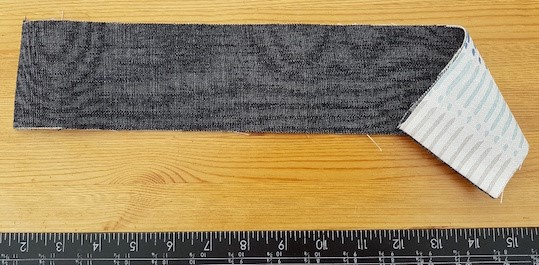
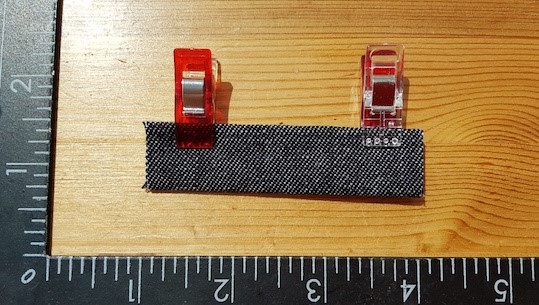
Turn both cord channels, right way out and press. Note, long sides are left open. |
|
|
|
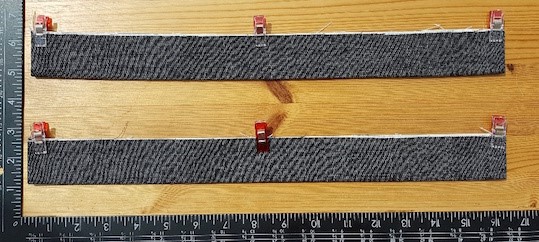
Fold each cord channel lengthways and pin, or, clip in position. The purpose of adding lining (that won't be seen), is really to add strength, as the cord will be running through these cord channels. |

STEP 4 – Tabs
|
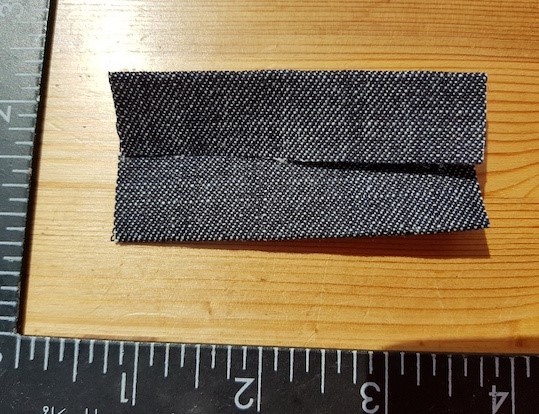
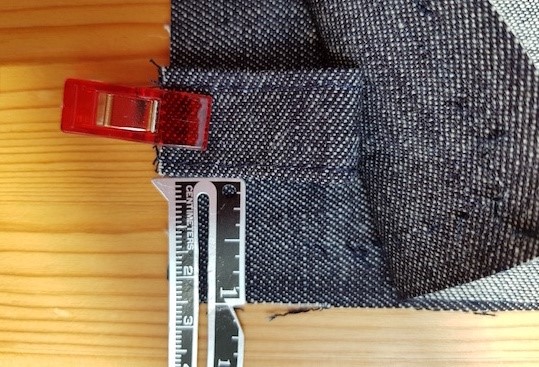
Fold the 3” tab in half, wrong sides together and press. This will create a central crease. |
|
|
|
Fold each side to the centre crease and press. |
|
|
|
Fold in half again along the crease created earlier, which will now encase the raw edge. |
|
|
|
Sew along both sides of the tab with an 1/8” seam. Repeat for second tab. |
|
|
|
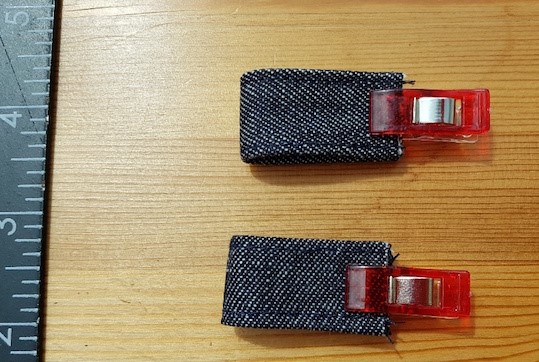
Fold tab in half lengthways and pin, or, clip in place. |
STEP 5 – Bag Outer Assembly
 |
|
Place front and back of bag right sides together and carefully position the cord tags 1” up from the bottom of the bag, between the front and back panels as shown above. Machine around the sides and bottom with a ½” seam, taking care to incorporate the tags. The thickness of fabric at this point will be thick, as multiple layers, so go steadily over the tags. For extra strength, go backwards and forwards over the tag when machining around the edge. |
 |
|
Once you have machined the bottom and sides, turn the right way out. The cord tabs will now be on the outside. |
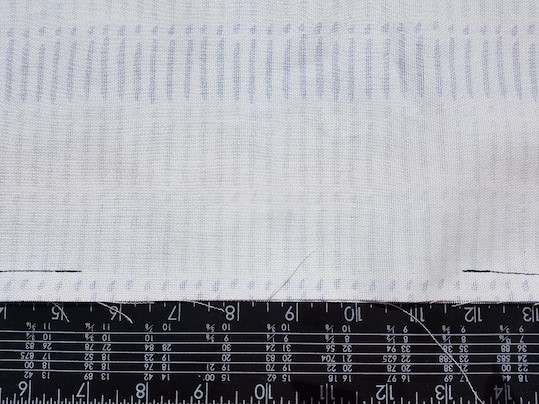
STEP 6 – Bag Lining
|
|
|
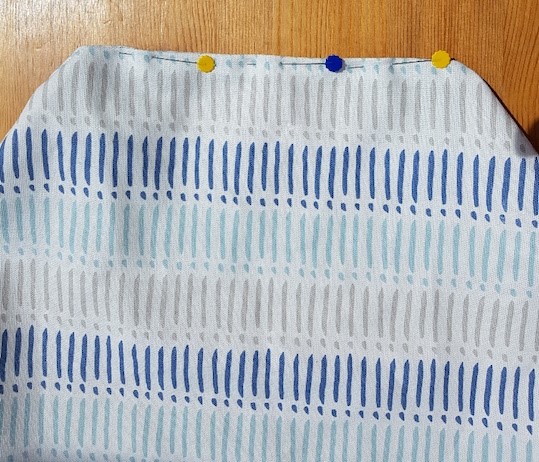
Place the lining right sides together and machine sides and part of the bottom with a ½” seam, leaving a 5” opening, as shown below. Go backwards and forwards at the start and end of the machining, to secure the ends. We will need the gap at the bottom to turn the bag and lining the right way out when assembling the bag. |
|
|
STEP 7 – Bag Assembly
|
|
|
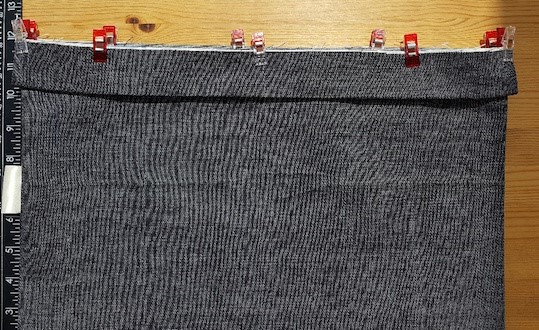
Clip, or, pin the cord channels to the front and back panels, as shown above, making sure the raw edge is to the top. Secure with a large base stitch with a ¼” seam running around the top of the bag. The cord channels will be open on the sides of the bag. |
|
|
|
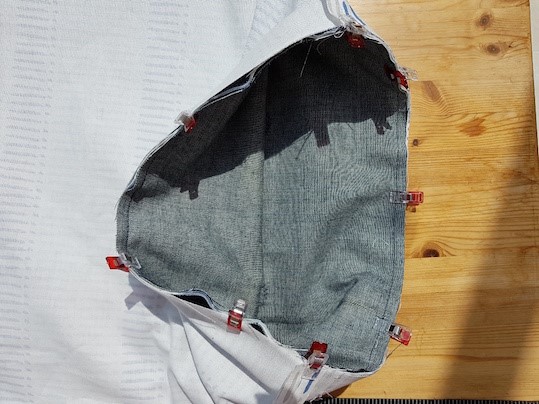
Now place the bag inside the lining, so that the right side of the bag is facing the right side of the lining, i.e. what we see in the picture above is the wrong side of the lining and the wrong side of the bag outer. |
 |
|
Machine around the top of the bag with a 1/2” seam that will secure inner lining and cord casing to bag outer. |
|
|
|
Turn bag right side out, by pulling bag through the hole we left in the bottom of the lining. |
|
|
|
Pin the opening in the lining closed and then machine closed with an 1/8” seam, or, slip stitch closed by hand. |
|
|
|
Push lining down inside of the bag. |
|
|
|
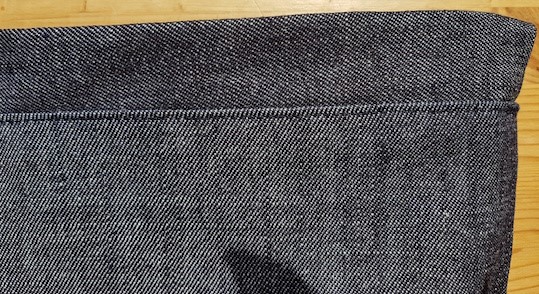
Top stitch around the bag, just below the casing, i.e. at the top of the bag. |
STEP 8 – Adding the draw cords
|
|
|
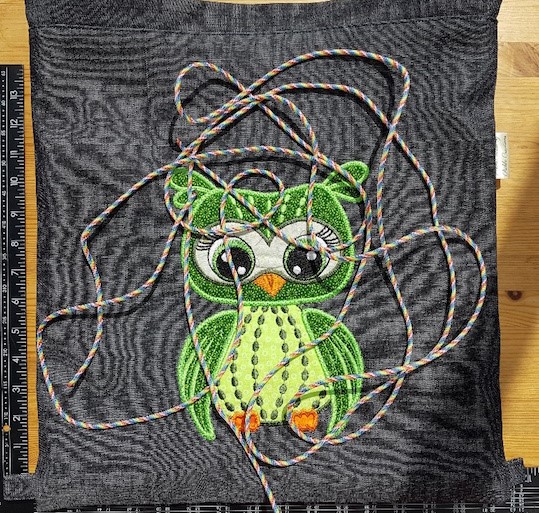
Using 2 lengths of cord circa 80” long. If using nylon para cord, carefully, seal the ends to prevent fraying with a naked flame (e.g. candle).
Attach the cord end to a safety pin, that will greatly aid threading through the cord channel, as you can work the safety pin along the channel from the outside (with patience).
Starting from the right hand side thread the cord through the front channel right to left and then the back channel left to right, leaving the cord ends dangling on the right hand side.
Then for the second piece of cord thread it through the front channel left to right and then through the back channel right to left, so that the cord ends are dangling on the left hand side.
For the dangling cords on the right pass one end through the bottom tab and then knot both ends. For the cords dangling on the left, pass one end through the tab and not the ends. You should now have created the shoulder straps and will be able to open and close the bag with the draw cords. |
|
|
|
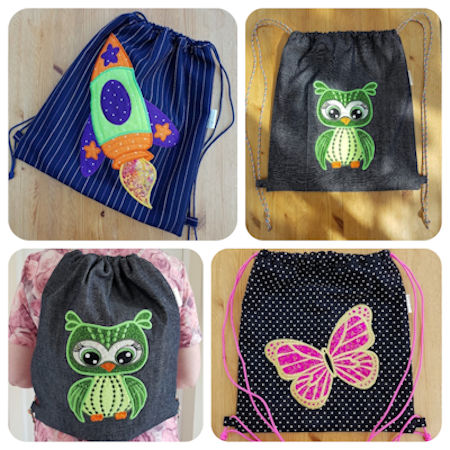
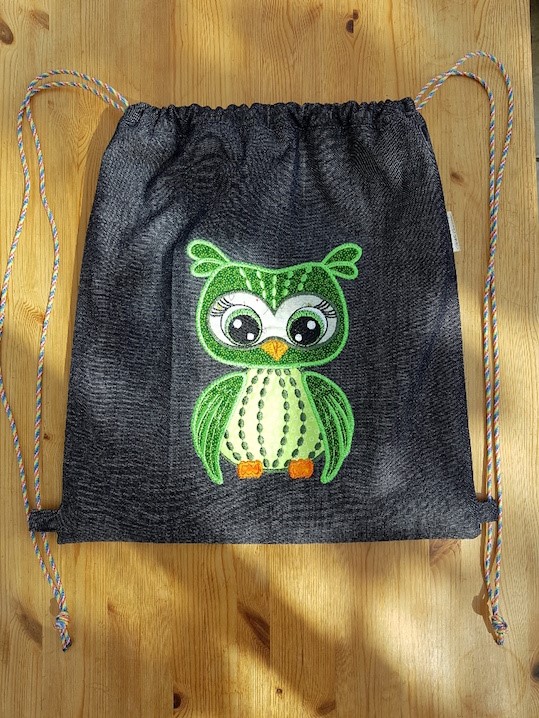
Your bag should be looking similar in style to the one above. |
Variants
|
|
|
Another example I made using the “Large Rocket” appliqué design: |
|
|
|
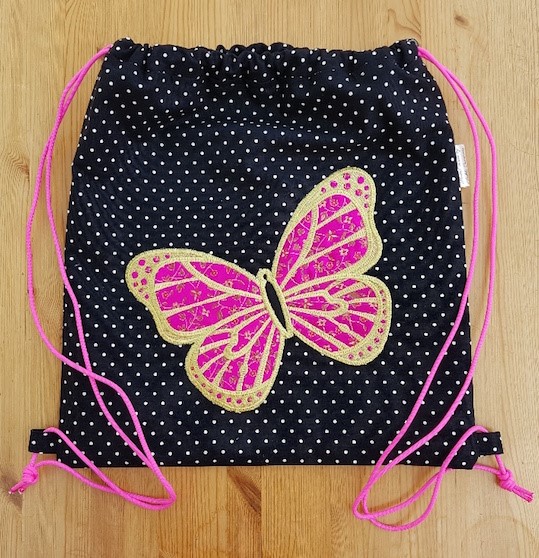
And another example I made using the “Large Butterfly” appliqué design: |

CONTACT DETAILS
Etsy Shop: PickleCreationsShop
