Design Ideas - Pin Cushion
Blog post by Cathy - Picklecreations
Cutting List
|
Number Required |
Dimensions |
Material |
Comments |
|
1 |
5” x 5” |
Embroidered panel |
See below for details. |
|
2 |
1½ x 7” |
Cotton |
Embroidery panel trim |
|
2 |
1½ x 5” |
Cotton |
Embroidery panel trim |
|
2 |
3¾” x 9 |
Cotton |
Cushion Back |
|
1 |
6½” x 9 |
Cotton |
Cushion Front |
|
1 |
7” x 7” |
Cotton |
Backing for embroidery panel. |
|
1 |
1½” x 6½” |
Cotton |
edge binding for embroidery panel pocket. |
|
1 |
6 ½” |
Ribbon, lace, or, similar. |
Optional additional pocket embellishment. |
|
|
|
Toy stuffing |
Pin cushion stuffing. |
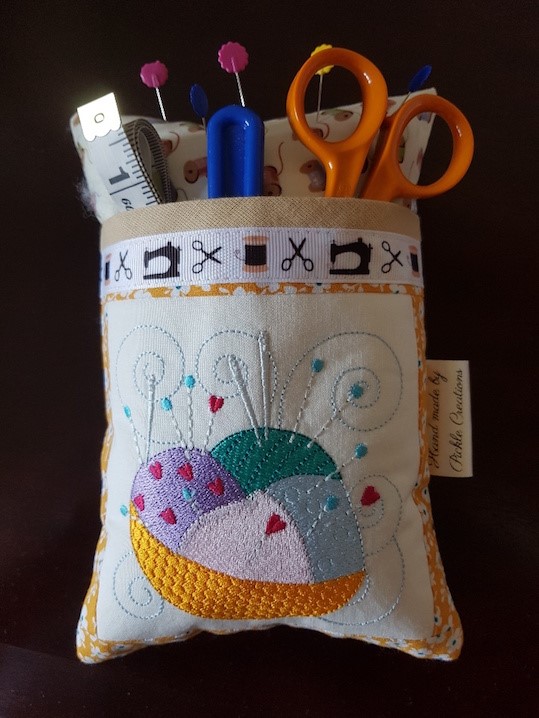
To further enhance this project, you can additionally add an appliqué embroidery design of your choice.
Designs used - Sewing Blocks
STEP 1 – Front pocket panel
|
|
|
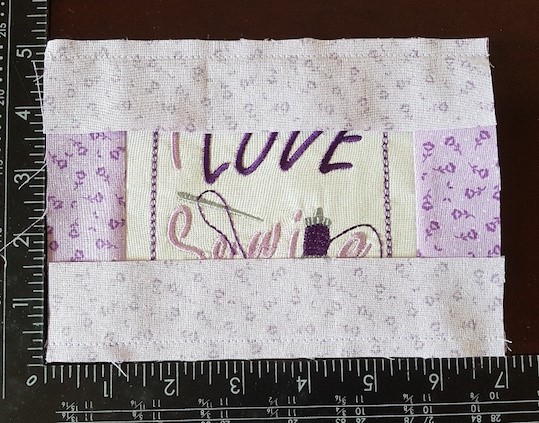
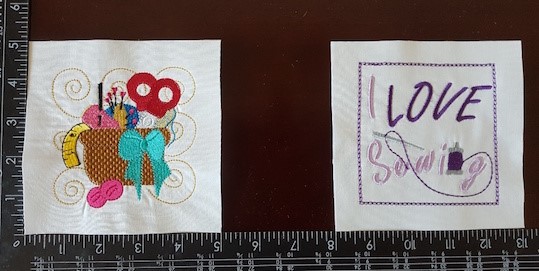
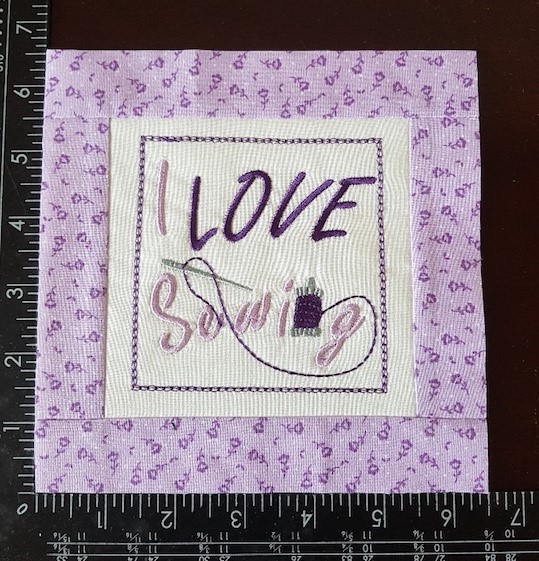
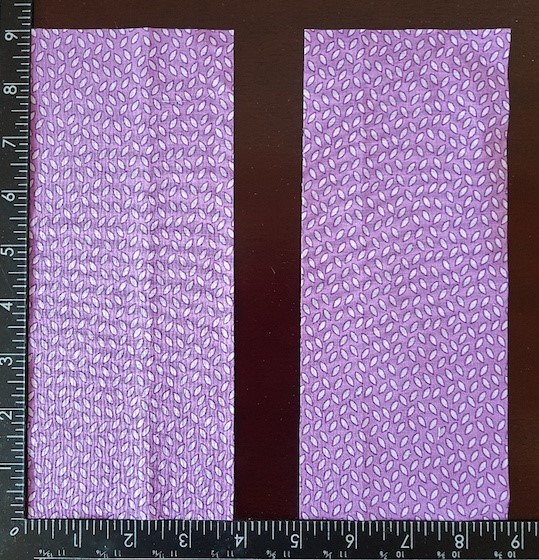
Create your embroidery panels, using a 4” pattern and then trim to 5” square. I have shown 2 above, but you will only need 1 for this project. |
|
|
|
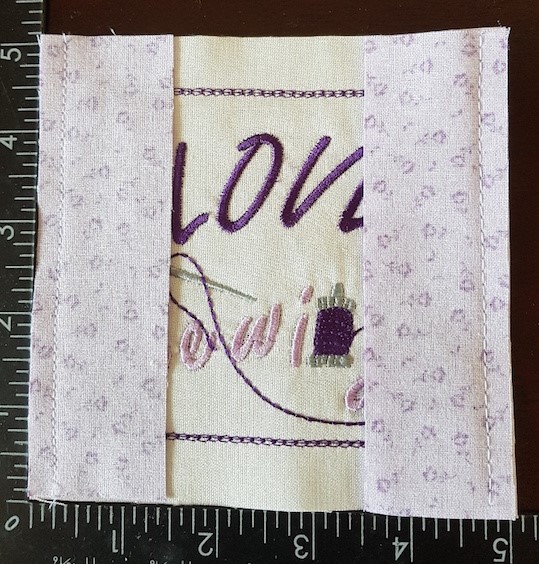
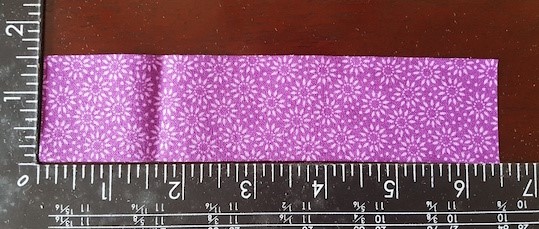
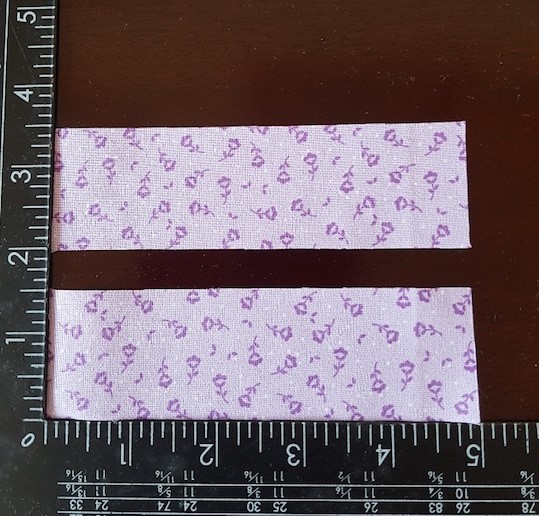
Cut 2 pieces of cotton 1½ x 5”, that will be used to trim the embroidery panel. |
 |
|
Place edge side trims on top of embroidery panel right sides together and attach with a ¼” seam. |
|
|
|
Iron the resulting panel flat. |
 |
|
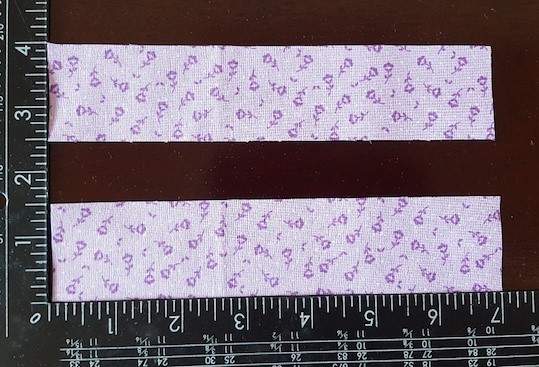
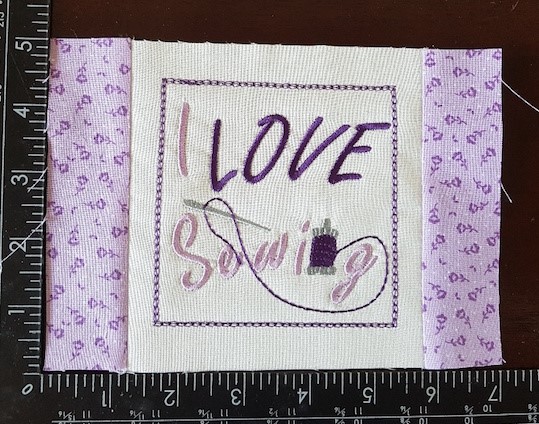
Cut 2 more trim strips 1½ x 7”. |
 |
|
Place top and bottom trims, on top of embroidery panel, right sides together and attach with a ¼” seam. |
|
|
|
Iron the resulting panel flat. |
|
|
|
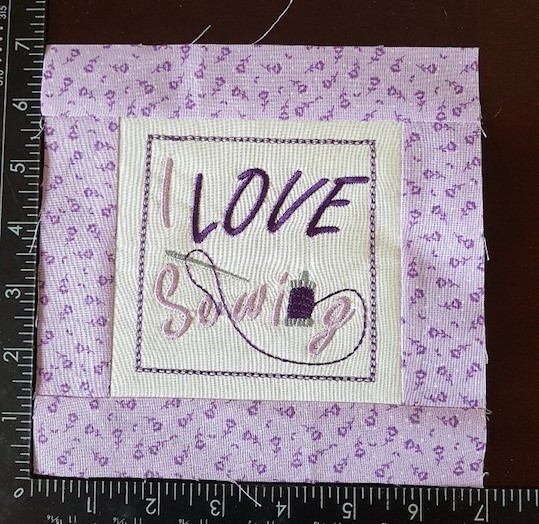
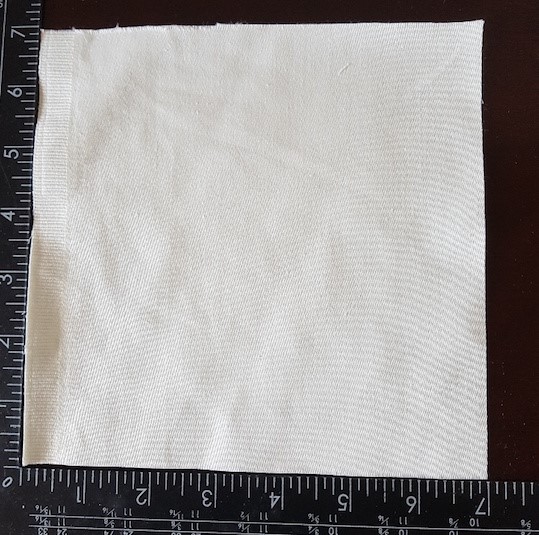
Cut a piece of lining fabric to use as a backing to the embroidery panel. It won't be seen, so nothing fancy required, but just adds a bit of body / stiffness. |
|
|
|
Place backing panel behind embroidery panel, wrong sides together, pin in place and trim both together down to 6½” square. You may wish to just tack the front embroidery panel to the backing panel at this stage. |
 |
|
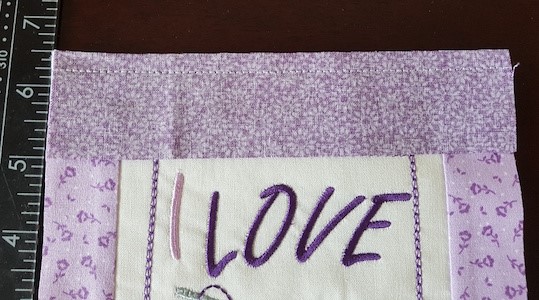
Cut a piece of cotton fabric, that will be used as pocket top edge binding 1½” x 6½” |
|
|
|
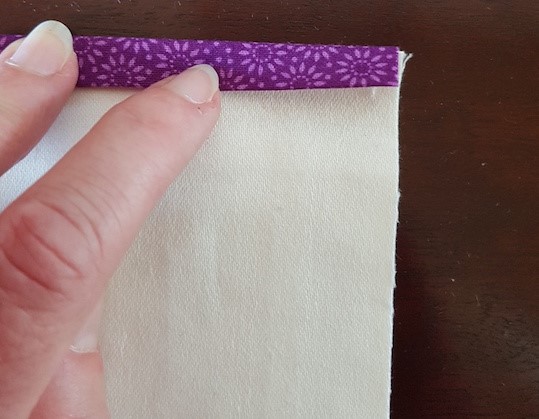
Position pocket binding right sides together on top of the embroidery panel. Pin, or, clip in place, then sew with a ¼” seam along the top. |
|
|
|
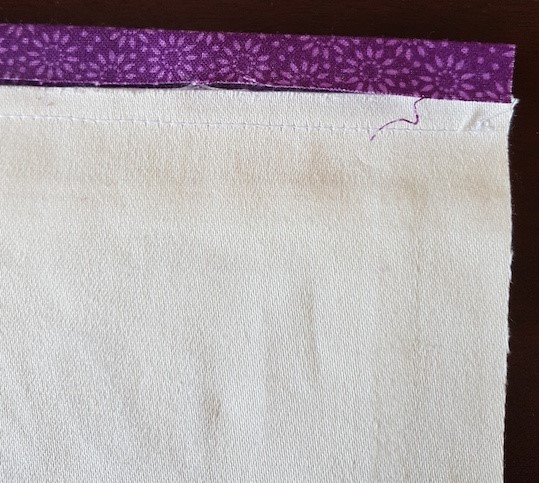
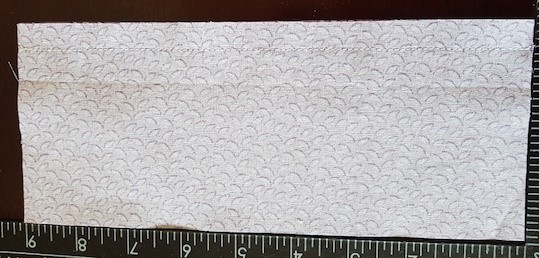
Press binding away from panel ready to fold edge strip to the back |
|
|
|
Fold the edge strip in half, and press. |
|
|
|
Now fold down once again to encase the raw edge. Pin, or, clip in place then slip stitch by hand in place. |
 |
|
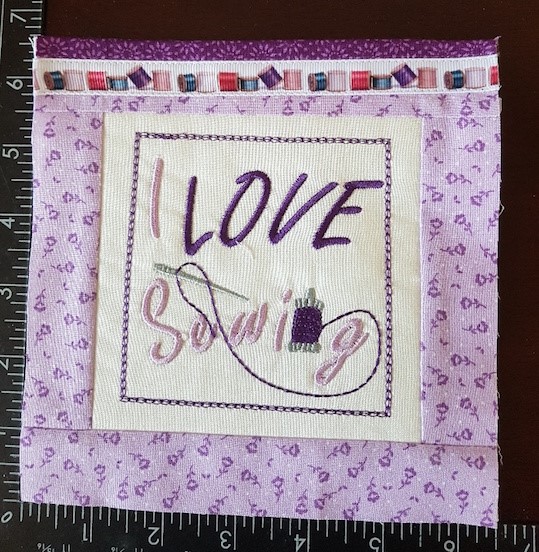
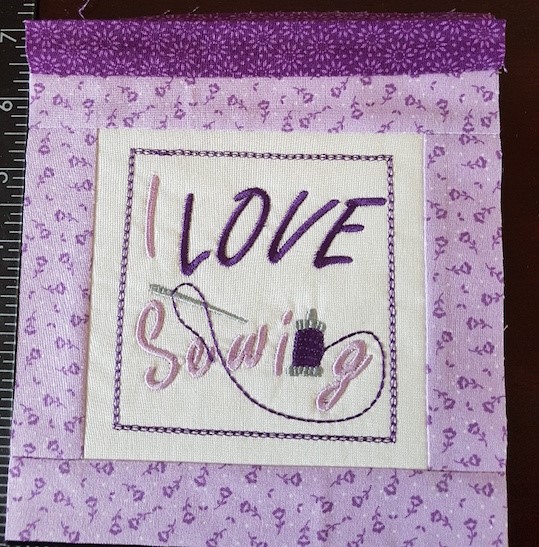
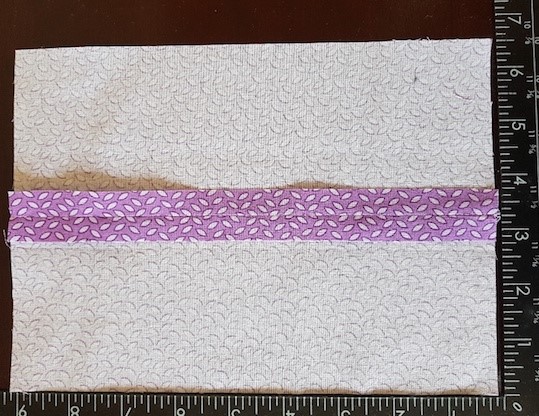
You can add an extra something at this stage. In the example above I used a piece of sewing related cotton reel ribbon, but you could also use lace, or, similar. The front pocket panel is now complete. |
STEP 2 – Front and Back
|
|
|
Cut the front panel piece of cotton fabric 6½” x 9. |
|
|
|
Cut the 2 pieces of cotton fabric that will be used for the back. Each piece is 3¾” x 9. |
|
|
|
Place the 2 pieces that will be used for the back, right sides together and sew together along the long edge, with a ½” seam. |
|
|
|
Press the seam flat. |
|
|
|
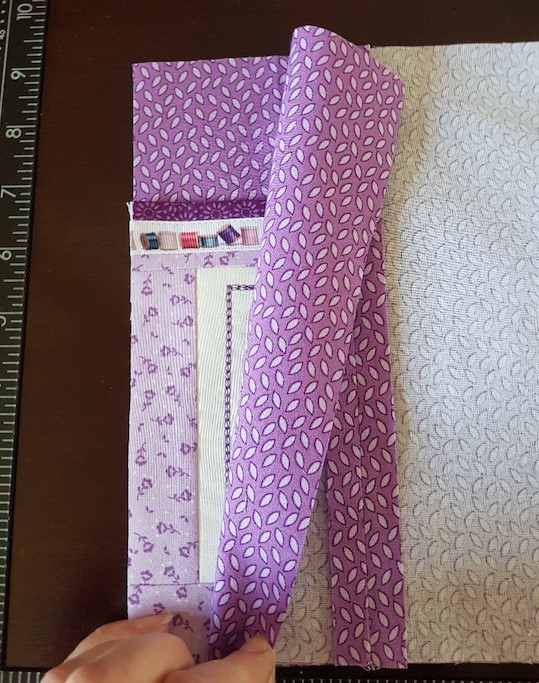
Now assemble by: - placing the front panel right side up, - putting the pocket panel right side up, on top of the front panel, - putting the back panel, wrong side up, on top of the pocket panel front. As shown in the picture above, ensuring that the sides and bottom of all panels are aligned. Pin, or, clip in place. |
|
|
|
Secure all the way around: - Initially with a ½” seam, then - with a zig zag stitch, which will add additional strength to the seam. |
|
|
|
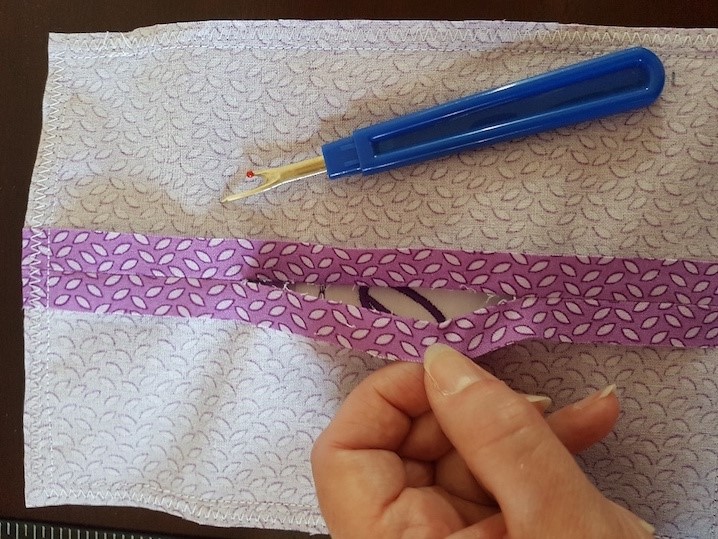
With a seam ripper, or, scissors carefully cut the stitching on the back panel to make a small opening sufficient in size to enable you to turn the pin cushion right side out. We will then use the same opening to stuff the cushion. |


STEP 3 – Stuffing and finishing
|
|
|
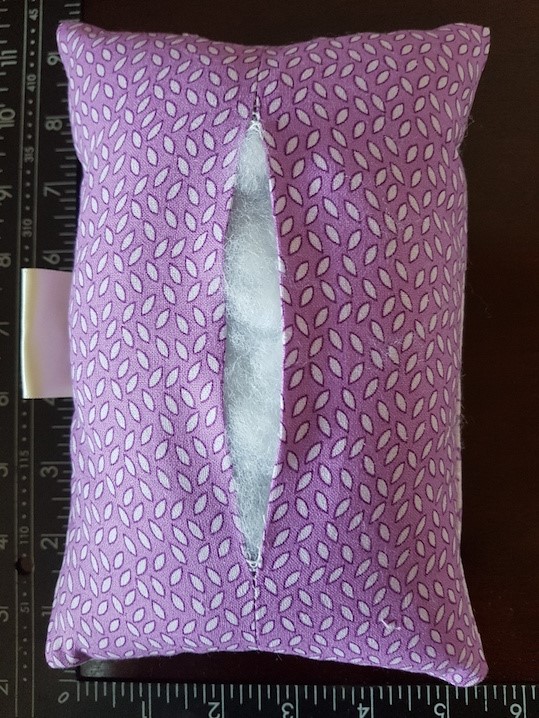
Your pin cushion should be looking something like the picture above. |
|
|
Now stuff with toy stuffing, until the cushion is nice and firm. Then hand stitch the opening closed. I use a ladder stitch to create a clean join. You should now have a completed pin cushion. |

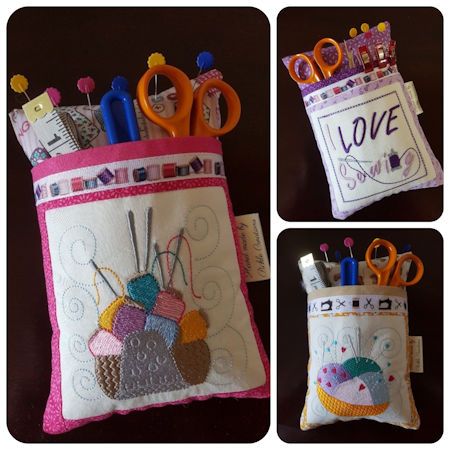
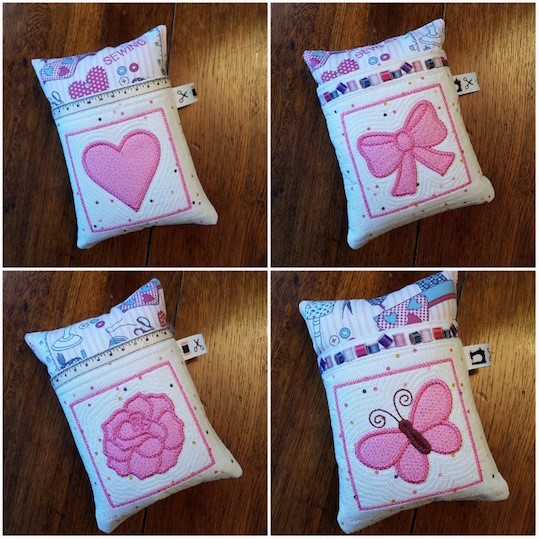
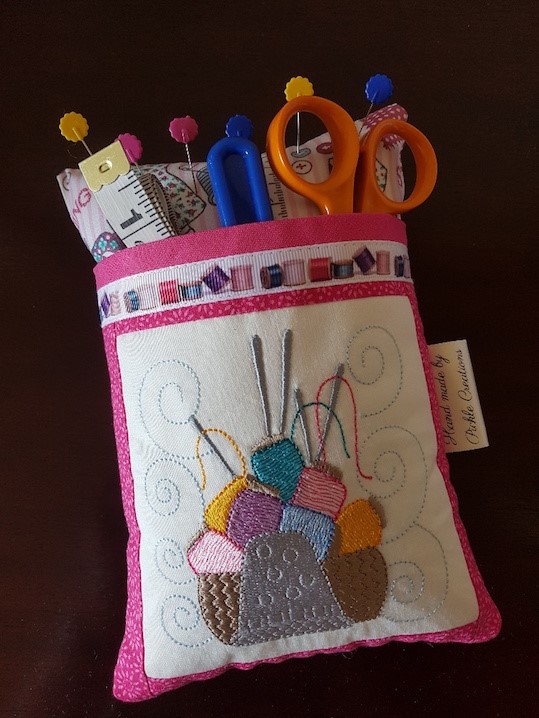
Variants
|
|
|
|
|
|
CONTACT DETAILS
eMail: cathy1981@live.co.uk
Website: http://picklecreations.co.uk/PickleCreations/Welcome.html
Etsy Shop: PickleCreationsShop
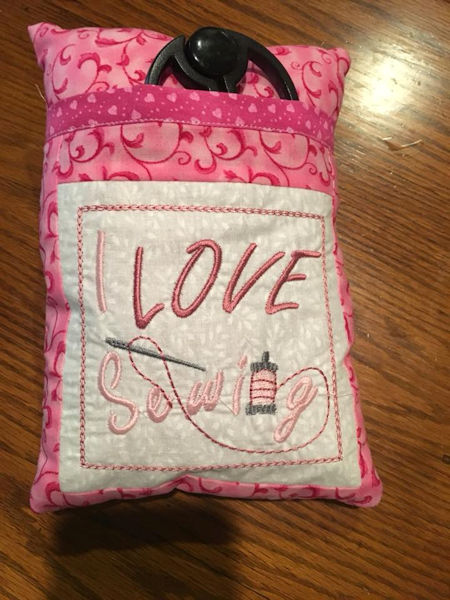
Donna shared her cute pin cushion