
How to make a very cute Child's Apron
Blog Post by Darina of Sew Nice by Darina
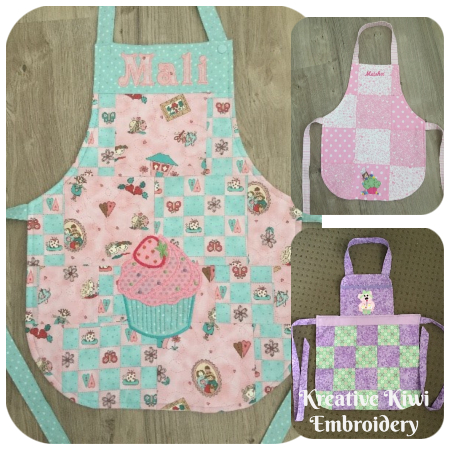
Darina is inspiring us again, with her very cute Aprons for her Grand-daughters
DOWNLOAD PRINTER FRIENDLY INSTRUCTIONS
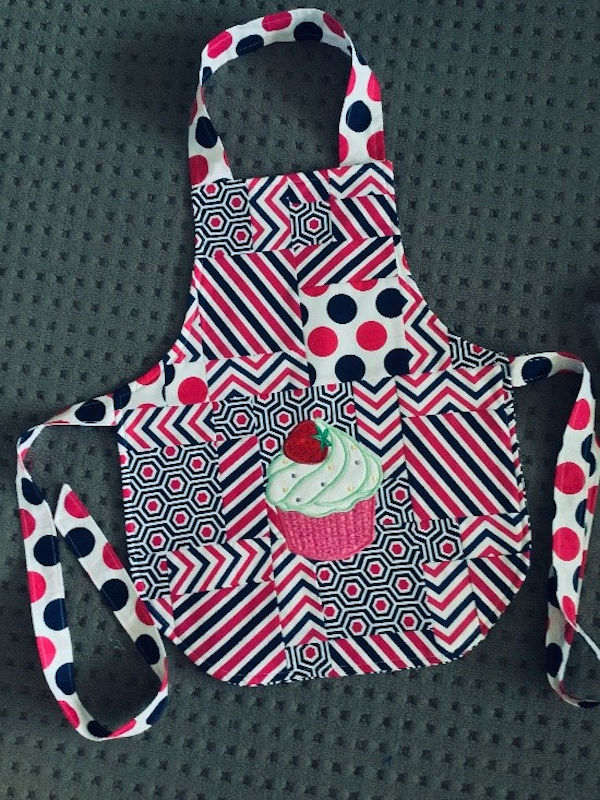
These aprons were made for my 7 & 9 year old granddaughters using the dimensions below, but you could adapt to any size
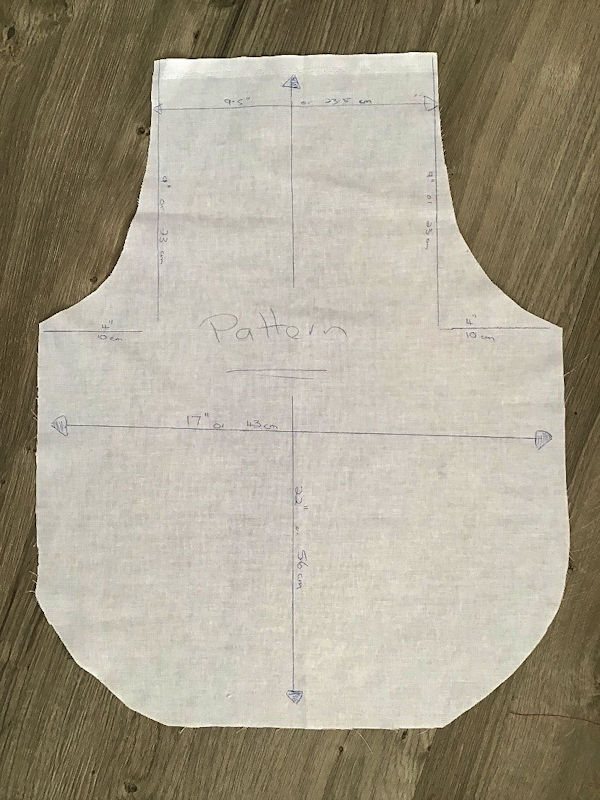
STEP ONE - CREATE A PATTERN
Start off by making a Paper Pattern - I suggest cutting a rectangle measuring 22”x 17” (56 x 43cm) then, using the paper guide below, mark the other measurements to create the pattern.
(Details can be seen in the printer version)
Create a nice curve on the bottom corners and a gradual curve for the arms.
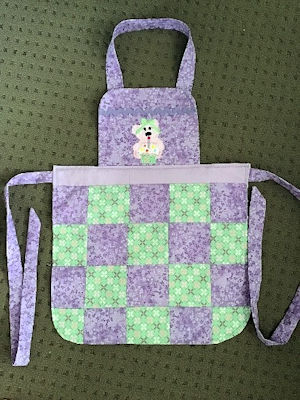
If you are not so keen on creating the curves, the alternate version with a square bib top starts with the same paper pattern.
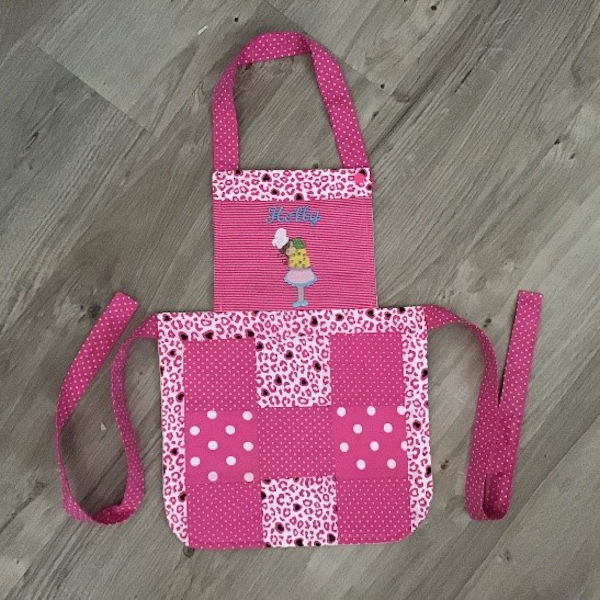
Cut the pattern at the base of the armhole, leaving you a skirt piece and bib piece (both squares)
Stitch together to create your front apron piece
STEP TWO - MAKE/CUT FRONT FABRIC
 |
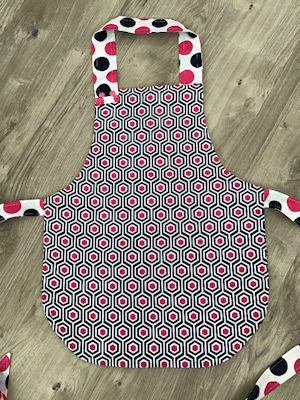 |
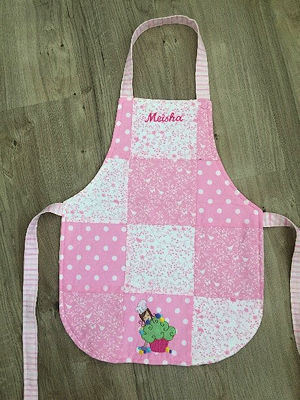
Either use one piece of Fabric (right-hand side pic) or I have used up leftover cut squares from quilts and stitched them together to create my fabric then laid the pattern on top and cut around it.
You could use leftover jelly roll strips. The choices are endless.
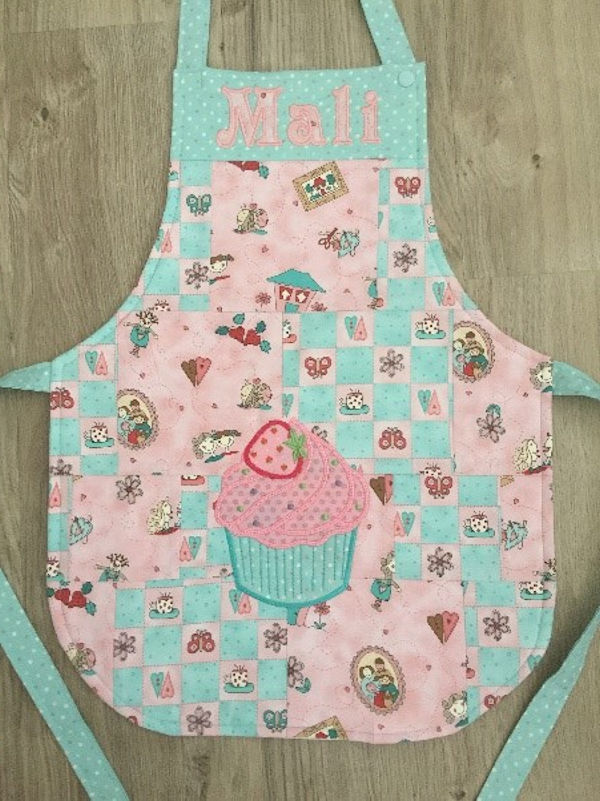
STEP THREE - EMBELISH
Press a light backing on (I have used Parlan, which is a fabric style iron on backing)
Embroider a lovely Kreative Kiwi design or add name
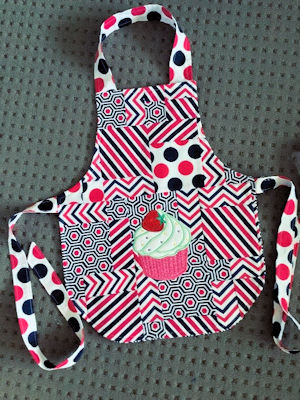
Designs used the cupcake from the Large Cupcake Applique set, Cupcake Teddies, Cooking Critters and Chef Cuties
 |
 |
STEP FOUR - LININGS
Cut your lining the same as the base pattern.
I used homespun on some of them or a matching fabric. Put aside.
STEP FOUR - MAKE WAIST TIES AND NECK PIECE
Make the waist ties
Cut two x 3” by 24-27” strips. Fold in half lengthways, press.
Stitch with ¼” seam angling off one end. Trim the corner and turn through. Press. Optional to top stitch around the edge. Lay your straps at the right spot on the apron. Your excess will lay into the centre. Tack in place.
Make the neck strap
Use the same method as above. I cut at 18”. Sewed it in on one end then put a kam snap at the other end. I didn’t have a child here with me to see if it would fit over their head if I stitched in both ends. You could do that as another option. Lay your neck strap in position on the apron with excess facing into the main part of the apron.
STEP FIVE - STITCH TOGETHER
With right side of Apron facing up, position your straps
Make sure your straps are fully enclosed and won’t get caught in the seam.
Place Lining on top with wrong side of Lining facing upwards.
Start stitching from the bottom edge, leaving an opening to pull it all through.
Clip all the corners and snip your curves.
Turn through and press
Top stitch all the way around.
It is done! Quick and easy construction.
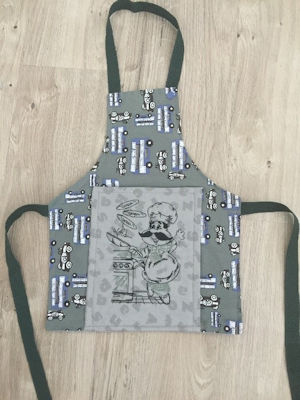
This little chef is not Kreative Kiwi. One for the boys. I created a pocket out of it.
