How to make a Walker Bag
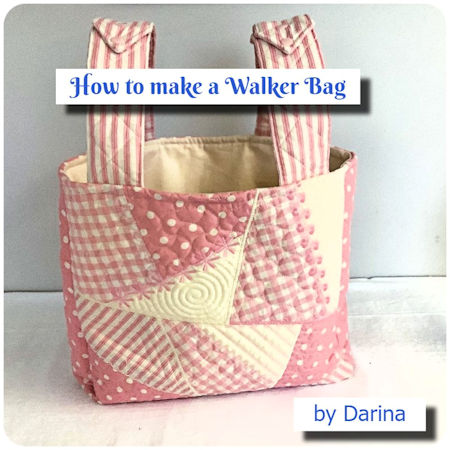
Free Craft Project: How to Make a Stylish Walker Bag by Darina
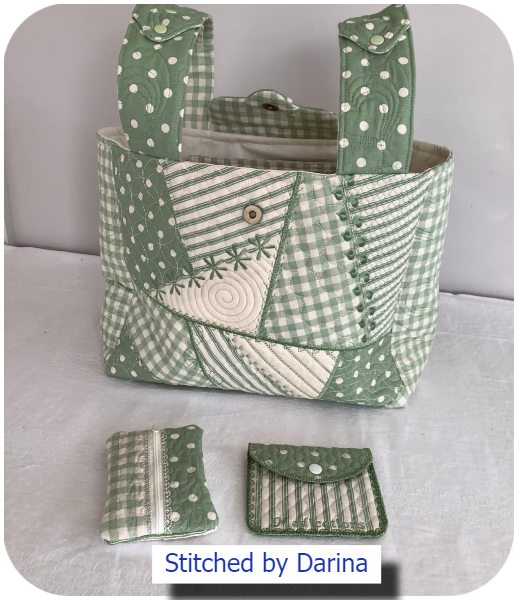
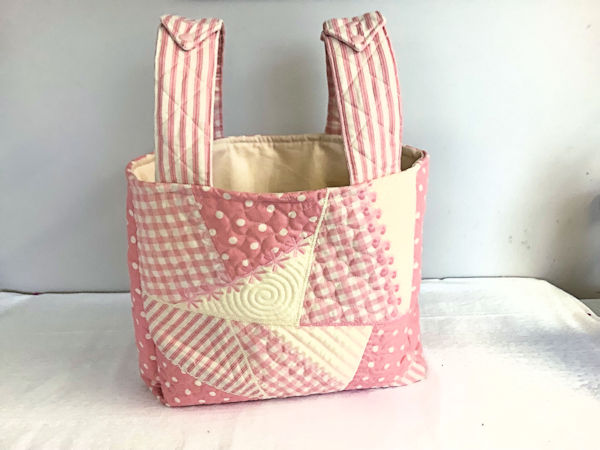
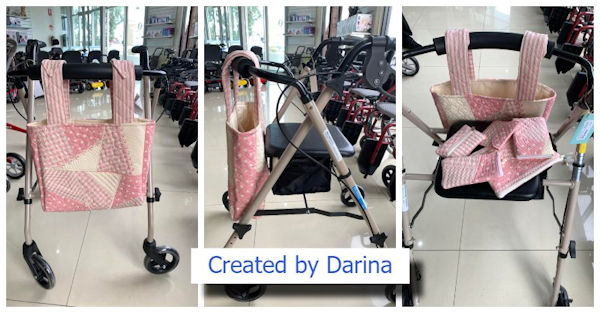
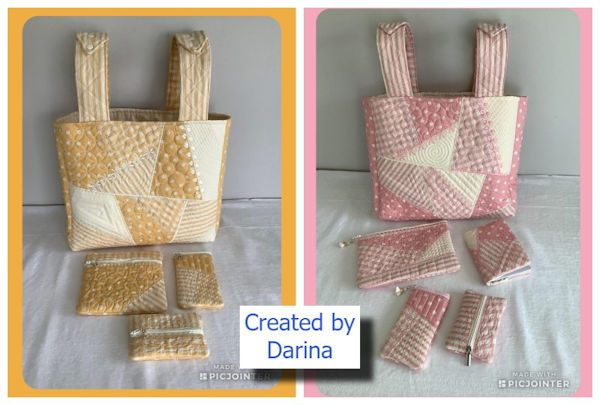
Are you looking for a practical and fashionable accessory for your Walker? Look no further! In this step-by-step guide, Darina shows you how to create a fabulous walker bag that combines functionality and style. This versatile bag features crazy patch panels, handy pockets, and adjustable straps. Let's dive into the instructions and unleash your creativity!
DOWNLOAD PRINTABLE INSTRUCTIONS
 |
Darina has created her Walker Bag using our You do not need to purchase this design - the Instructions can be adapted for any fabric, and/or embroidery design |
Materials Needed:
- Quilting fabrics for outer panels
- Matching fabric for lining
- Zipper for internal pocket
- Kam Snaps
- Optional Parlan or light interfacing for pockets
Darina creates and pre-quilts all the pieces of her Walker Bag. You can use pre-quilted fabric or some design options
- Create additional Crazy Patch Panels to cut down for the side seams, and handles
- Use our Free Cross Hatch Quilting designs to make a large piece of fabric to cut down
- Make your own quilted fabric on your sewing machine – Darina shows how on her Reading Pillow Blog
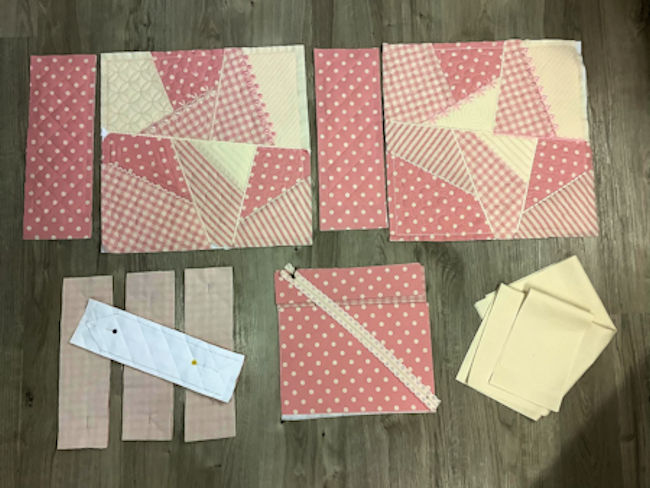
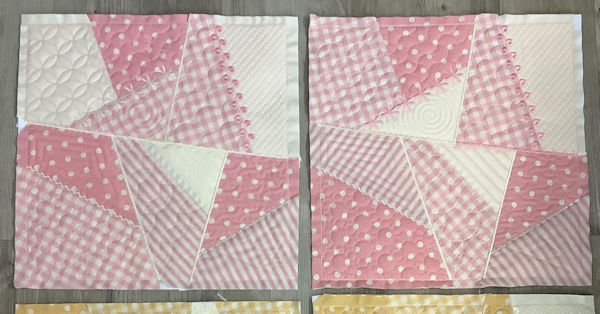
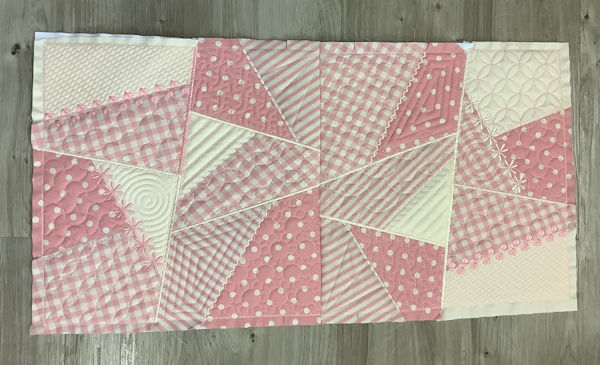
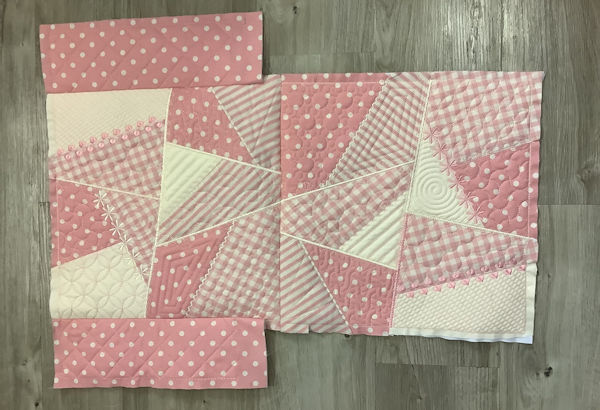
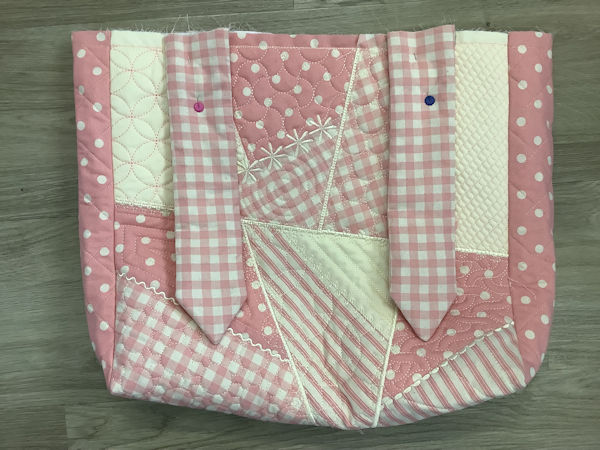
1. Step 1: Creating Bag Front and Back
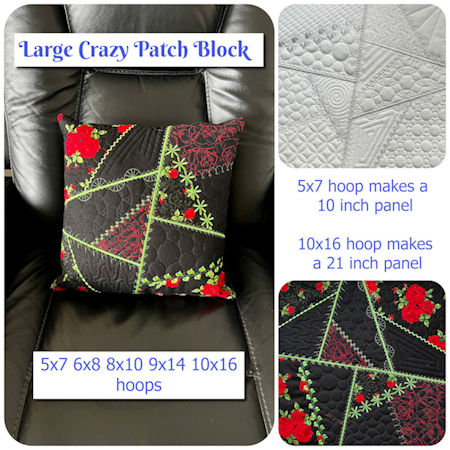
Make the eye-catching Large crazy patch panels (Video instructions included) that will adorn the sides of the walker bag.
The 8x10 version of the Large Crazy Patch Block gives you a completed size of 15 inch (without seam allowances) with seam allowances it makes the 15.5-inch square required
Or
Cut two fabric pieces 15.5" x 15.5" (39x39cm) each for Front and Back
Cut two Lining pieces 15.5" x 15.5" (39x39cm) each for Front and Back
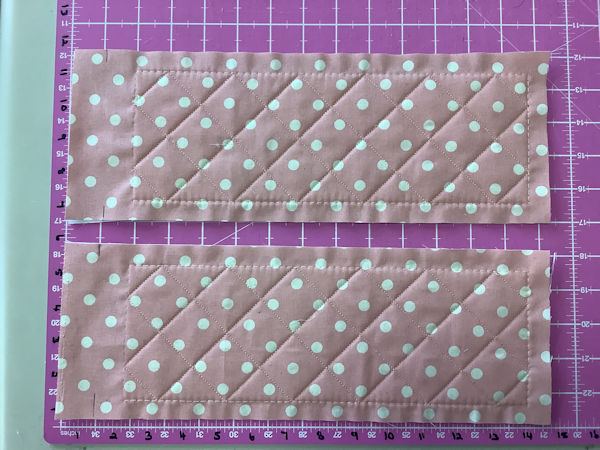
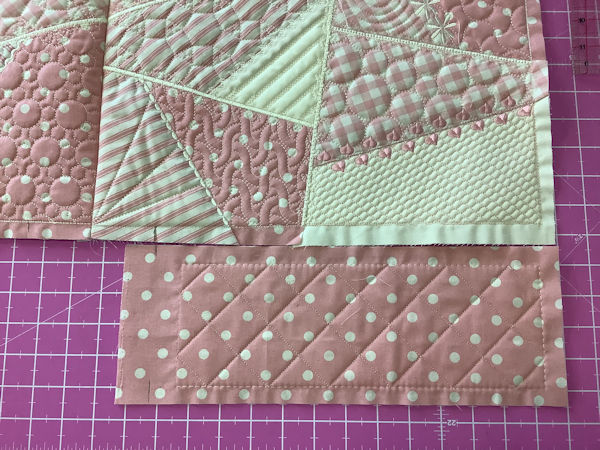
2. Step 2: Making Side Panels
Cut two side panels measuring 14" long x 5" wide (36x13cm). Add a touch of elegance to these panels by quilting them with a beautiful stitching pattern or crosshatch design.
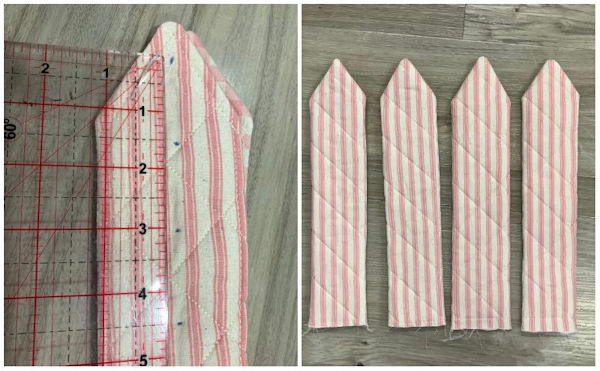
3. Step 3: Crafting the Handles
The walker bag needs sturdy handles for easy transportation.
Cut four fabric pieces – 2 Fronts/2 Lining pieces 12" x 3.5" (30x9cm) each
- Add batting/wadding and Quilt the Two Front pieces
- Alternatively, quilt a larger piece of fabric measuring 12" x 16" (30x41cm) and cut down to required size
With right sides together stitch a quilted front and a lining piece together along two sides and one end.
- To create a stylish point, mark the center top and approximately 2" (5cm) down, then stitch and trim accordingly.
Turn the handles inside out and topstitch them. Set them aside to be incorporated into the top seam when fitting the bag lining.
Adding Kam Snaps to the straps is a great way to make them adjustable.
Put two snaps on the top of one strap, spaced about one or one and a half inches apart. Attach four studs underneath the strap, ensuring they are placed at the exact same distance apart.
TIP Its easier to add your Kam snaps now before attaching your strap to the bag
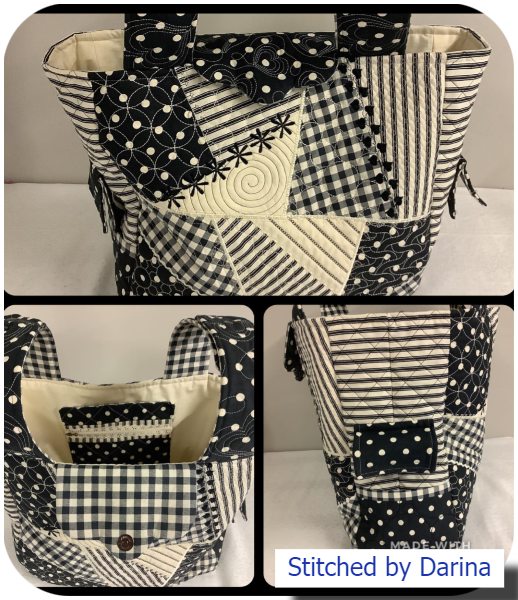
4. Step 4: Designing the Internal Pocket
Choose the type of pocket you prefer: an open top pocket or a zipped pocket.
You can make the pocket any size you prefer, or use the following measurements
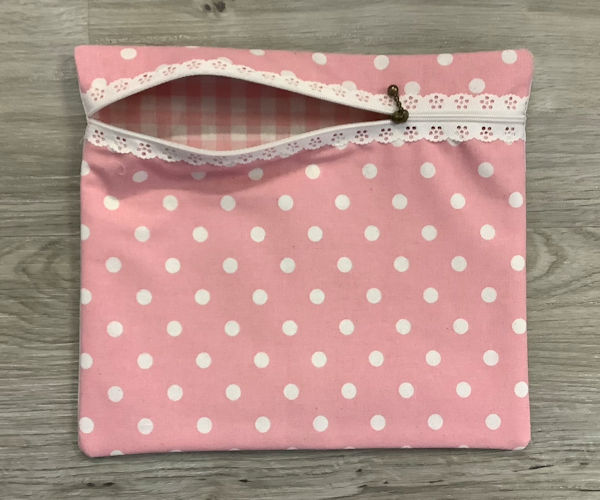
For a zipped pocket
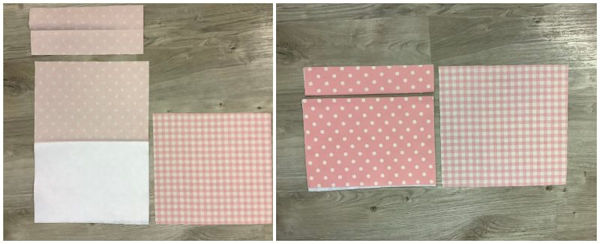
Cut three pieces of fabric –
- Pocket Front Top piece – Cut one 11 x 3
- Pocket Front Bottom piece - Cut one 11 x 12
- Lining Cut one 11 x 10
- Optional Parlan/Interfacing Cut One 11 x 6
Pocket Front Top
- Fold in half lengthways and press.
Pocket Front Bottom
- Fold in half lengthways, press Parlan/interfacing on one half
Stitch zip in place with zip extending over both edges
- ‘normal zip’ stitch under the folded edge of the Pocket Front and Bottom
- Lace zip – stitch on top of folded edges of the Pocket Front and Bottom
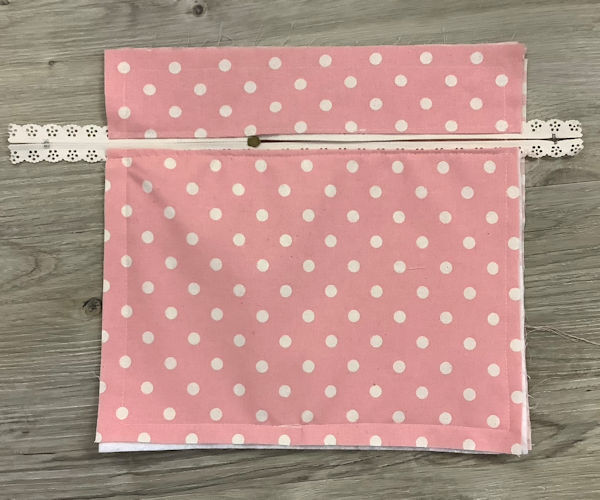
Move the zipper pull to the centre
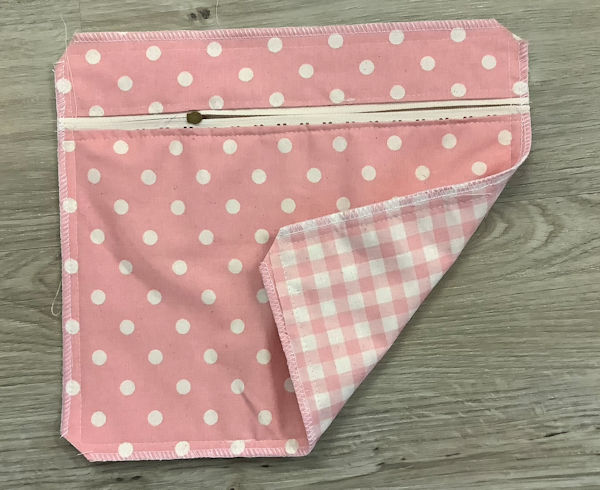
When we stitch the two pieces together, we want the right side of the Lining showing when you open the zip, so you place:
- Right side (the front of the pocket you will see on the bag) faces the wrong side of the lining.
Stitch the pocket top and pocket lining together, along all four sides
,
Zig zag or overlock the raw edges, then trim the corners and turn to right side and press
Set aside your zipped pocket till we complete the Lining
If you prefer an open top pocket without zip
Cut two fabric pieces measuring 11" x 8 (20x28cm), one from the main fabric and one from the lining fabric.
Back the front fabric with iron-on Parlan or thin interfacing
With right sides together, stitch the two pieces together, leaving a 3" (8cm) opening at the bottom. Trim the corners, turn it inside out, press, and topstitch along the top edge.
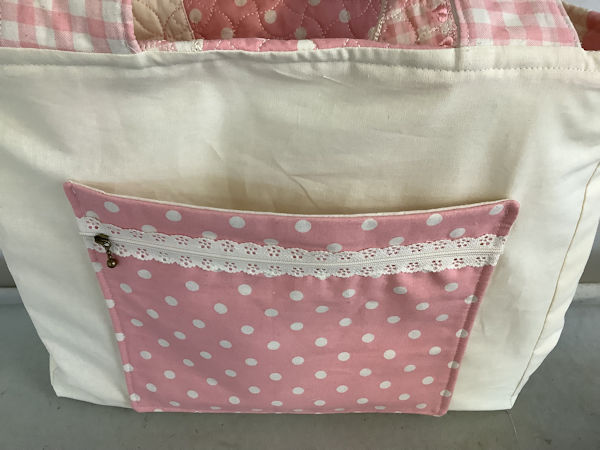
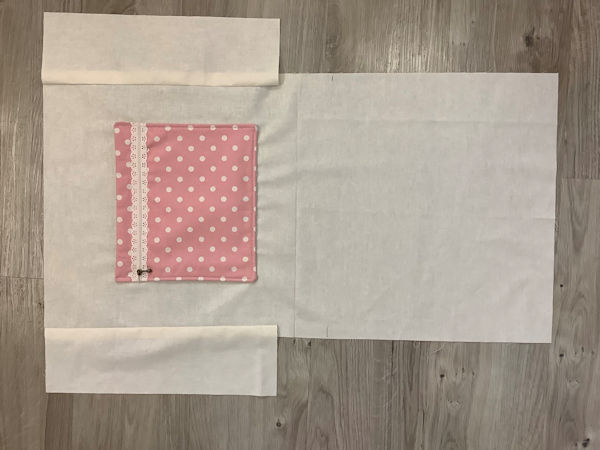
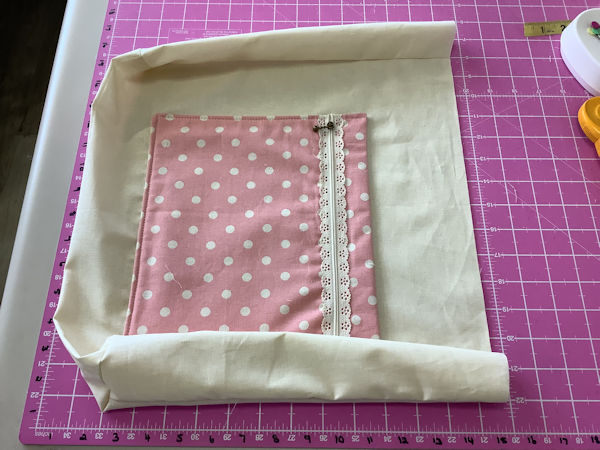
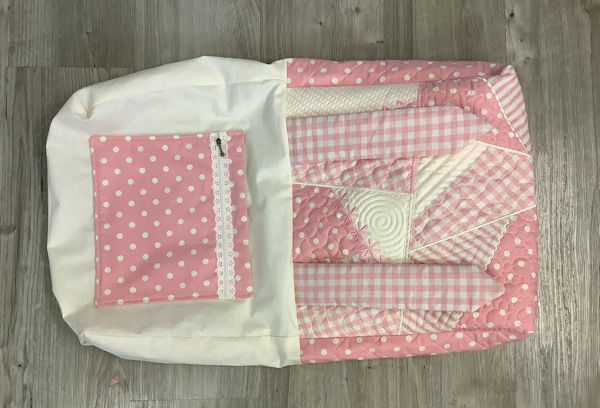
5. Attach Pocket to Lining
With right sides together stitch the two lining pieces together along the bottom edge, Open them out and press.
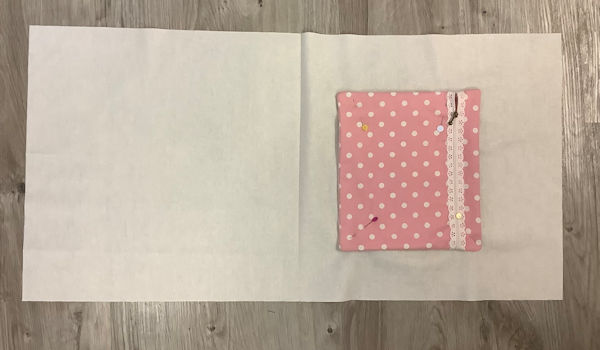
Centre the pocket and position in place approximately 3 inches from Bag Lining top
Stitch in place on the Lining
TIP You can create a double pocket by Leaving the top open to create two pockets, one open, and one zipped.
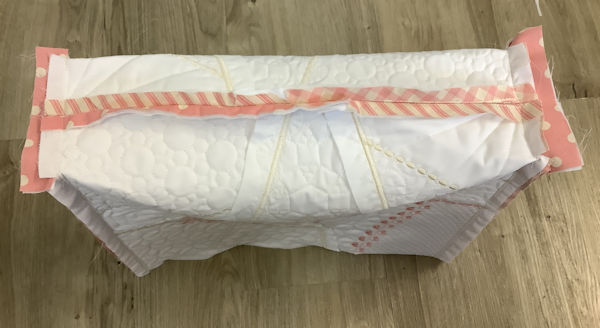
6. Step 5: Bag Construction
Align the two crazy patch panels right sides together and stitch along the bottom edge. Open them out and press.
TIP For added security, you could stitch some ties into the seam, which can be tied around the Walker
(Darina added hers later)
Mark 2" (5cm) up from the bottom seam on both pieces and clip the seam allowance to indicate where to attach the side panels.
Stitch the quilted side panels on either side of the top panel
Fold up the bottom panel and stitch the same on the other side. This will create a 4" (10cm) wide base. Flatten the base along the bottom edge of the side panels to create square corners and clip them to ensure a neat fit.
7. Attach the four handles to the bag.
Measure 2" (5cm) in from the side panel seam and place the left side of each handle, tacking them to the top edge of the bag. The point of the strap should face downward, with the wrong side of the strap facing you. Repeat this step for all four handles.
8. Complete the Lining
Now it's time to add the lining.
Complete the lining in the same way as the outer part of the bag, leaving a 4" (10cm) gap in one side seam for turning it inside out.
TIP Shorten the lining by approximately 1.5-2" (4-5cm) to avoid excess fabric in the bag's bottom.
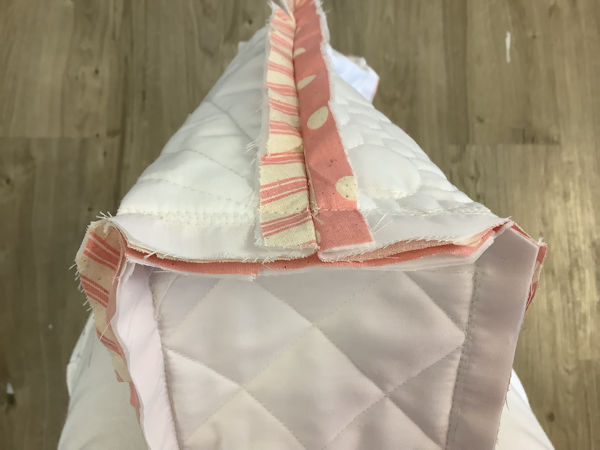
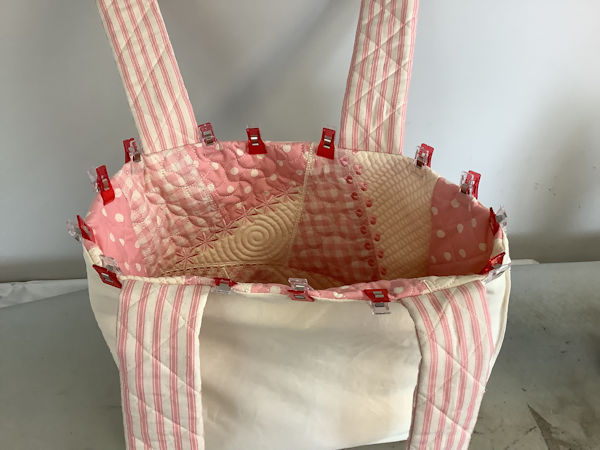
9. Stitching together

Turn the outer bag inside out and place the right-side-out lining inside, aligning the top edges. Secure the lining with clips and make any adjustments for a nice fit.
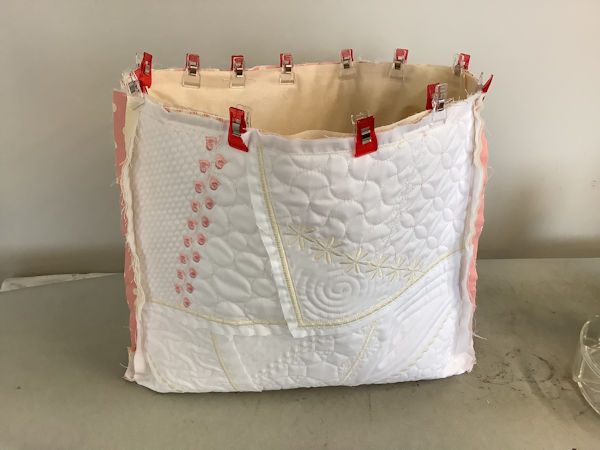
Stitch around the top edge
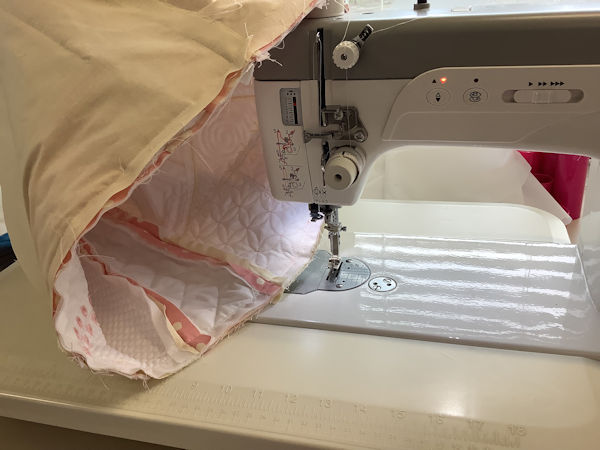
Pull the bag through the opening. Double-check for a perfect fit before sewing up the side opening.
Fold in the top and hold it with clips or pins, then topstitch around the top edge about ¼" (0.6cm) down or use the width of your sewing foot as a guide. To achieve a more accurate finish, flip the bag back through to sew from the outer edge.

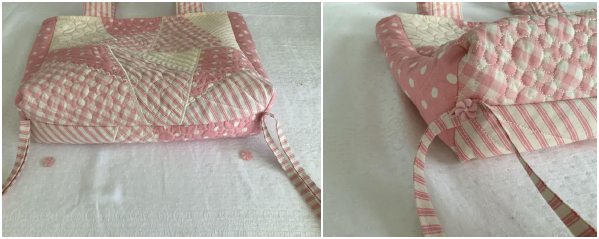
Congratulations! You've successfully created a stylish and practical walker bag. With its crazy patch panels, functional pockets, and adjustable straps, this DIY project showcases your creative skills while providing a convenient solution for carrying your essentials.
Remember to have fun and experiment with different fabrics, colors, and embellishments to make your walker bag truly unique. Happy crafting!