
How to make a Christmas Table Runner
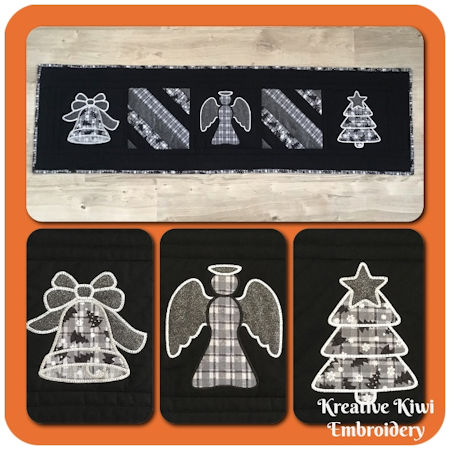
Christmas Table Runner Instructions
By Darina of Sew Nice by Darina
Darina uses a quick easy method to make, join and bind her embroidered blocks, which creates a beautiful professional finish for her Table runner.
The beauty of this Table Runner pattern is you can use any size hoop to make the blocks, and any embroidery design you like – use your favourite colors/fabrics – make a runner for every season!
This is a project where you work backwards – decide on the finished width and length you want the runner to be, to determine how much fabric and batting you need, then how many blocks you need to make.
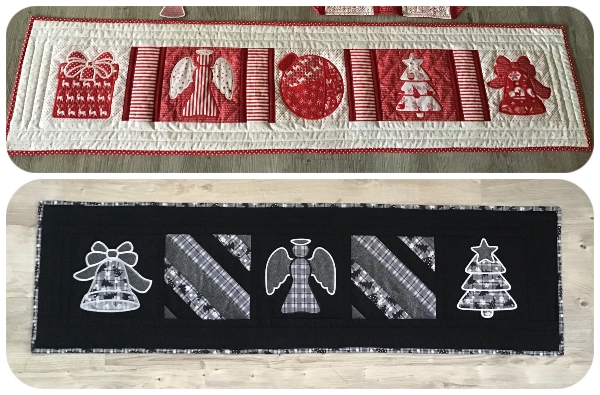
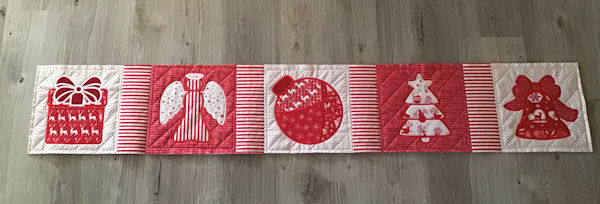
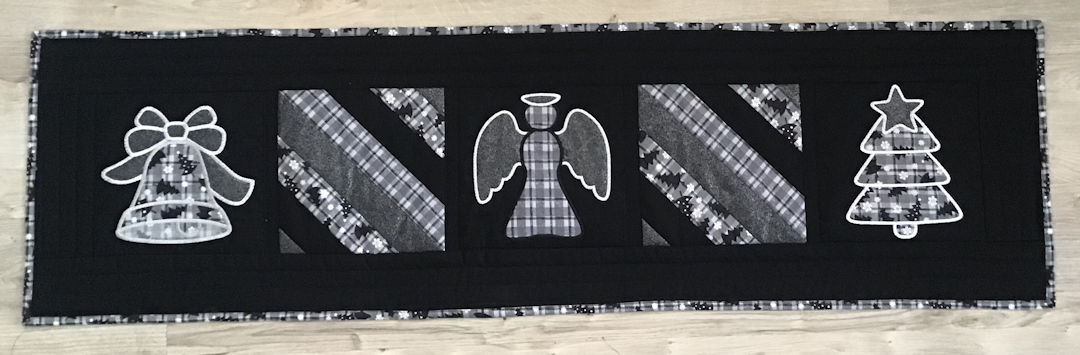
An odd number of blocks is visually pleasing, both the Red and Black Runners both use Five blocks. As the Red Runner was for a longer table, Darina added ‘filler’ joining blocks to add interest.
For a size comparison, The Black runner is made to fit a 6-seater table – Darina used five 8x8 In the hoop Blocks.
Do you have to have a Large Hoop to make this Table Runner?
Not at all – There are advantages to using ‘In the hoop’ Blocks, as you can include designs plus quilting in one stitch out and be confident the blocks will all end up the same size. But you can certainly use smaller embroidery designs, and add your own free motion quilting later, or simply showcase your favourite designs, without quilting.
Designs used:
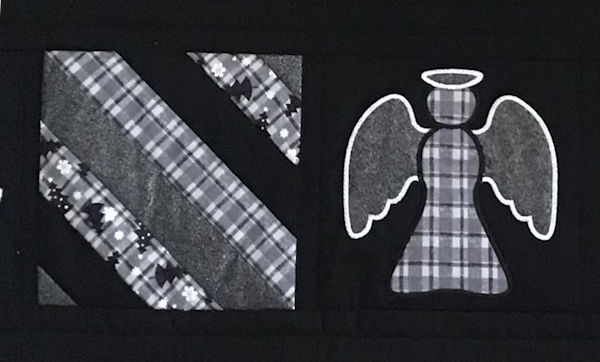
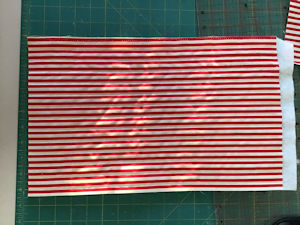
- Jelly Roll In the hoop Blocks – striped blocks, and used as background quilting on the blocks
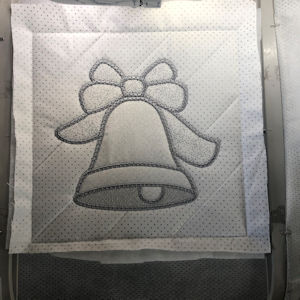
- Free Christmas 2019 Giftset Applique Design
You do not need to purchase any designs, please use designs of your choice
This Table runner is made with techniques Darina has used in previous Blogs, rather than re-write these instructions, if you need more detail, please read:
- Fleecy Quilt Blog - Joining and Binding Blocks
- Binding – How to make, and stitch on binding (You can use purchased binding if you prefer)
MATERIALS REQUIRED
|
With so many variations in block sizes and lengths, we cannot give a detailed fabric requirement list. What you should think about is, the finished size you want
You would need a piece of fabric your finished size plus 1 inch each side for ‘wriggle room’ and seam allowances – ‘generally’ 1 metre of yard of fabric should be enough for your front borders and backing fabric. (If your runner is longer than a metre, then maybe get 2 metres, I’m sure you can use the fabric in another project) |
For each runner you will need:
- Fabric and stabiliser to make number of blocks required
- Darina uses No show mesh (a lite cut-away) as her stabiliser – you won’t see the back of the blocks, so you can use the stabiliser of your choice
- Fabric for Front Borders and Backing to fit width and length
- Wadding/Batting to fit width and length of runner
- Binding to fit width and length – Click here to read how to make your own binding
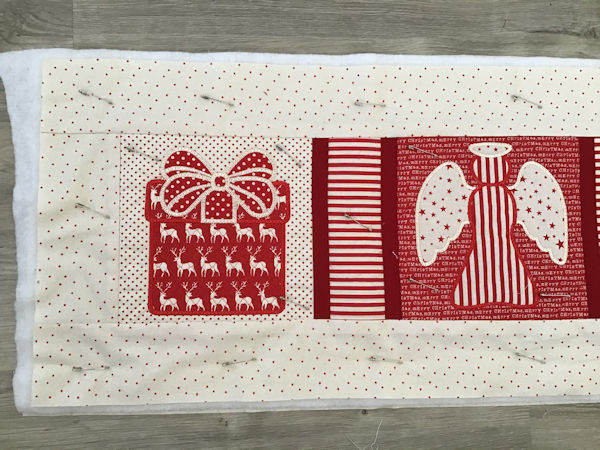
STEP ONE – EMBROIDER YOUR BLOCKS
- Cut your base fabric/block 9 inch square (or 1 inch larger than your finished block size)
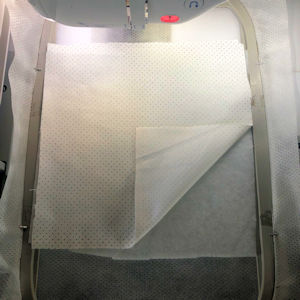
- Hoop No show mesh (stabiliser)
- Centre your wadding and fabric over the hoop
|
|
|
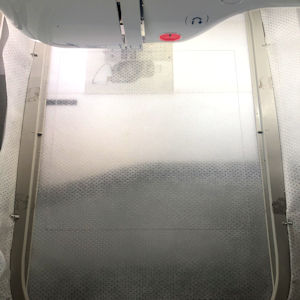
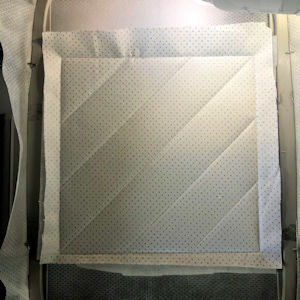
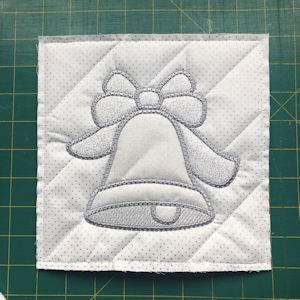
- Embroider your blocks as per In the hoop block instructions, or simply embroider the design of your choice (No need to back them as we will line the runner later)
 |
 |
For Darina’s blocks, she used Steps 1 and 2 of the 8x8 Jelly Roll Block as her background quilting.
(LOL – please do not look at how badly centred the batting and fabric is – I’m sure you can centre better!! Doing it in a hurry)
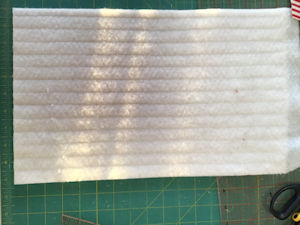
FILLER BLOCKS
You can add length to your runner by adding ‘filler’ blocks between your embroidered blocks
- To make your filler blocks, use the same batting/wadding as your embroidered blocks, place your chosen fabric on top and cut to width required.
 |
 |
STEP TWO – SQUARE UP THE BLOCKS
|
|
|
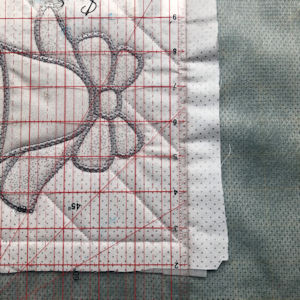
This is the important bit!! Taking your time now, will make it everything fit together ‘nicely’ and make your life easier!!
Trim all your blocks to the exact size.
- If you have used an In the hoop Block, then cut a quarter inch from the outer stitching line – this ensures your binding will cover all the edge stitching
- If you have made your own blocks, then you can safely cut them down to 9 inches (or the size of your choice)
STEP THREE – JOIN BLOCKS
- Join your blocks together by butting them up and stitching together with a 5mm stitch zig zag (wide zig zag)
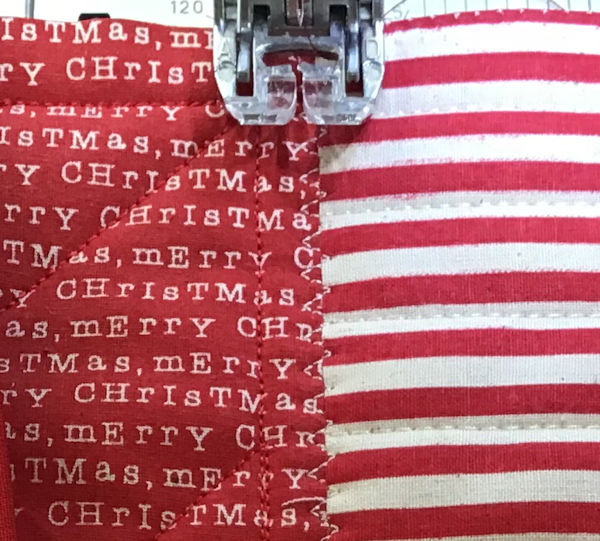
Click here to see this in detail on Darina’s Quick and Cute Fleece Blog
STEP FOUR – ADD BINDING OVER JOINS
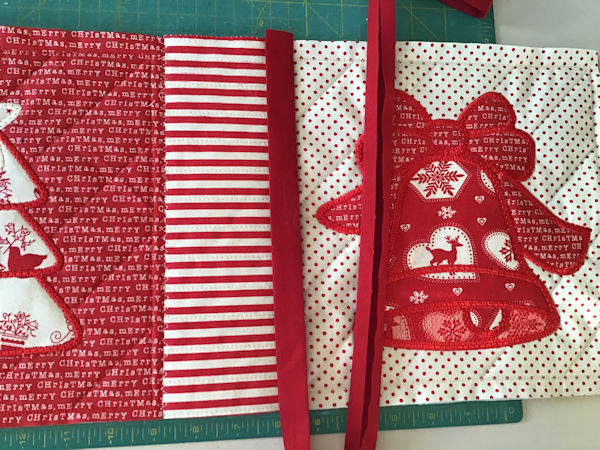
Darina made her own binding using 1.5-inch strips of fabric – when folded and pressed, measure ¾ inch.
Stitch your binding on the top of your joins. Pin in place, then top stitch down each side
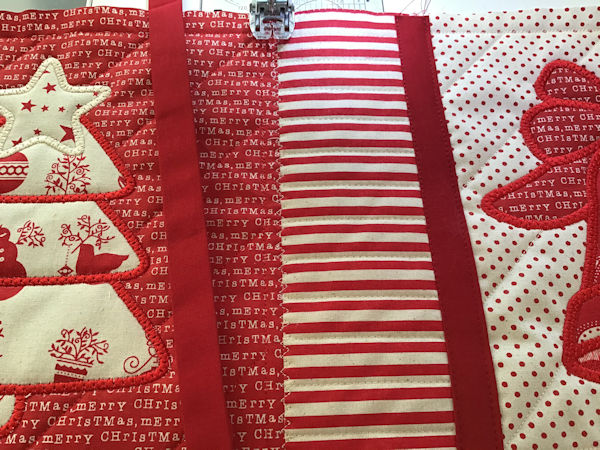
STEP FIVE – ADD BORDERS
Cut your borders to the required size. (Four to Five inches is a good size)
Stitch your borders to your runner – attach the two ends first, then top and bottom
STEP SIX – ADD WADDING/BATTING
- Cut a piece of wadding (Matilda’s Own or similar) so it extends beyond all sides
- Cut your backing fabric to match.
- Pin all 3 layers together
- Backing Fabric – wrong side of fabric facing inwards
- Wadding
- Topper
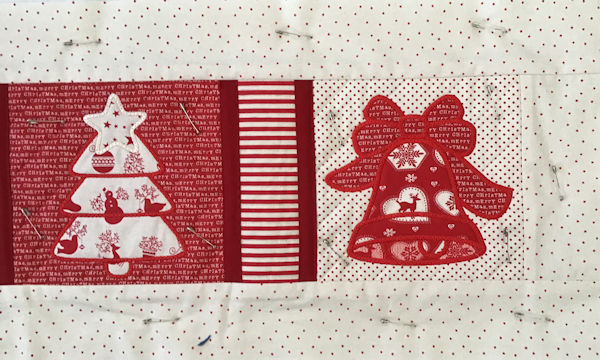
STEP SEVEN – QUILTING **Optional
Complete any Quilting you would like - through all three layers
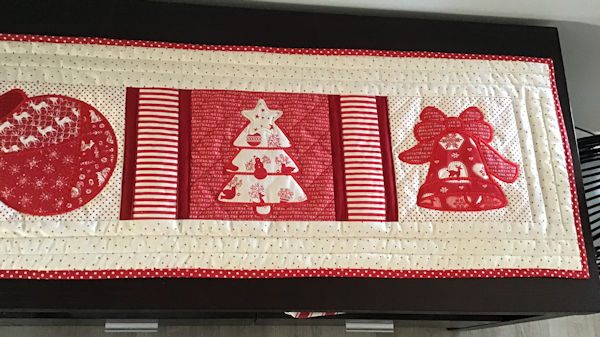
You can see on Darina’s completed Red Table Runner, that she has added straight line quilting on the borders
STEP EIGHT – SQUARE UP AND ADD BINDING
Do a final square up of all four sides to neaten the edges
Bind the edges of your Runner
See this in detail on Darina’s Binding Blog
Finished!!
What next? You can use the exact same techniques to make full sized quilts, or a matching Christmas Tree Skirt
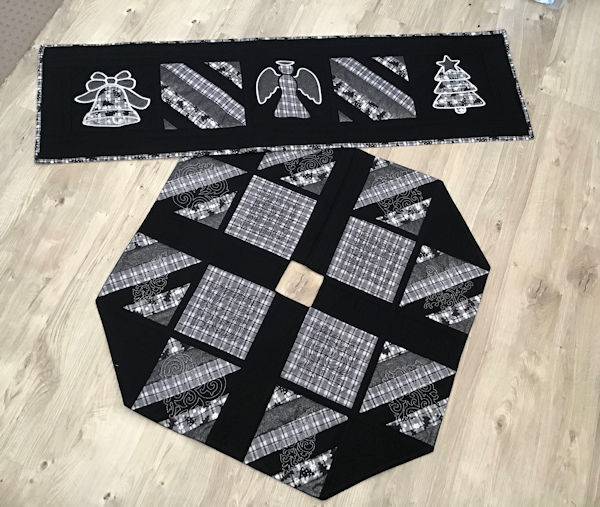
Click here to view/download How to make a Christmas Tree Skirt
