
arrow_circle_down Designs
arrow_circle_down Subscribe
arrow_circle_down How to use our Large Appliques to make a Bag Closing Flap

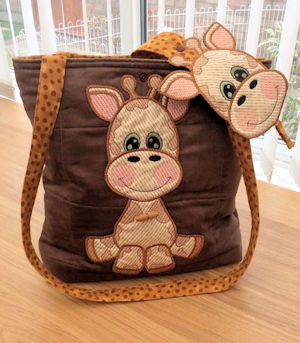
How cute is this Giraffe Bag Pauline made!!
I've shamelessly copying her idea to show you how you can do it
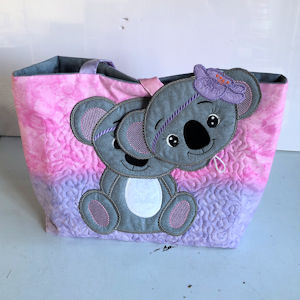
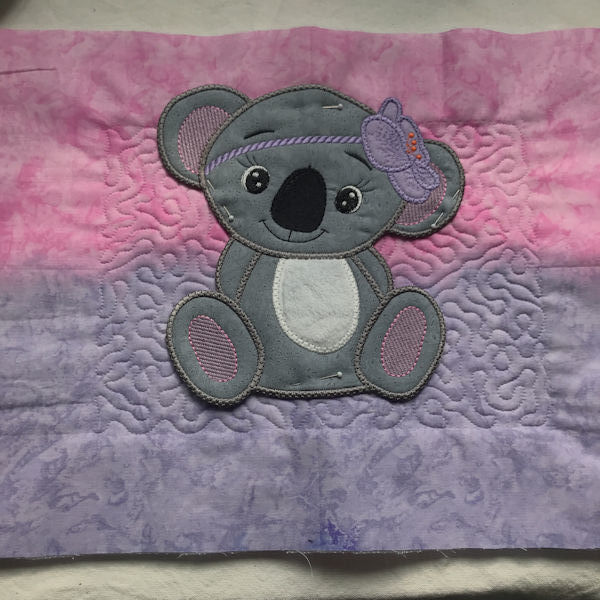
I'm not sure our Koala bag is quite as cute as Paulines, but this blog will give you a 'high level' view of how you could use many of our Large Animal Appliques to create something similar
You can download full instructions to make the Koala Bag at the end (includes fabric measurements)
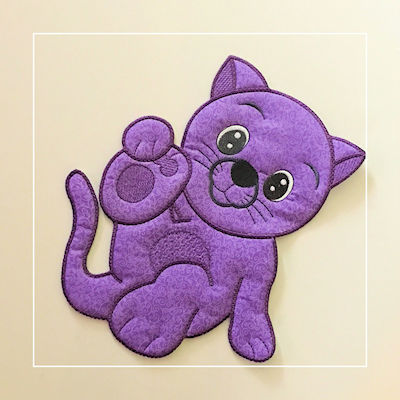 |
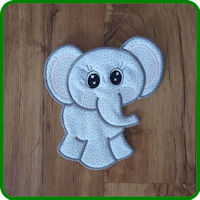
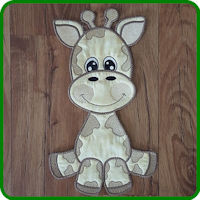
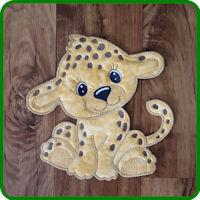
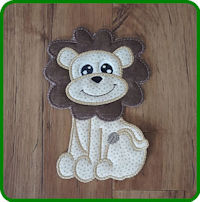
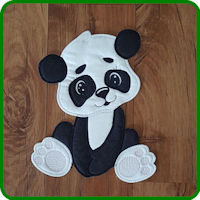
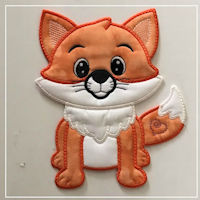
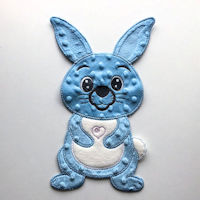
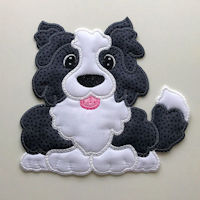
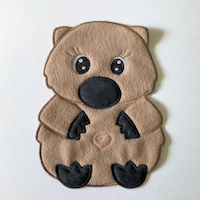
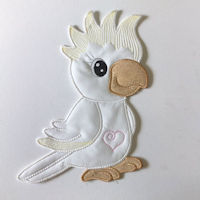
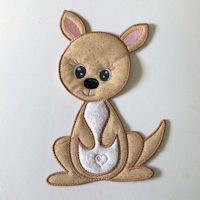
Design ConsiderationsYou could choose just about any Animal design - you need to stitch One complete Animal, then one extra 'head' piece. You need to use a design, where the head potion is completely stitched separate from the body - ie our large Cat would not be suitable as the head portion in this design stitches under the Cat's paw I've linked some Designs below, that I think would be suitable |
Could you use a pre-made bag? you sure could - if the bag is already lined, you could undo the lining, attach your completed animal, then add your completed Bag Closure as you re-stitch the lining. This blog shows how I created the closure, as I made the bag.
The key to adapting the bag flap closure to make it work for any bag size, is the extra flap that you add to your animal head. You can make the flap any width and size. This enables you to place your animal design exactly where you want it to be on the bag.
I love Pauline's idea of using the contrasting fabric and making the flap a feature of the bag. In hindsight, my next bag will have a wider flap
|
|
 |
For the purposes of this blog, I have detailed the steps to make and add the Bag Flap which is then sewn into the bag when you attach the lining - just as you do with bag straps.
I'm sure you crafty Ladies will be able to adapt this idea for any bag style/size you would like!
Our detailed instructions for our Koala Bag - a very simple lined, boxed corner Tote Bag, using the 5x7 Large Koala Applique, are included with our Large Koala Applique, or
Step One - Create Large Applique Animal
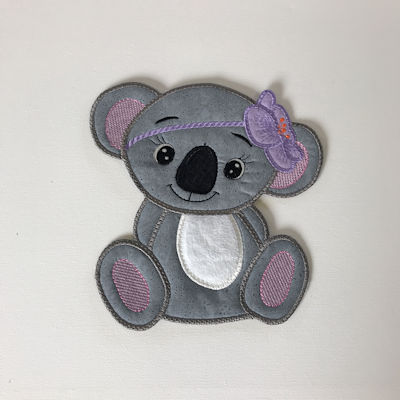
Stitch one full animal design as pictured, plus one head as per Design instructions
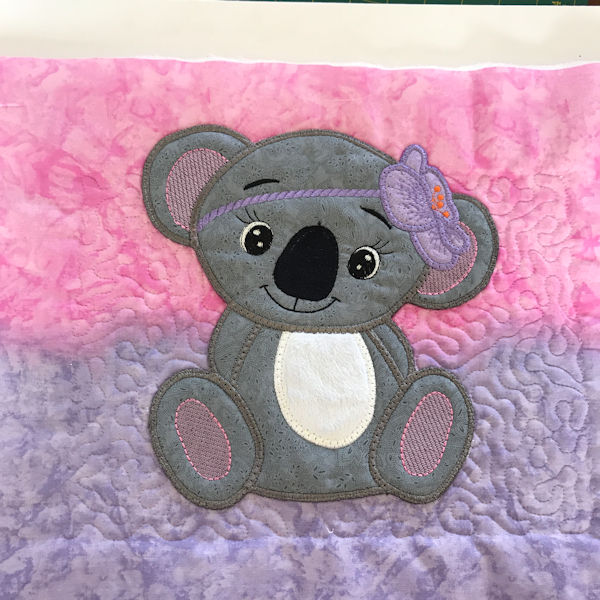
Step Two - Attach Applique to Bag Front
Place, pin, then stitch the Animal to the Bag Front
When placing your design, make sure you allow for your seam allowance at the top, and bottom, and/or box corners
Not sure how to attach your design? click here to watch us attach the Koala to the bag front
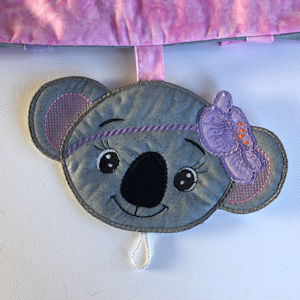
Step Three - Make an extension Flap
 |
 |
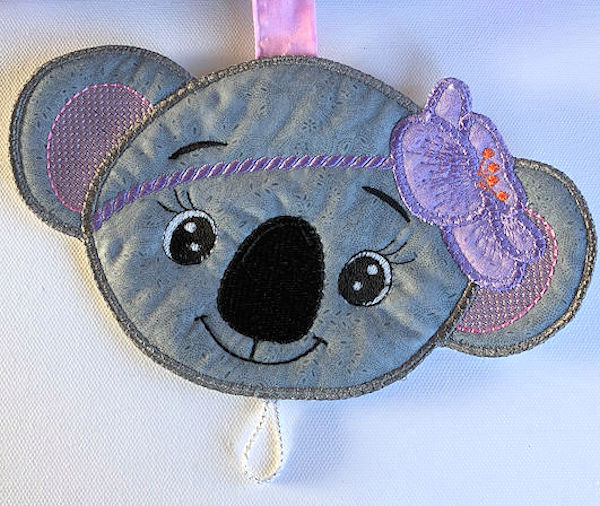
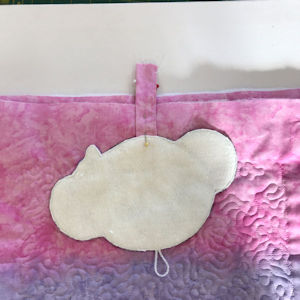
To make your head into a functioning Bag Closure, you need to add an extension flap to the top of your head, and a button closure at the bottom
To do this, we add a backing to your embroidered head - this will also give the flap more strength and body
We used felt as our backing fabric - you could use any non-freying fabric
To make the extension flap, decide on the width and length you would like (make it longer initially, to give you 'wiggle room' for differences in seam allowances)
You can make the flap as simple or fancy as you wish - I was lazy, and used a piece of my bag handles as a flap - in hindsight, I would have made the flap wider.
 |
 |
If you are stuck for ideas, my simple method is:
|
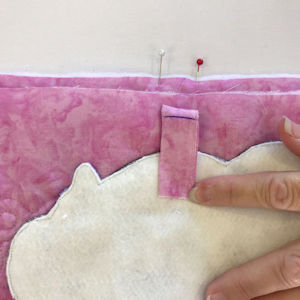
Step Four - Align Bag Flap
This is the critical step - you need to align for the design you have chosen, not the centre of the animal head. (some heads are on an angle)
To make sure you add the flap in the right place so the head matches exactly, place your 'head' on top of your Koala on the Bag front, then place your extension flap and button closure.
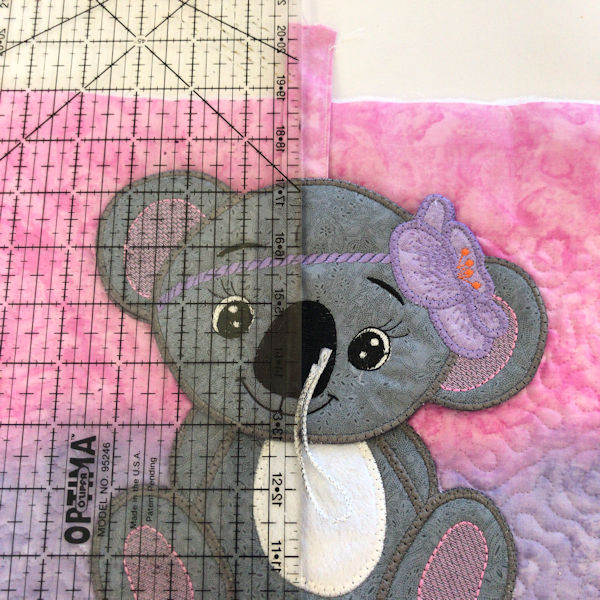
Keeping the flap and closure in place, pin onto your backing fabric (felt)
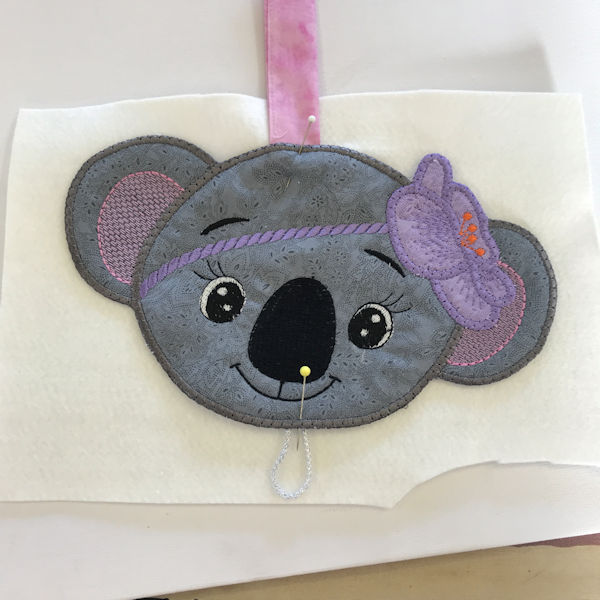
As before, stitch the Head to the felt piece
Cut away excess felt as close as possible to the edge
Step Five - Align to Bag Back
When you stitch your bag together, the flap is stitched from the Back, so it flips over the front
From the Bag Front, as pictured, place your head exactly on top of your stitched Koala. Mark the top edge of the extension flap, and pin the sides
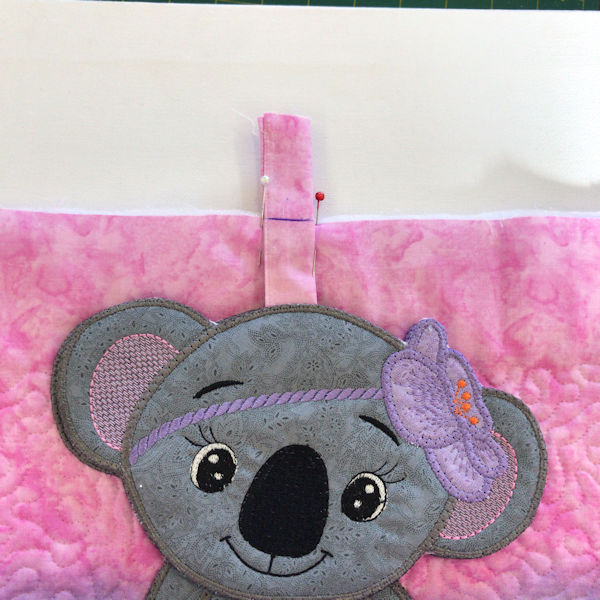
As pictured, line up your Bag Bag, so:
the flap is centred on the back in the same place as the front
the flap is facing inwards to the bag back
you've matched the top edge
Pin securely in place
 |
 |
Step Six - Complete Bag Construction
The extension flap is attached when you stitch your Bag Lining. I won't go into detail in this blog, as you can use any method you are comfortable with. If you want to see the detail, please
Suitable Animal Designs to use

| Top |