How to make a Casserole Carrier
Blog Post by Darina Foots
How to make a Casserole Carrier
How organised will you look, with your very own personalised Casserole Carrier. Or, what an awesome and practical gift to make for family and friends.
Darina has kindly shared her instructions with us.
Thanks so much Darina
Materials
- 1m or 39” of outer fabric
- 1m or 39” of lining fabric
- 1m of parlan (iron on backing)
- Two wooden handles 28cm long / 11”.
- Timber thin ply base board 29cm x 23 cm / 11.5” x 9”.
- Velcro 2 pieces approx. 12cm long or 5”
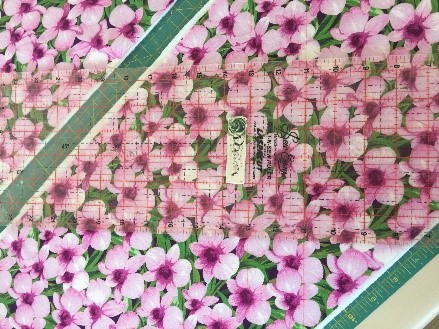
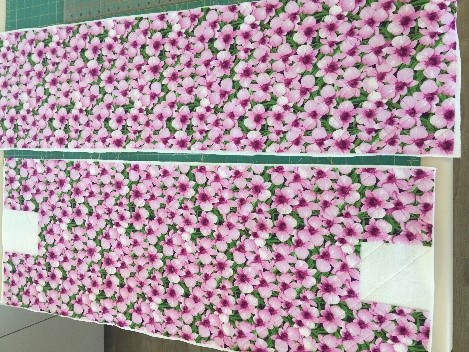
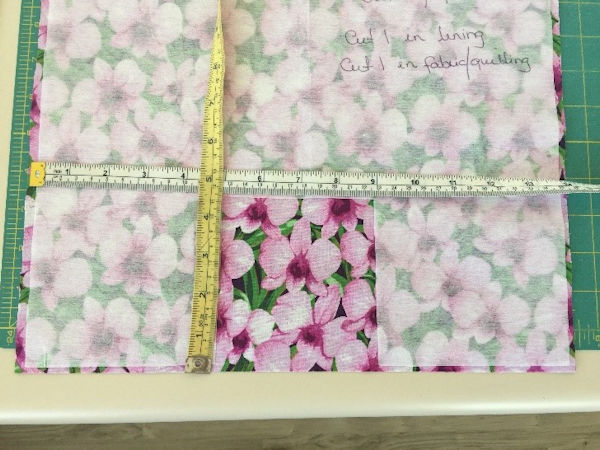
Step One - Cutting
Cut one piece of outer fabric and one lining fabric measuring 100cm x 35cm. 39” x 14” - this will be the Front/Bottom/Back of the Casserole Carrier
Cut one piece of outer fabric and one lining fabric measuring 100cm x 27cm. 39” x 11” -this will be the Sides of the Casserole Carrier
Press your iron on interfacing parlan onto the back of both pieces of outer fabric.
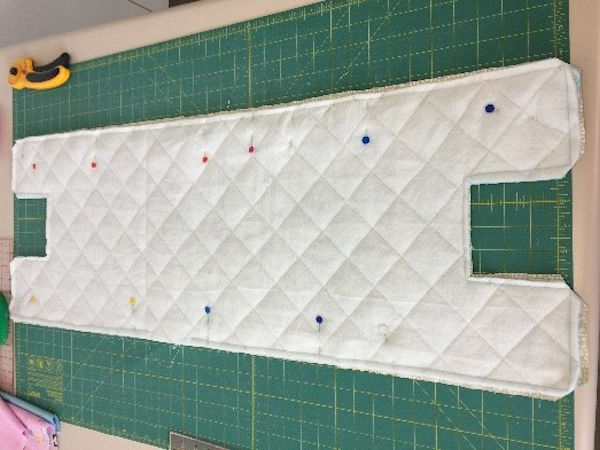
Step Two - Quilt Front/Back Panel **Optional
Mark your quilting lines and completely quilt both pieces.
I have used a 2” gap between my quilting lines.
Not sure about Quilting? Click here to read How to Quilt a Reading Pillow (same principle)
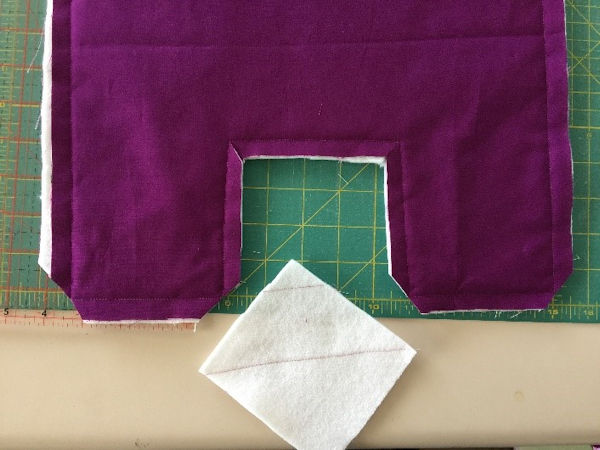
Step Three - Cut handles
Lay your lining and outer piece with right sides facing and cut out the square for your handle.
Measure 5 inches in from each side, and 5 inches from top
gives you a 4 inch wide, by 5 inch deep gap
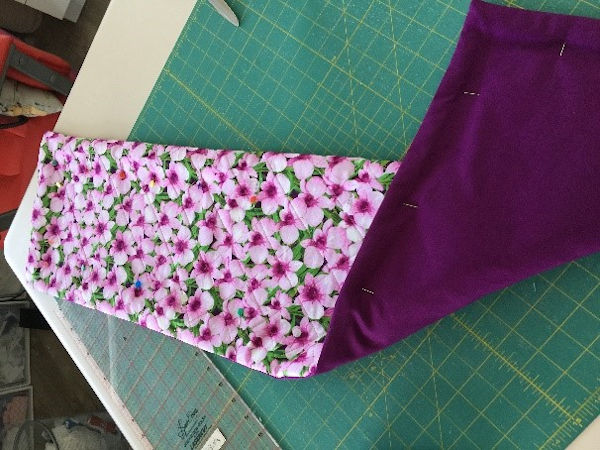
Step Four - Stitching together
With right sides of fabric facing each other, stitch your lining to your quilted outer fabric, leaving an opening to be able to turn it all through once stitched and clipped.
Turn to right side and press.
Step Four - Sides (inner piece)
Follow the same steps as with Front/Back piece omitting the handle cut out
ie Quilt Outer Layer of fabric
Place Outer layer, and Lining with right sides together, and stitch, leaving an opening to turn to the right side.
Step Five - Top Stitching both pieces
Press and top stitch both pieces about a half inch inside the outer edge.
Step Six - Add pockets
This is where you add your own creativity!!
Make one or two pockets to go on the outside of your carrier.
You have a space of 12 by 8 inches
Step Seven - Velcro
Stitch some small pieces of Velcro on the far outer edge of where the handle folds down so you are able to remove the handles to wash. I cut my piece of velcro down the centre to keep it narrow. Then stitch the top and bottom of the tab.
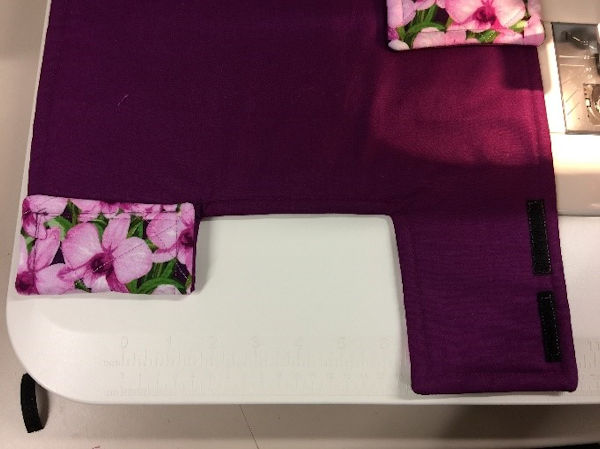
Also stitch some longer pieces of Velcro to the two ends of the inner piece.
Lay it on and fold it over to see where these will be placed. This will allow you to secure different size containers in your carrier safely. Hot or cold etc.
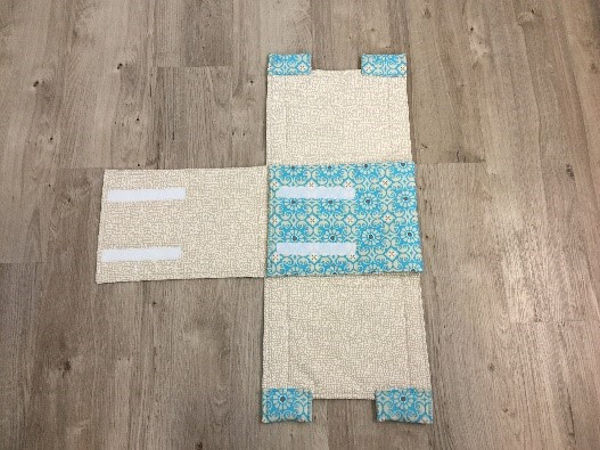
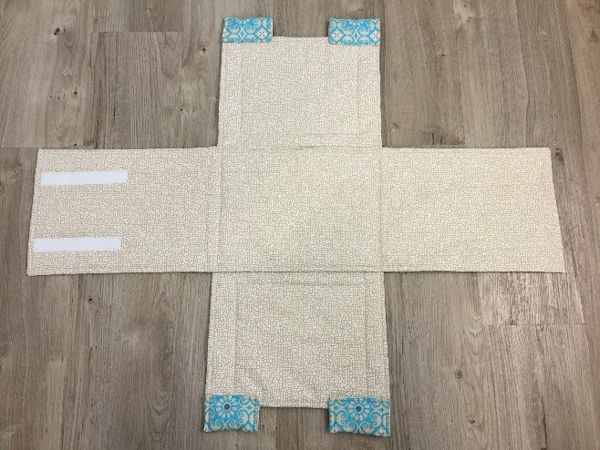
Step Eight - Assembly
Lay your inner piece at right angles to your outer piece and you are going to stitch them together leaving one side open to insert the timber base board.
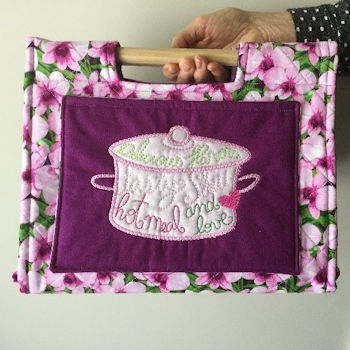
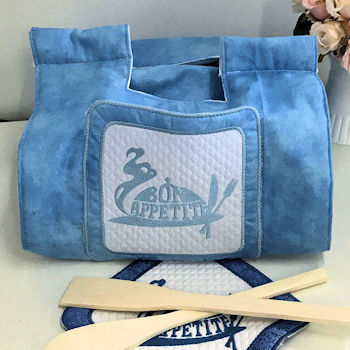
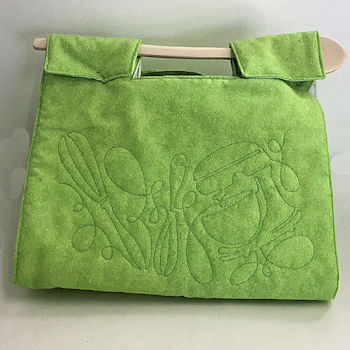
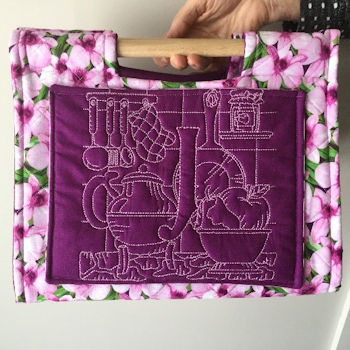
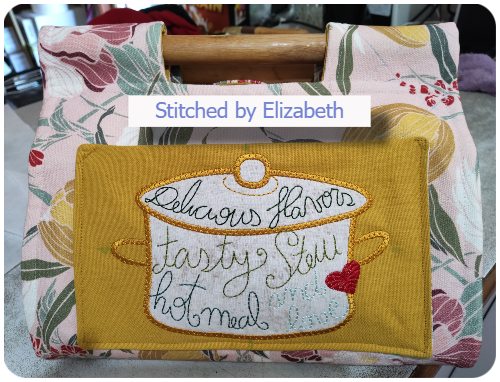
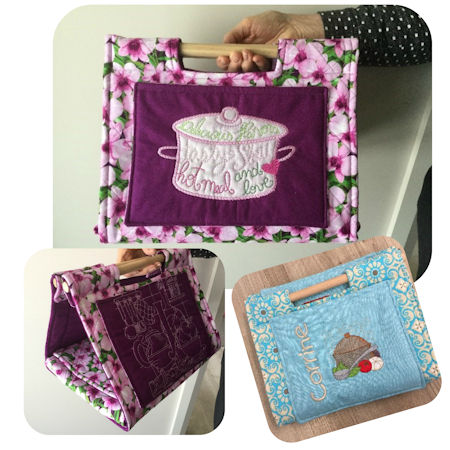
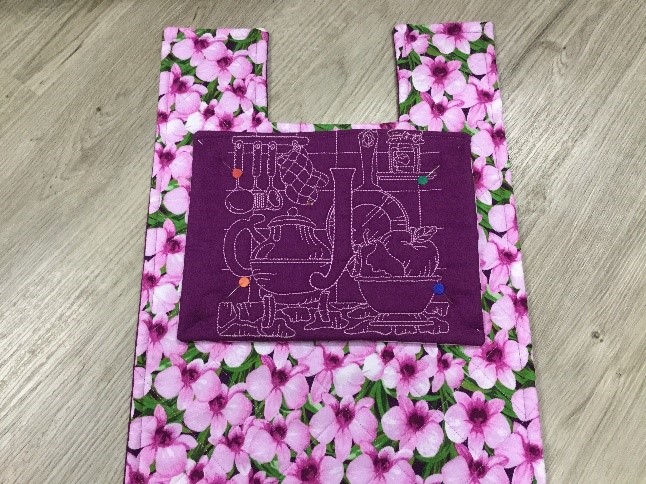
Samples
No need to limit your embroidery to just pockets, you could stitch your chosen embroidery design direct to your panels.
Rather than cross quilting your panels on your sewing machine, you could use a 'quilting' embroidery design. (see Green sample below)
|
FREEBIE |
Design Used |
|
Design Used 8x11 |
Design Used |