How to make a Craft Basket
Blog Post by:
Cathy Harrison of Pickle Creations
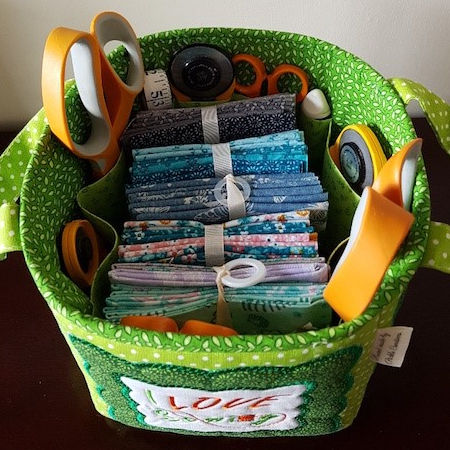
A material basket, which is ideal for:
- Sewing, e.g. fat quarters fit very nicely. This is the theme that I have used for this example project,
- Make-up,
- Baby changing equipment
Cutting List
|
Number Required |
Dimensions |
Material |
Comments |
|
5 |
8” x 8” |
Main fabric |
Sides and bottom. Note, you could use a contrast fabric for the bottom. |
|
2 |
12” x 4” |
Main fabric |
Handles |
|
5 |
8” x 8” |
Contrast lining |
Sides and bottom. |
|
4 |
8” x 6 ½” |
Contrast lining |
Pockets |
|
5 |
8” x 8” |
Stiff stabilizer |
Can use stabilizer, or, similar such as 3mm bag making scrim foam padding |
|
5 |
8” x 8” |
Iron on light woven stabilizer. |
For lining panels |
|
1 |
2” x 35” |
Binding |
For top of basket. Or create by joining 2 or more pieces to create the required length of binding. |
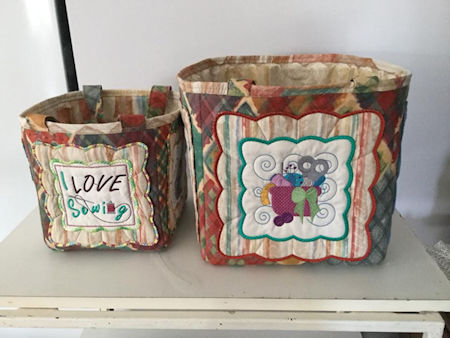
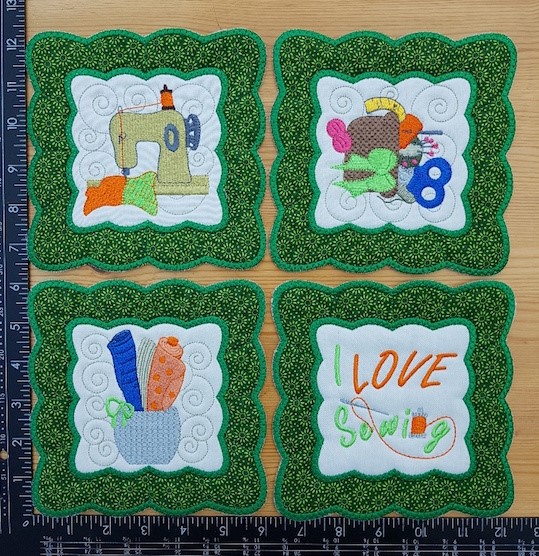
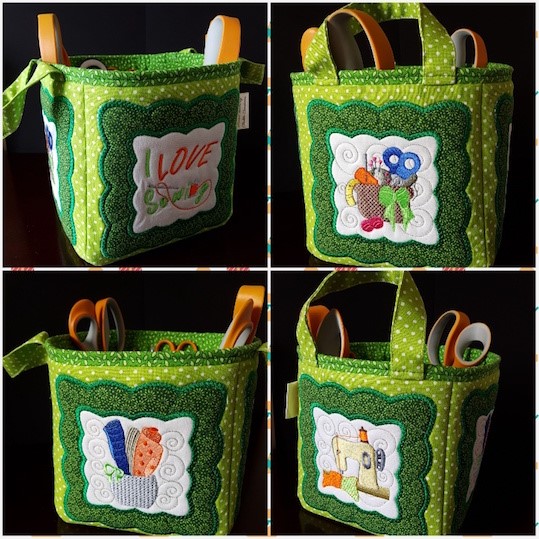
To further enhance this project, you can additionally add appliqué embroidery designs of your choice, to match your basket theme.
For these instructions I used Kreative Kiwi designs Which worked well with my sewing theme.
STEP 1 – Cutting Out
|
|
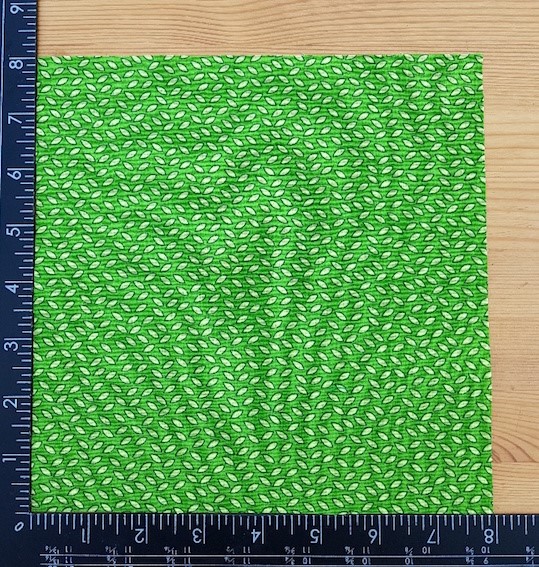
|
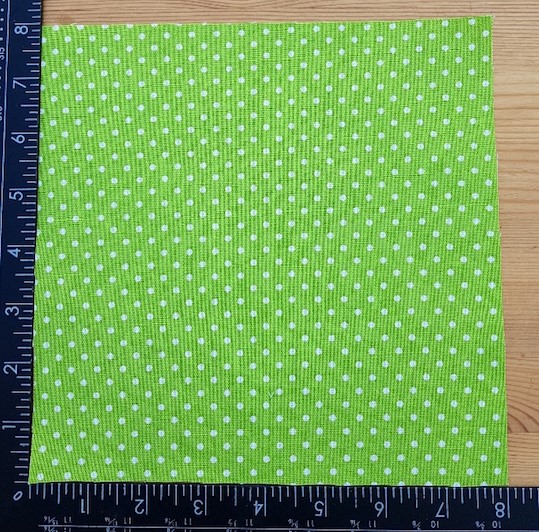
Above shows main fabric panel for outer. 5 squares of 8” x 8” required. |
|
|
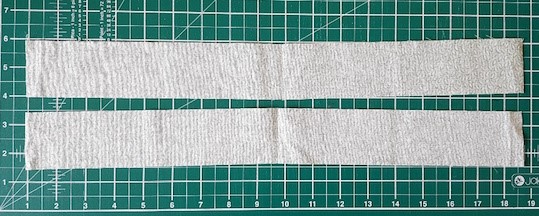
|
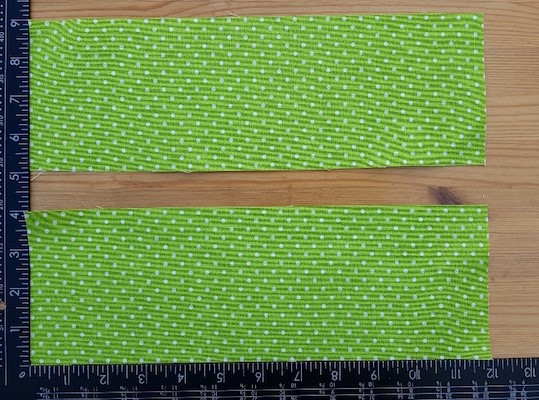
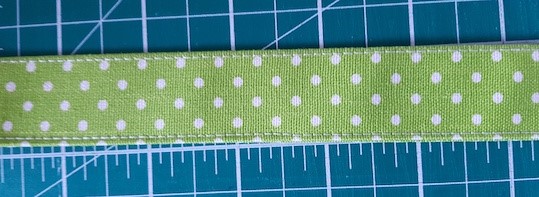
Above shows 2 pieces of main fabric 4” x 12” required for handles. |
|
|
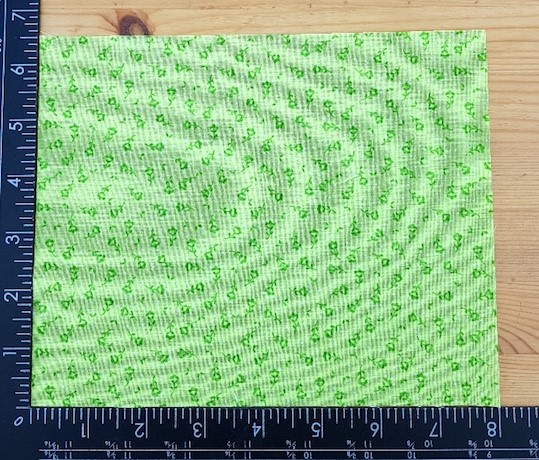
|
Above shows the lining panel, which is again 5 x 8” by 8”. This could be in main fabric, or, a contrasting fabric. |
|
|
|
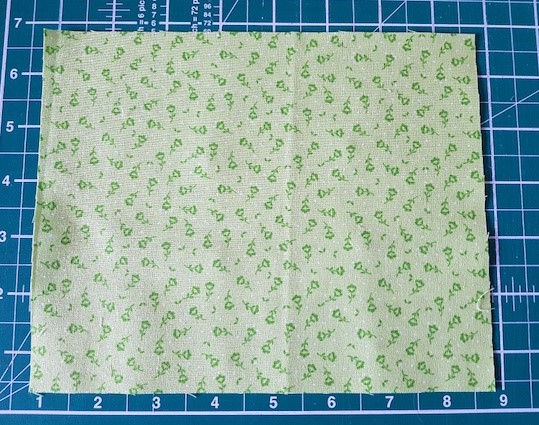
Above shows the 8” x 6 ½” panel, used to make the internal pockets on each side. 4 pieces required in total. |
|
|
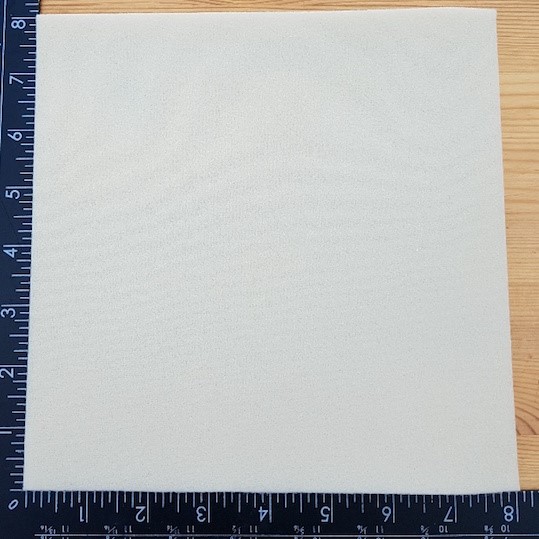
|
I have recently started using bag making scrim foam, instead of traditional stabilizer, for these kind of projects. It provides a good level of rigidity. This project will require 5 pieces for the sides and base, each of 8” x 8”. |
|
|
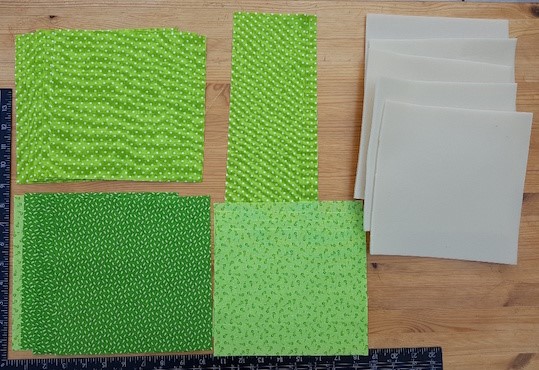
|
Above shows the main pieces required to make the craft basket. |
|
|
|
To add that certain something, I then created the appliqué squares above, using the Kreative Kiwi designs listed on page 2. |
STEP 2 – Preparing and stiffening panels
 |
|
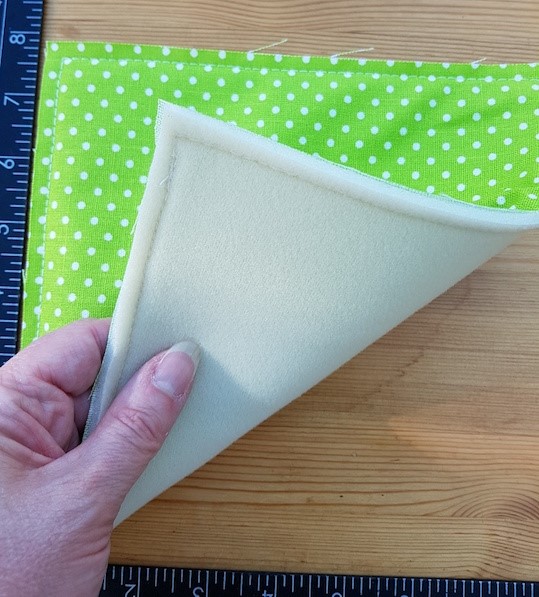
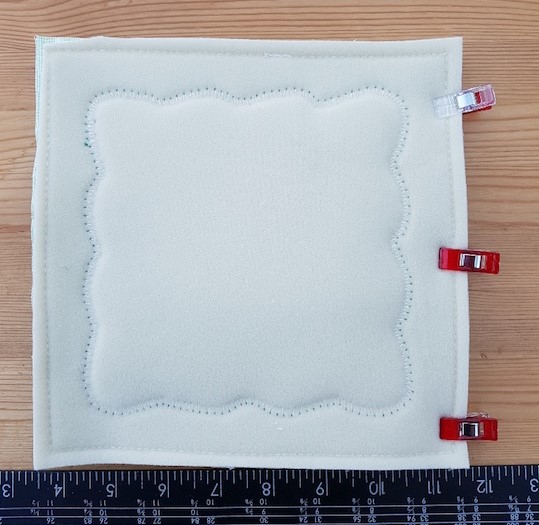
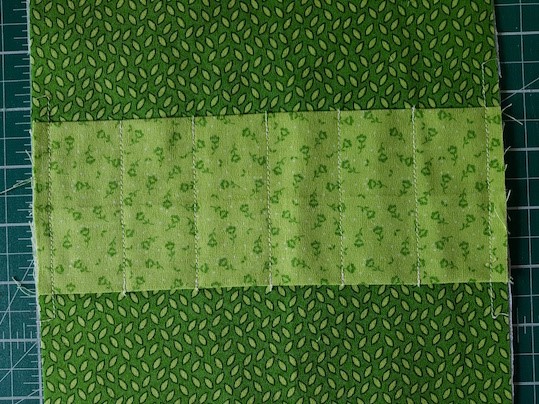
Attach main fabric to bag making foam scrim /stiff stabilizer. Repeat for all 5 pieces. Some scrim is iron on but I use sew in so I have attached using a 1/4” seam all around the edge of each panel. |
|
|
|
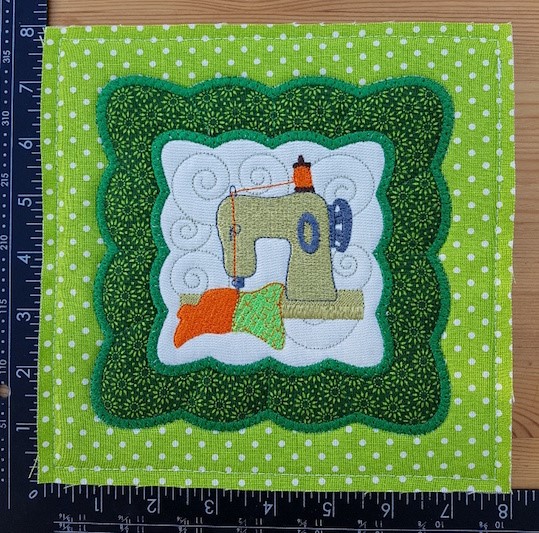
Attach appliqué panel to side panels, for each of the four sides. |
|
|
|
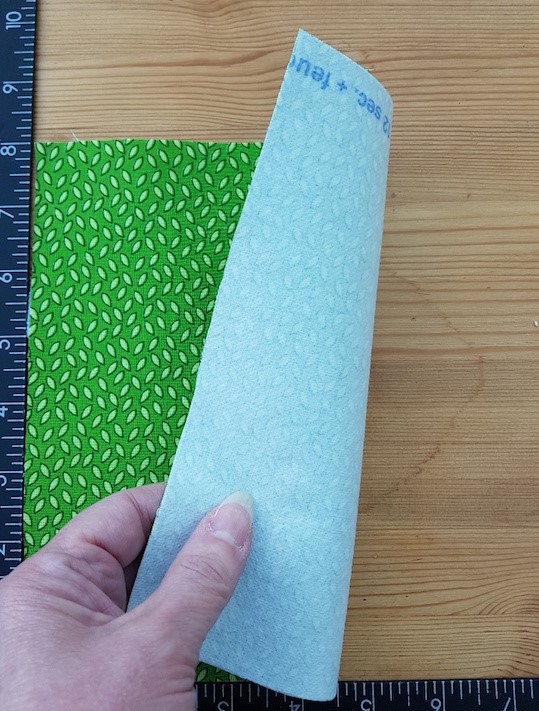
Fuse iron on woven stabilizer to lining panels, to add extra stiffness. |
STEP 3 - Assembly
|
|
|
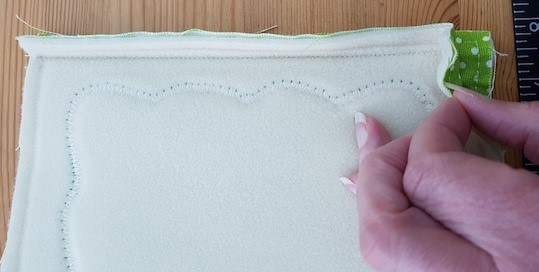
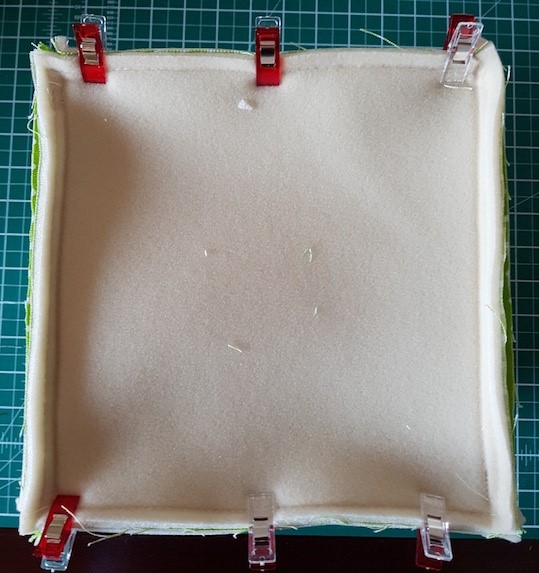
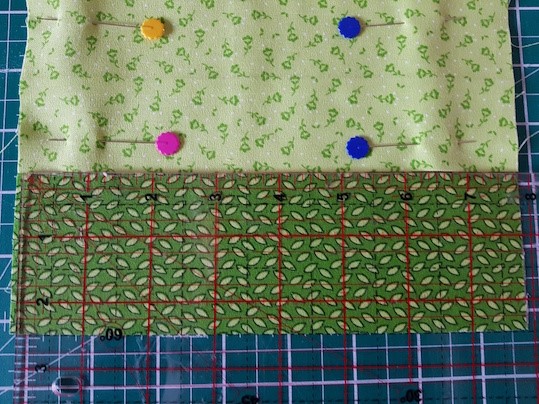
Pin, or, clip panels right side together. Make sure that each design is facing in the same vertical direction. |
|
|
|
Machine panels together with a ½” seam, LEAVING ½” at the bottom, as this will aid attaching the bottom panel. |
|
|
|
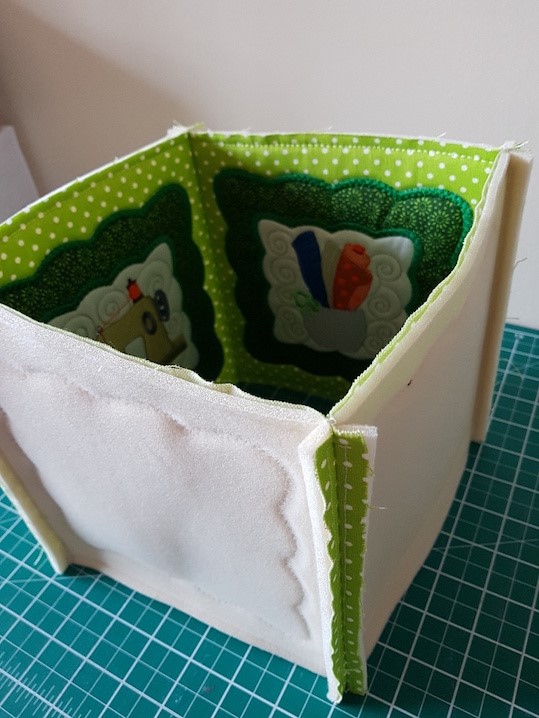
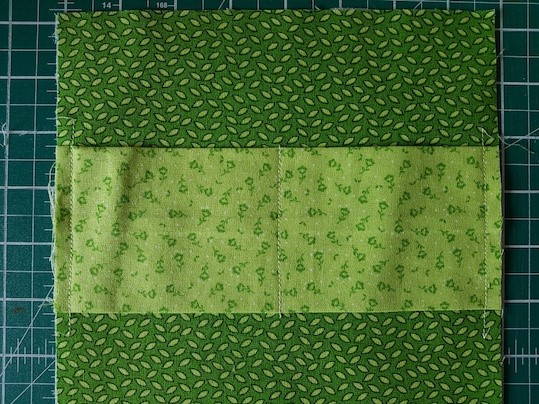
Once all sides are sewn together, it should look similar to the picture above. |
|
|
|
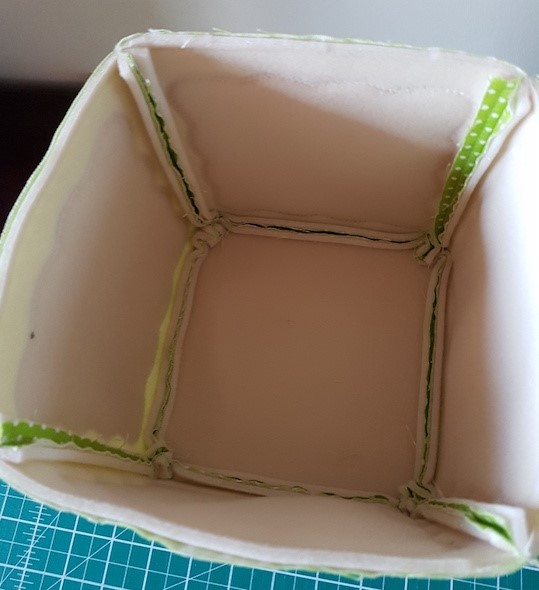
Pin, or, clip bottom panel into position and sew together. I first do this for two opposite sides, then repeat for the remaining two opposite sides. |
|
|
|
Above picture shows bottom sewn in place. |
|
|
|
Turn basket right way out. Press. |
STEP 4 – Handles
|
|
|
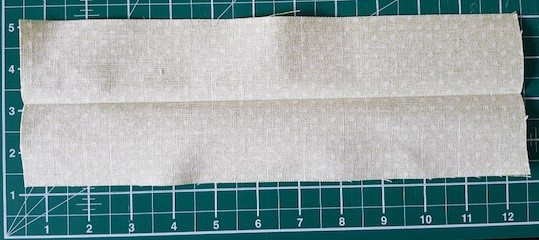
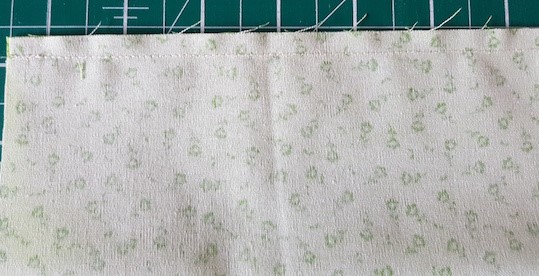
Fold and then iron fabric for handle, in half, lengthways. Then open out. |
|
|
|
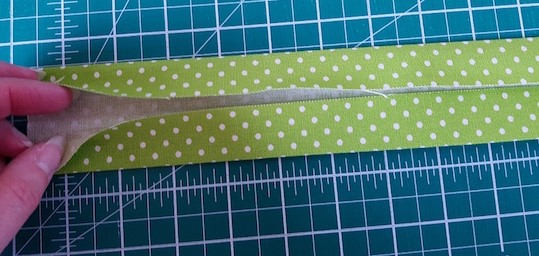
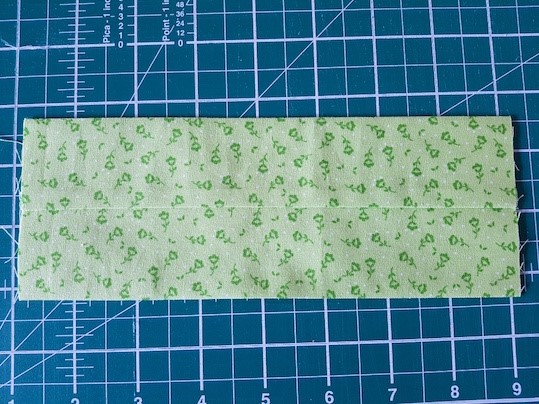
Fold lengthways, each side, into the centre and iron |
|
|
|
Fold again along the centre line and iron, before top stitching along each edge, to give a handle that is now approximately 1” wide. Then put to one side for use later. Repeat the process to make the second handle. |
|
|
|
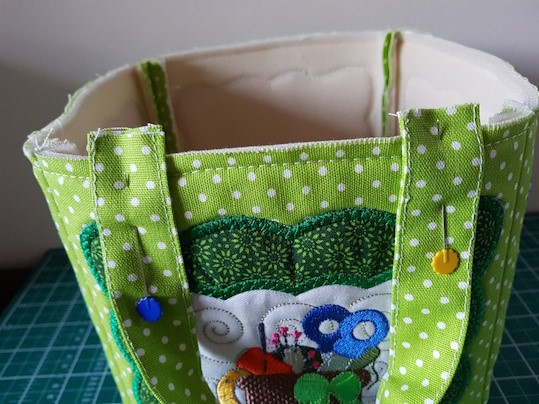
Position and pin handles in place about 1/2” from each side seam, before securing by running a large machine stitch about ¼' below the basket top. |
STEP 5 – Pockets
|
|
|
Each of the 4 pocket panels is 8” x 6 ½” |
|
|
|
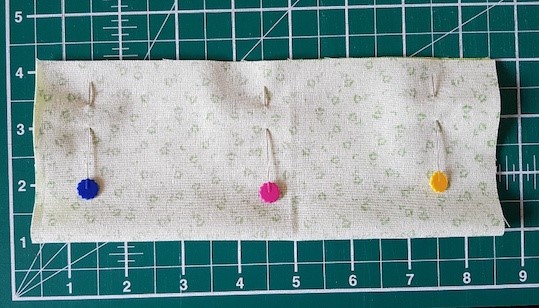
Fold each pocket lining in half lengthways, right sides together, and pin, so that resulting panel is 8” x 3 ¼”. |
|
|
|
Machine down the long open edge, with a 1/4” seam making a tube. |
|
|
|
Turn rightside out and then iron with the seam in the centre of one side. |
|
|
|
Position the pocket 2 ½” up from the bottom of the lining panel. |
|
|
|
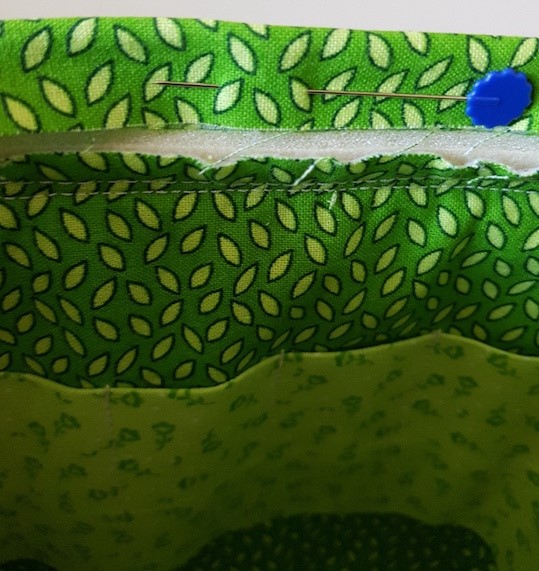
Machine the pocket in place, as shown above, with 3 vertical lines of stitching on the edges and centre. |
|
|
|
Different sizes of pockets can be created, on each of the lining panels. The one shown above had additional vertical lines of stitching added. Repeat the process for all 4 side lining panels and pockets. |
STEP 6 – Attaching lining to basket outer.
|
|
|
Once all 4 lining panels have had the pockets added, place panels right side together and secure with a ½” seam as the main panels above. Repeat until lining is complete and can be placed inside the outer basket. |
 |
|
Lining may sit proud of outer basket, so may need to be trimmed to correct height. |
|
|
|
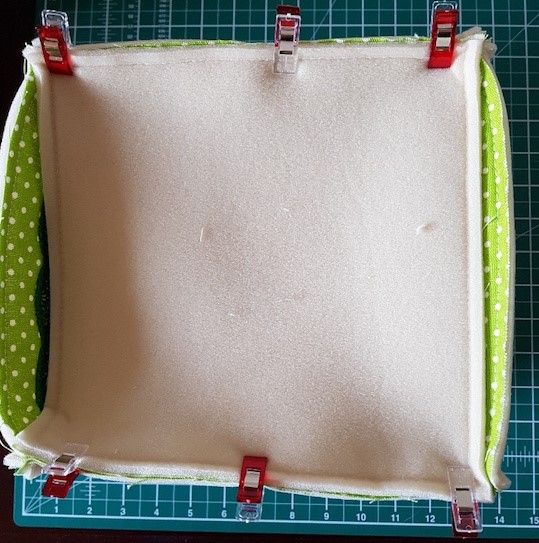
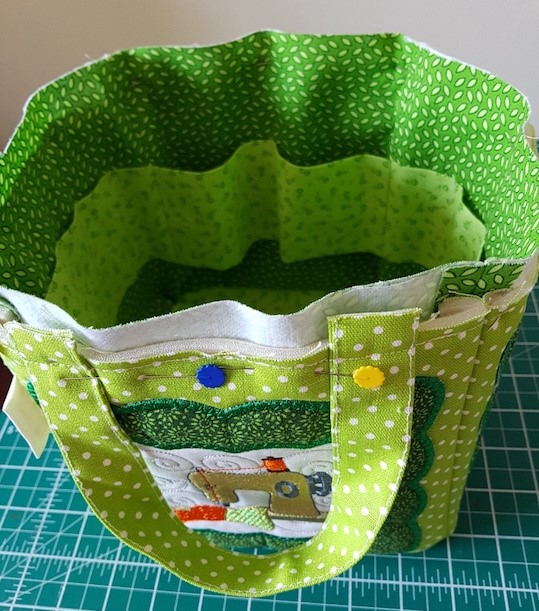
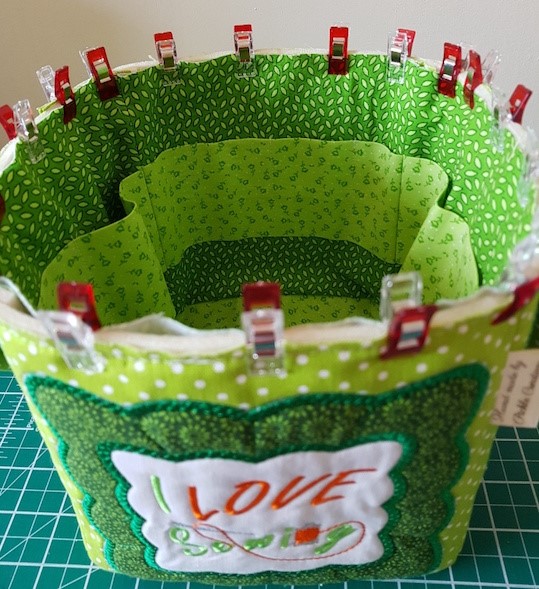
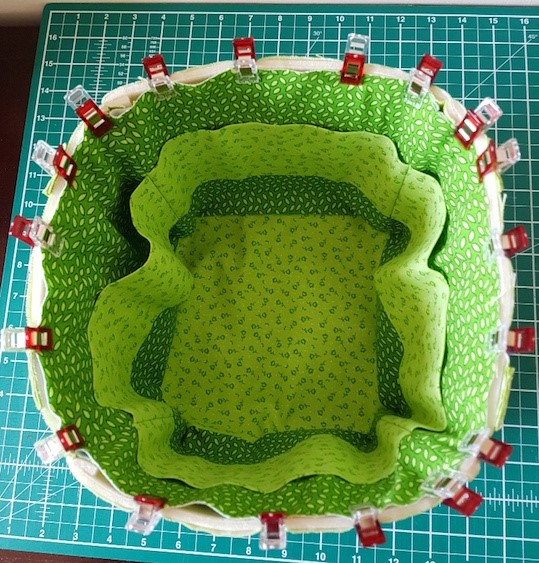
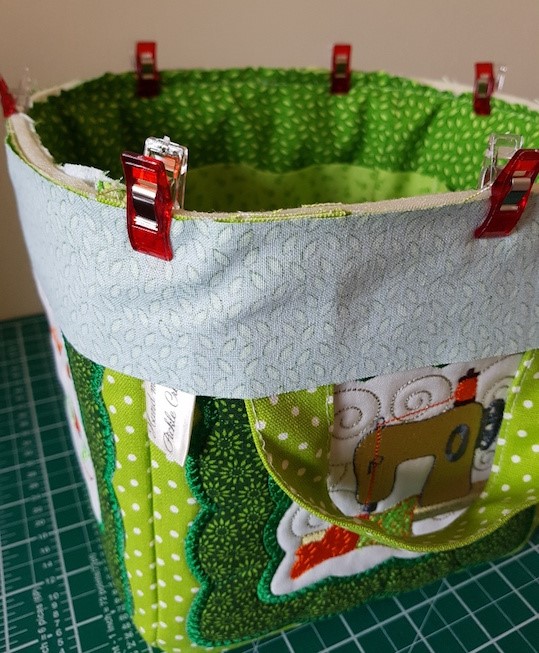
Pin, or, clip inner lining to outer basket. |
|
|
|
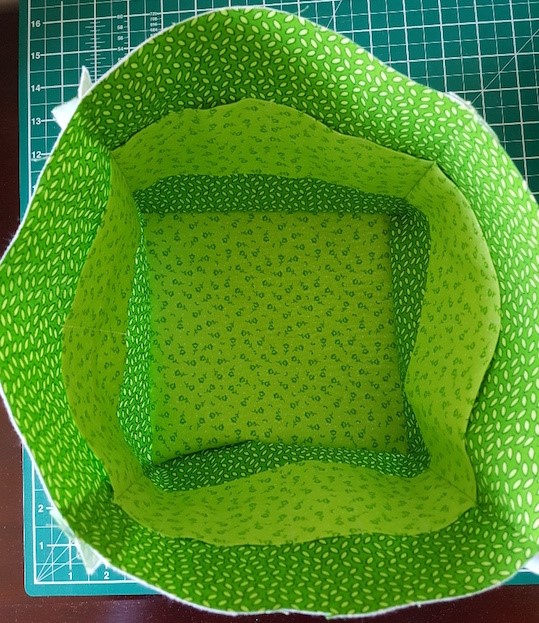
Viewed from above. |
STEP 7 – Making binding - If you do not have a 35” continuous strip available
|
|
|
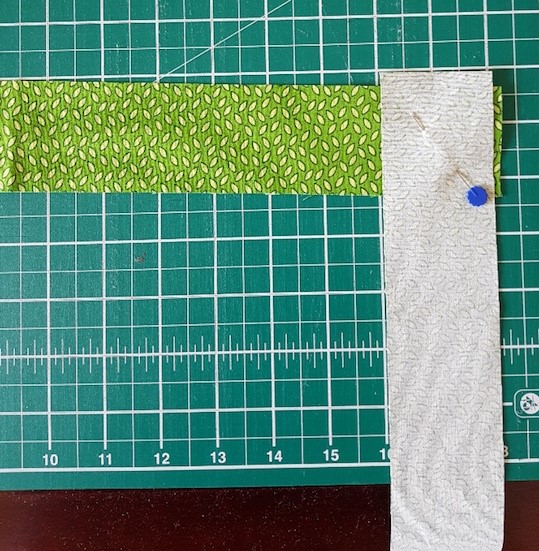
As I did not have a strip 35” long, I joined 2 pieces of 17.5” long. |
|
|
|
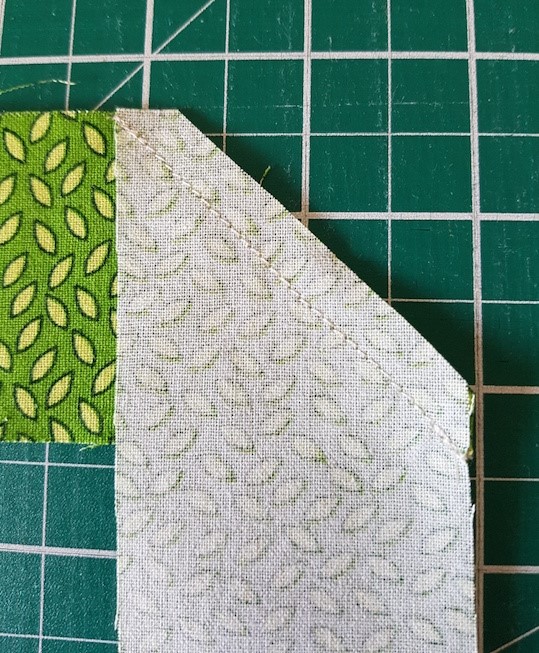
Position right sides together at 90 degrees, as shown above. |
|
|
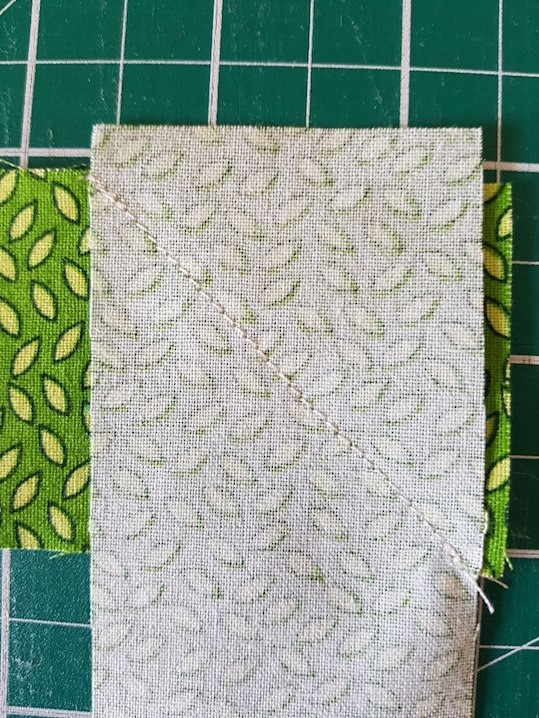
|
Machine on the diagonal. |
|
|
|
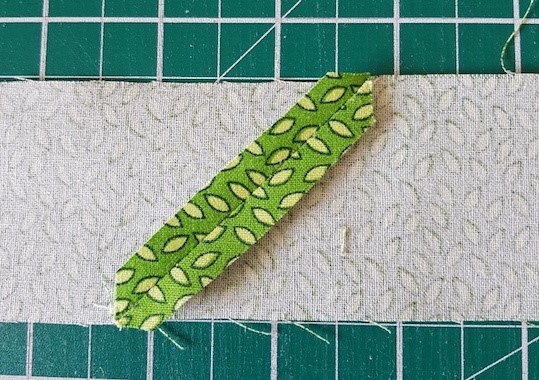
Trim the excess. |
|
|
|
Press with iron. |
STEP 8 – Attaching Binding.
|
|
|
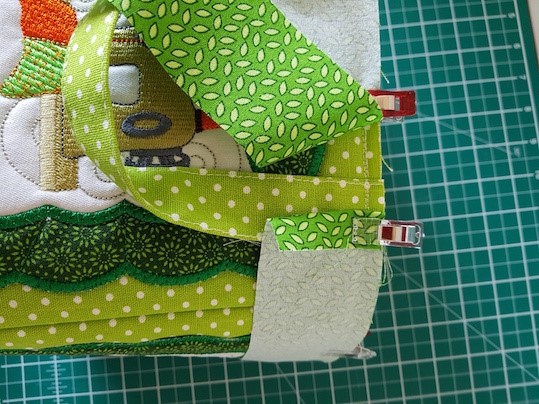
Pin, or, clip binding in position with binding right side to outer of bag. Remember to fold over about 1/2” at start of binding to give a neat finish. |
|
|
|
Another view of the binding clipped in position. Sew into position, using a ½” seam. |
 |
|
Above picture shows binding attached. Press the binding away from the basket. |
 |
|
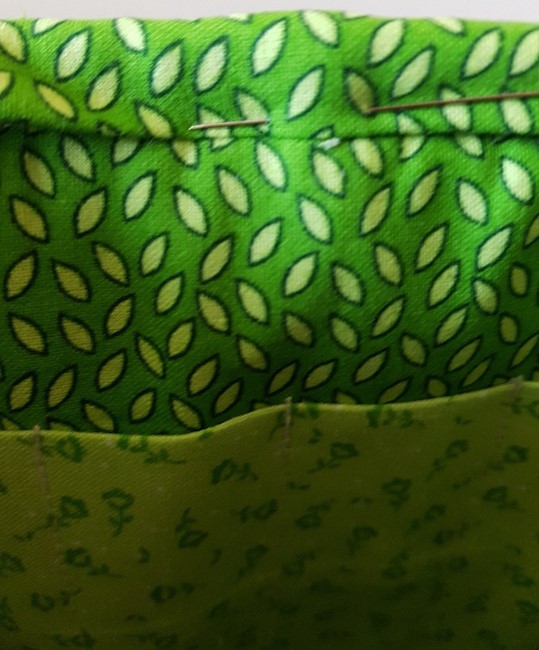
Turn over raw edge of binding to meet the top of the basket and pin, or, clip the binding in place as shown above. |
|
|
|
Turn the edge down once more, in order to encase the raw edge and hand sew in place with a slip stitch. To make the handles stand upright, sew a ¼” top stitch around the top, making sure the handles are facing up and included in the stitching process. This should complete your Craft Basket. |
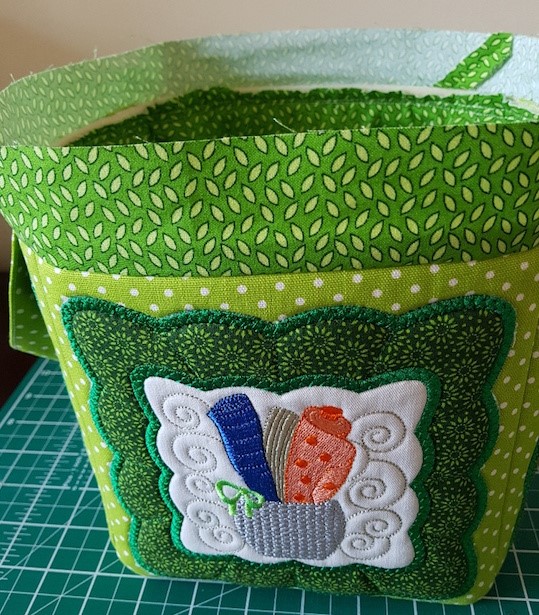
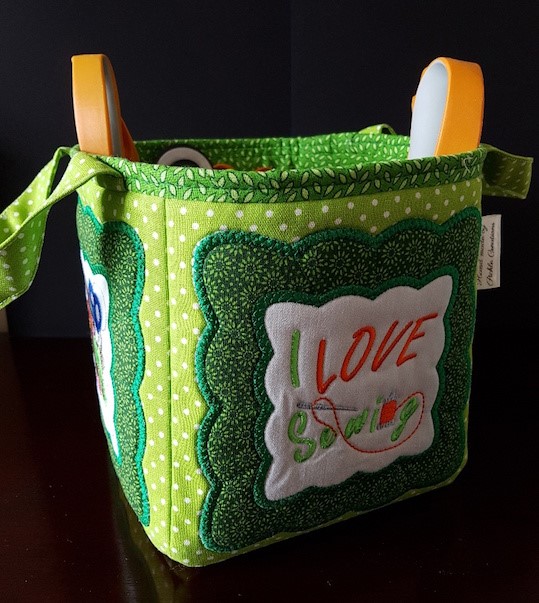
Finished item
CONTACT DETAILS
eMail: cathy1981@live.co.uk