
Faye's Fantastic Raggy Quilt Edging
How to create a fringed edge for a Raggy Quilt
Blog Post by: Faye Waller
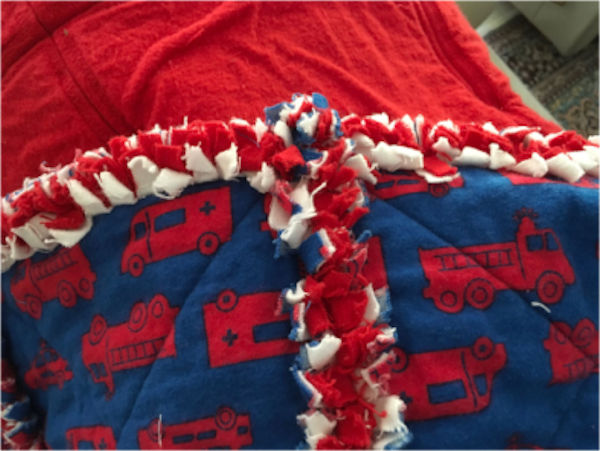
Have you been admiring Faye's gorgeous Quilts with the very cute Raggy edges? I know we have! Faye shares two ways to achieve this look (A great alternative to binding)
This Blog will show you how to sew extra fabric to the edge of your Ragged Quilt for a thicker, fluffier edge. Two methods will be outlined. The choice is yours.
For both methods you will need to cut strips of the fabric you want to use for the fringing. I used 25mm or 1” for a 19mm or 3/4" border. The small amount of allowance is taken up by the stitching and any extra can be trimmed back later. Cut these on the straight grain. The strips can be the same colour as the quilt or something completely different as a contrast. It is advisable however, to use the same type of fabric as the quilt. I have used flannel/flannelette for my quilts.
Method One – In The Hoop
- ·Before making your edge squares, cut the strip to the size of the block.
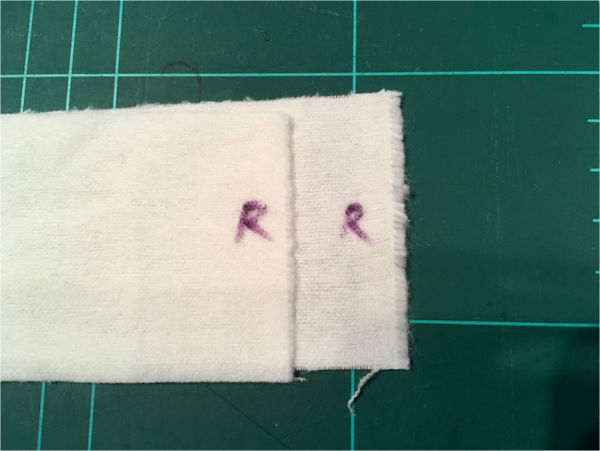
- ·Fold in half lengthways and iron or pin to mark the centre of the strip.
You will need paper and pen for the next part.
- Stitch your block as per the instructions, but do not commence the final border.
- Begin stitching the border and take careful note of the stitch count as the machine commences stitching the side you are going to attach the strip to. Write it down. Also note the stitch count of the last stitch on that row.
- Complete the border. Do not remove from the hoop.
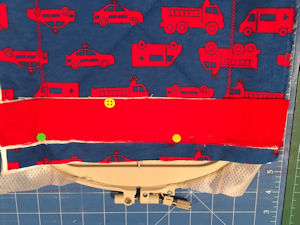
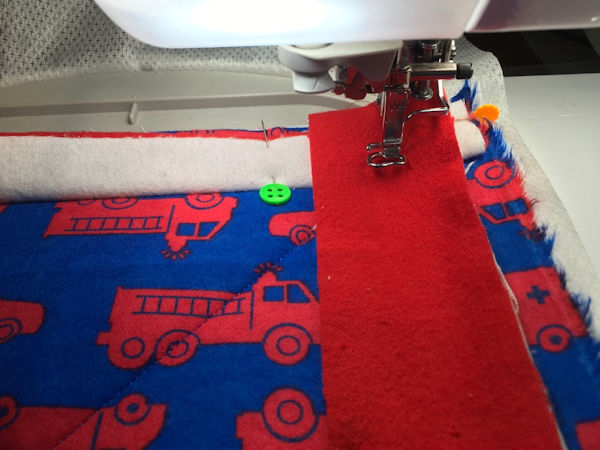
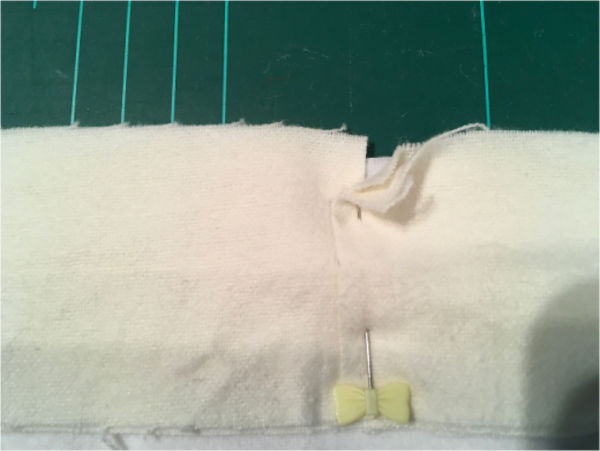
- Take the hoop from the machine and place the fringe strip along the outside edge with the centre line matching where the border stitching will go.
- I like to mark the centre of the strip and locate that mark over the corner stitch of the border.
- Carefully pin or glue baste into position. Take care that pins are not in the way of the foot or needle.
 |
 |
- Now backtrack to the stitch count you have written down.
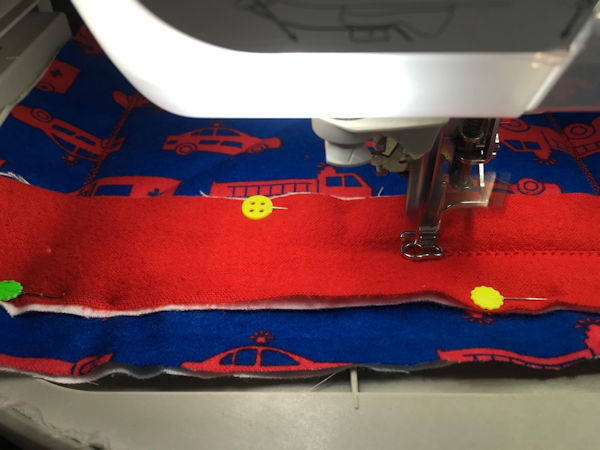
- Restitch the border along your fringe piece.
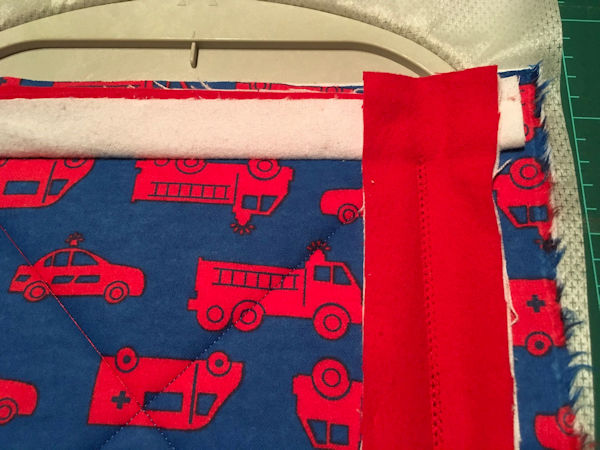
- Remove from the hoop and trim.
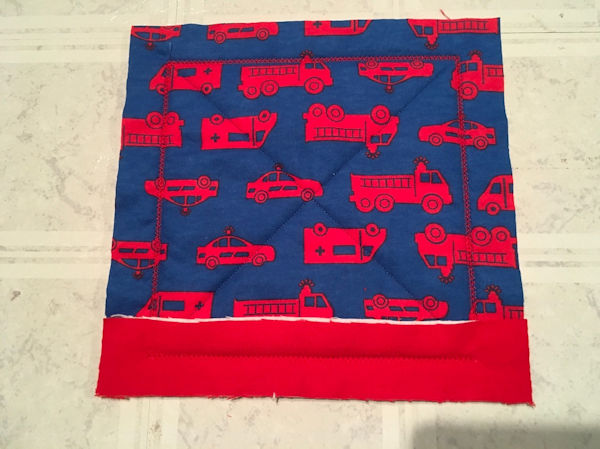
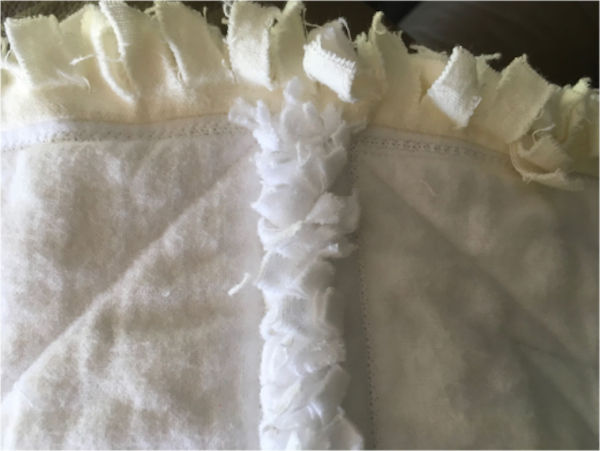
- Your completed square should now look like this.
Corners
The corner pieces are slightly more complicated but basically done in the same way. You will need to stop and start your machine a couple of times for this part.
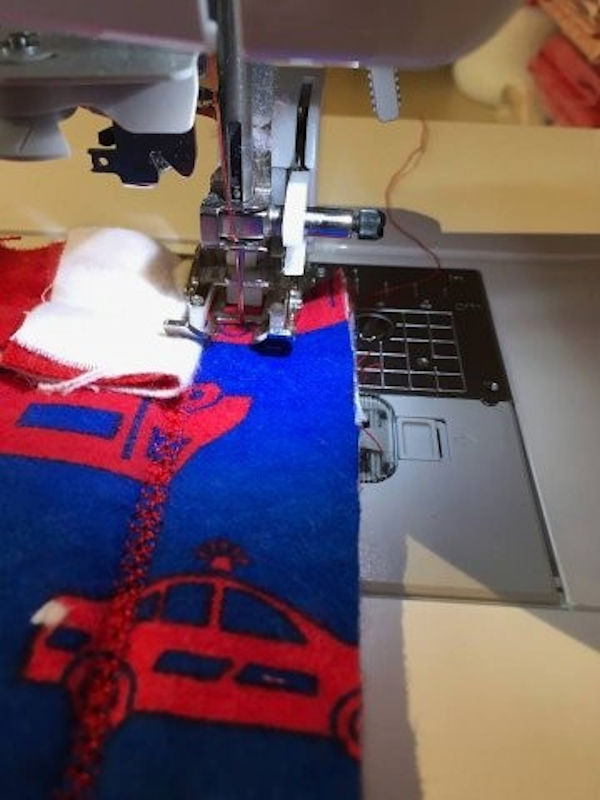
- ·Stitch the first fringe piece as per previous instructions.
- Stop your machine before it begins to turn the corner. You have previously noted the stitch count to look out for.
- Raise needle and foot and trim the thread.
- Fold the completed fringe piece back.
- ·Place the next strip into position as before and stitch in place.
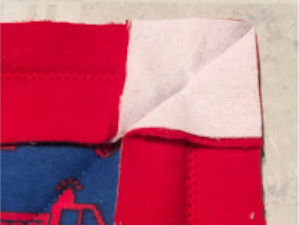
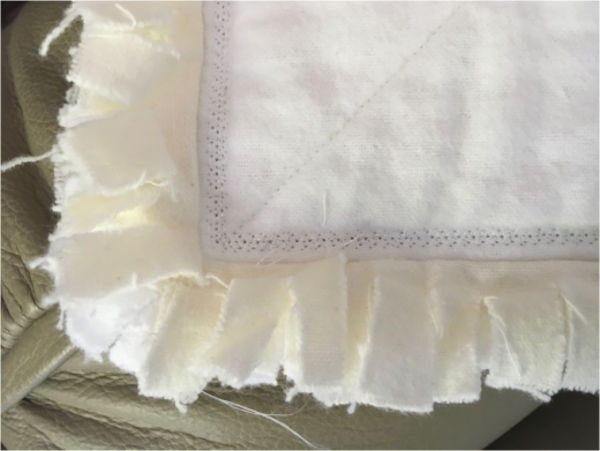
The finished piece should look like this
When stitched correctly the corners will fold out as below
 |
 |
Stitching the Quilt Together
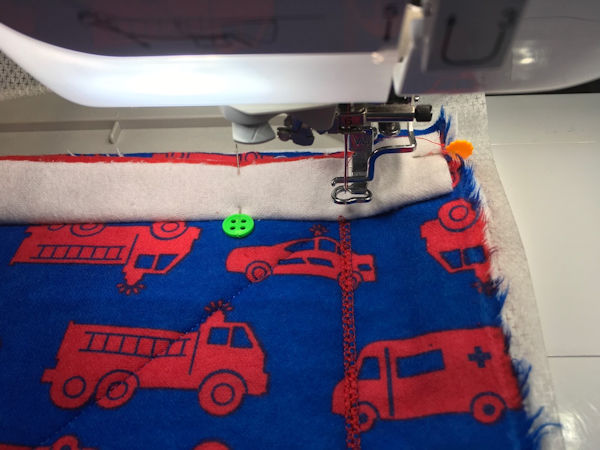
To stitch the edge squares together, fold back the end of the edging and stitch the quilt together as usual.
Clip the edges, wash and dry. All done :)
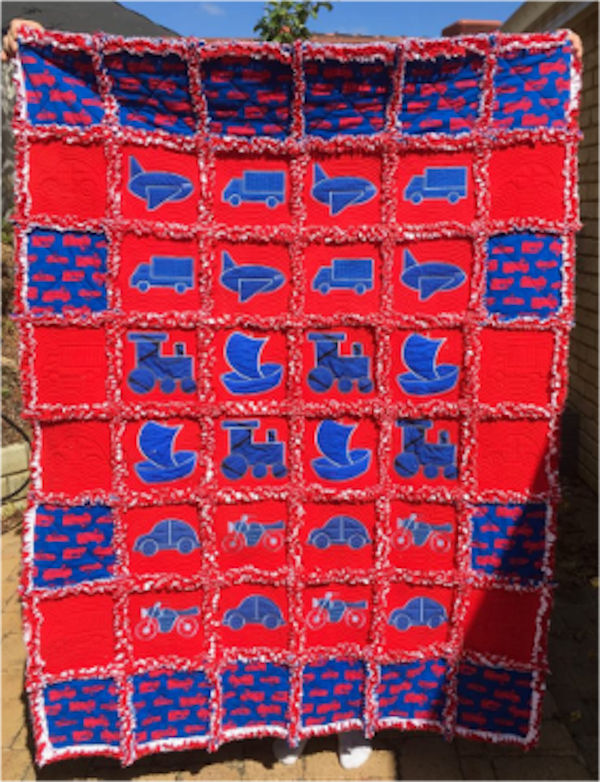
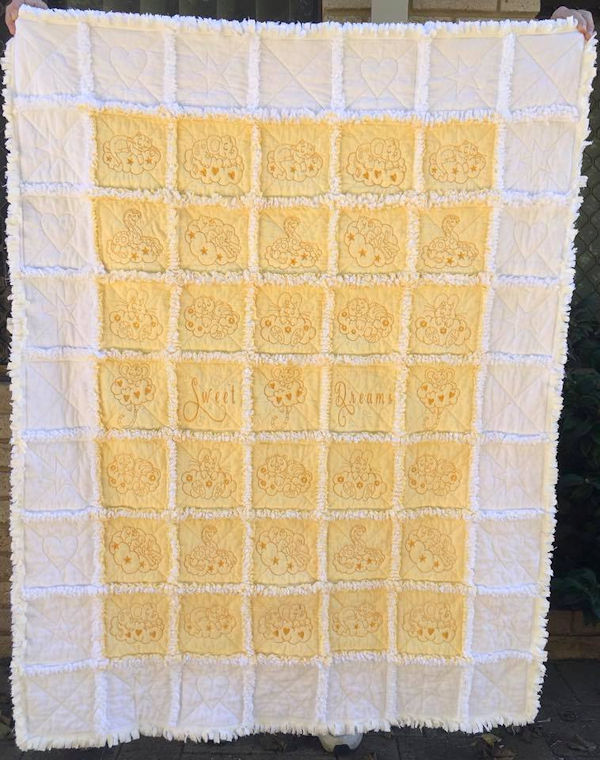
Design used In the hoop Boy Blocks
Method Two
- Join all of the blocks together as you would to complete the quilt.
- Cut 25mm or 1" strips (or width required) as for Method One. Leave as one continuous strip.
Version One
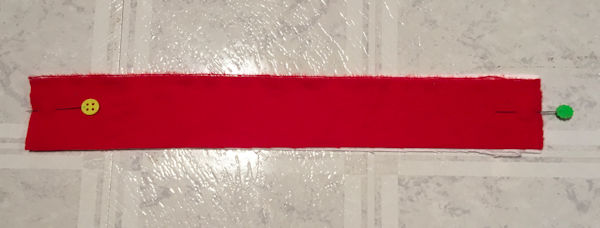
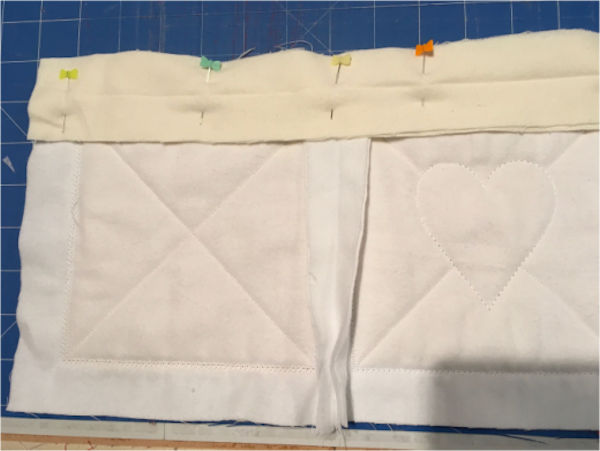
- ·Place two strips together with the right and wrong sides facing - as per photo.
- Fold in half lengthwise and iron or pin to mark the centre.
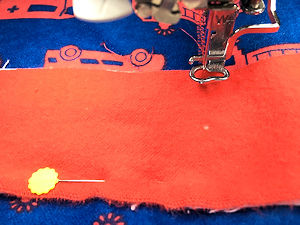
- Open out again and pin or baste onto the edge of your quilt.
- Stitch to the right side of your quilt along the centre line that you have marked.
- To join pieces of fringe, slightly overlap them and continue sewing.
- ·Clip, wash, and dry. Quilt completed.
Version Two
This version is good to use if your quilt is going to be reversible.
- Proceed as per version one but instead of placing both fringe strips onto the right side sandwich the quilt between them.
- Clip, wash, dry, and enjoy :)

Helpful Hint
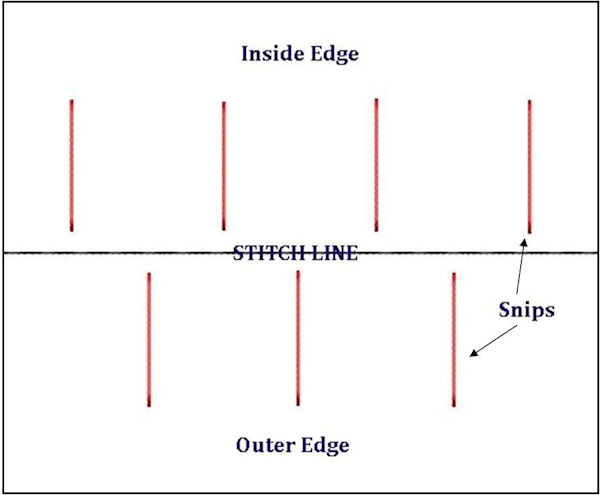
- When snipping the edges it is a good idea to alternate the inner and outer snips as per the diagram. This makes the edge less likely to fray away.
Front
Back
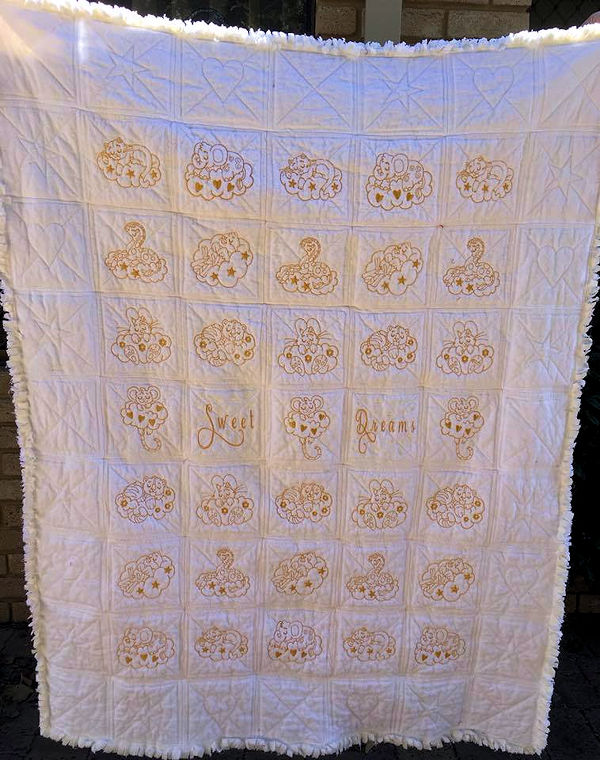
Design used Little Dreamers
Variation
- · In The Hoop method - use different coloured strips to add more colour, contrast, and variety to your quilt
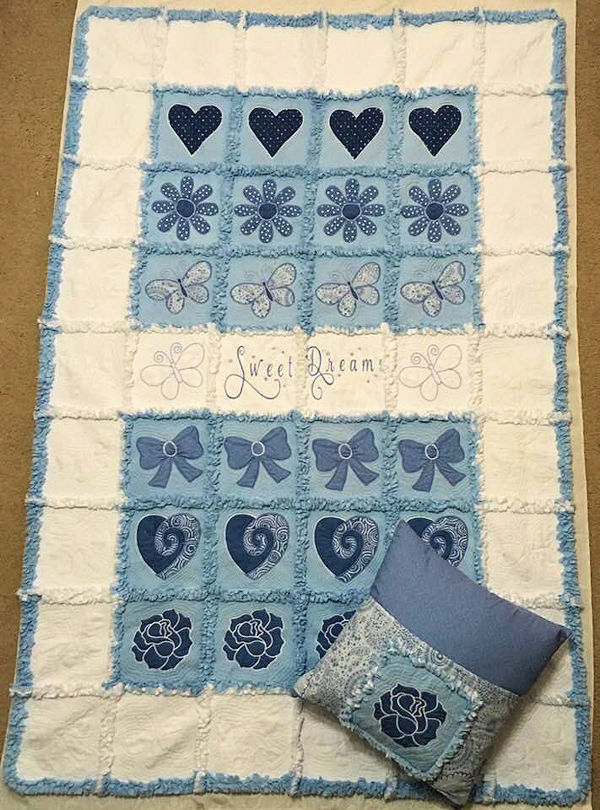
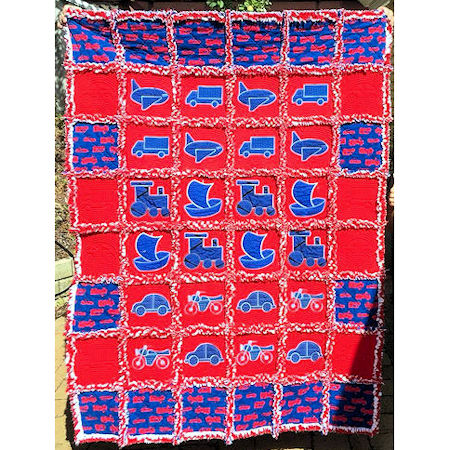
Another beautiful Quilt made by Faye using Quilted Sweet Dreams
New to Raggy Quilts? View How to Make a Raggy Quilt Tutorial
or View photos of Raggy Quilts made by our Kreative Kiwi Group
