
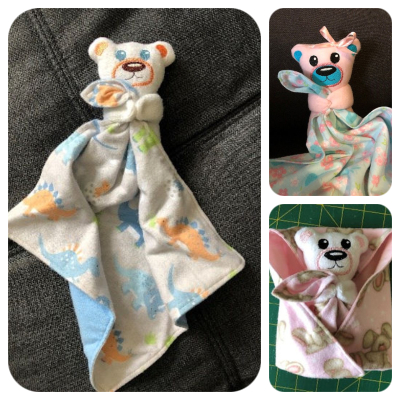
How to make Blanky Ted
Kym shares another 'kreative' way to enhance our
Thank you so much Kym
BLANKY TED – INSTRUCTIONS
Download Printable Instructions
MATERIALS:
- Free In the hoop Teddy
- Materials to complete Ted as per KK instructions
- Blanket Fabric – up to approximately 15.5” square (see note below) – I used Flannelette (printed one side complementary colour other side) any soft fabric should be fine, just watch the thickness since you have to hand sew through two hands and the bunched up blanket.
NOTE:
The following instructions are for the 5x7 enlarged to 108% resulting in 139x152 cms (The smaller one pictured above). Any of the sizes will work, the only difference is to cut the blanket to a proportionate size – it’s totally up to you – large or small they always look too cute!
METHOD:
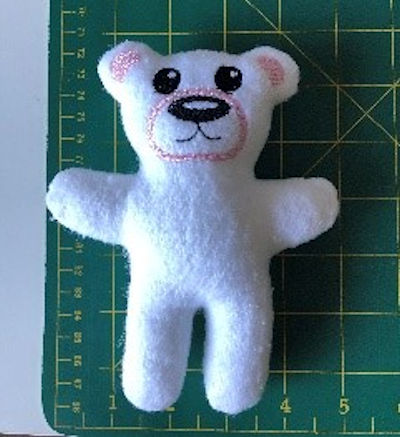
- Make up the KK Little Ted skipping the embroidered hearts on tummy and hands as these will be covered by the blanket. When stuffing him go easy through the belly and hands – you don’t want too much bulk in his hands.
BLANKET
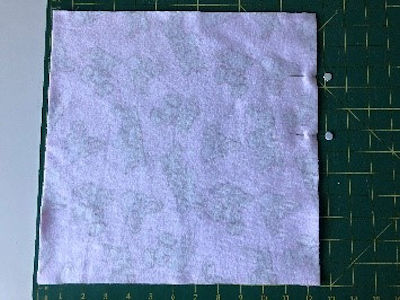
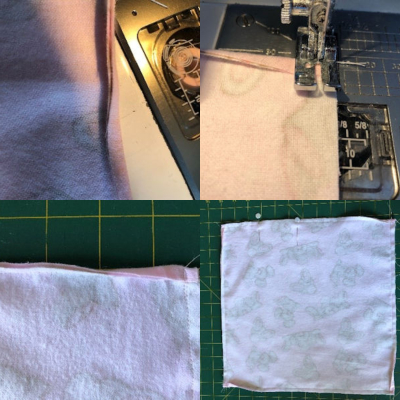
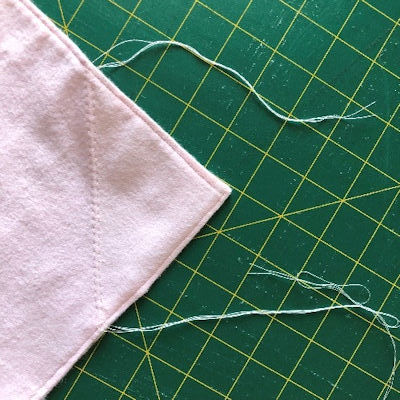
- Cut two pieces of the blanket fabric 12.5” x 12.5”
- With right sides together, mark where you will leave a seam opening for turning – only needs to be about 2.5”
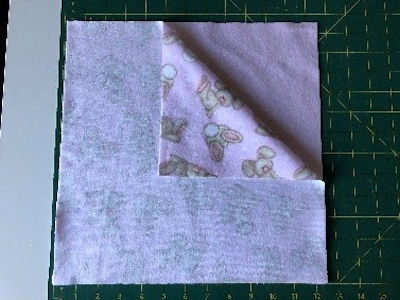
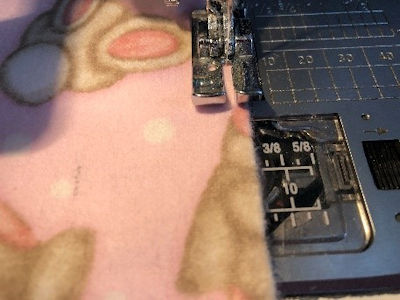
- Stitch around the edges with a ¼” seam leaving the marked opening. I have included here my method for corners – usually works a treat.
- On each side stitch right through to the end of the seam and cut thread, finger press the seam allowance right on the seam line, return to machine and stitch from the seamline right through to the next corner and repeat.
- When you turn out take a moment to push the corners flat with the point of your scissors – Carefully!!!
- Once you have turned to the right side and pressed turning in the allowance at the opening, topstitch 1/8” right around, this should catch in the seam allowance at the opening – yes, I am lazy and don’t hand stitch the opening – it’s up to you!
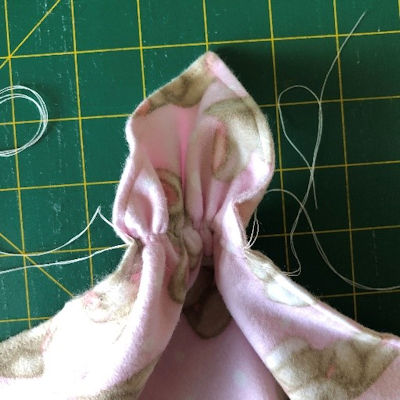
3 Now for the good bit – you need to gather up one corner of the blanket so your Ted can hold it. First mark 4” down on either side from the corner that will become Ted’s holding spot – be mindful of one way prints etc when choosing the corner.
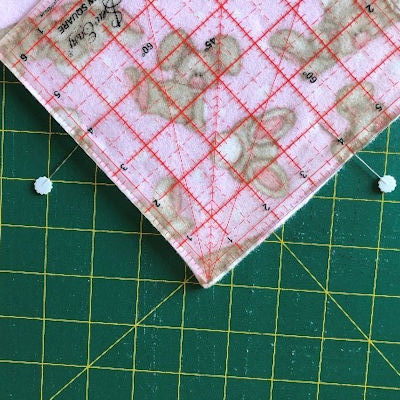
4 Fold and press the corner in at the markings
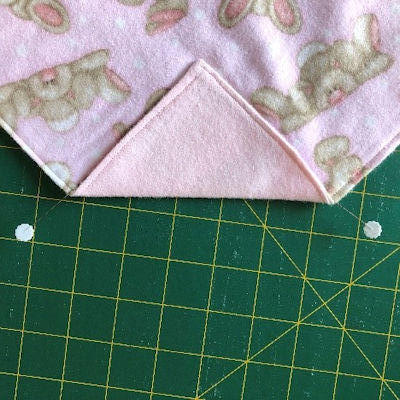
5 Run two lines of gathering stitches along the pressed line
6 Gather up as much as you can and tie off on each end of the stitching. Do not cut the gathering thread ‘tails’ yet – personal experience!
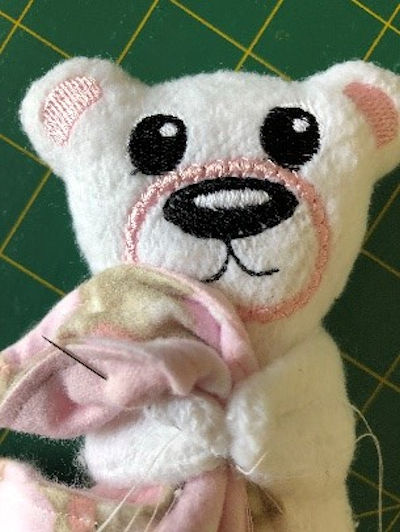
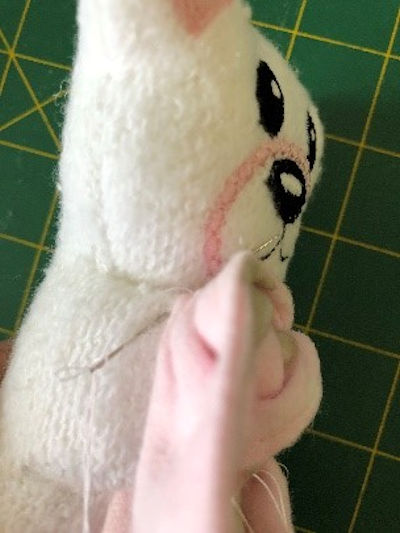
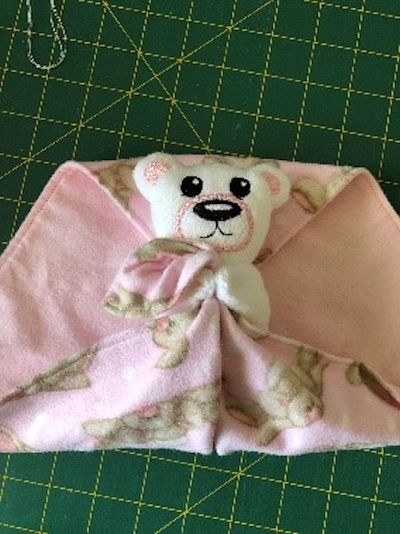
7 Now to hand sew in place. I start at the right hand end of the gathering and skim across the gathers in and out back to the left side and then through Ted’s right hand
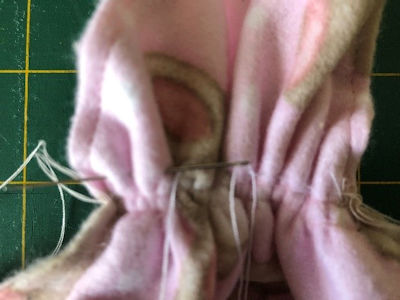
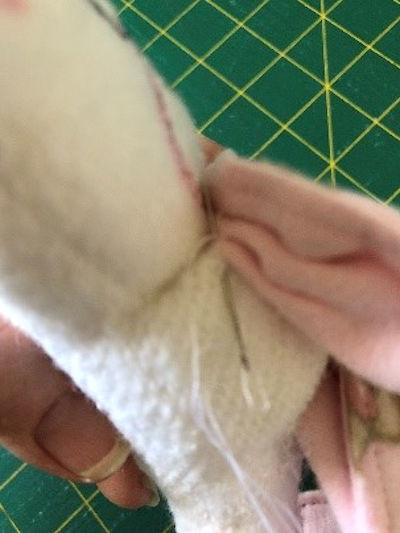
8 Then turn back through right hand, a little of the blanket and through the left hand. It’s a little fiddley, but you will get the hang of it. Pass back and forth a couple of times gradually closing the hands closer around the blanket – you can see why you don’t need to stuff right to the end of the hands.
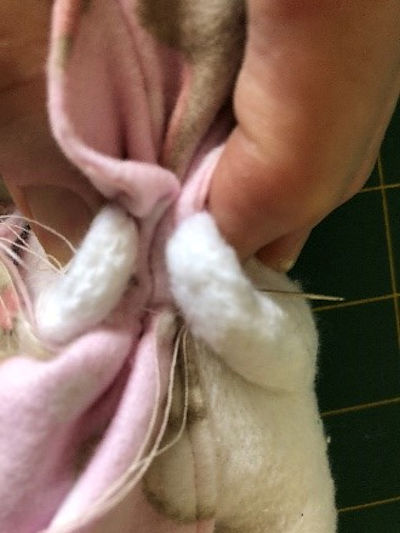
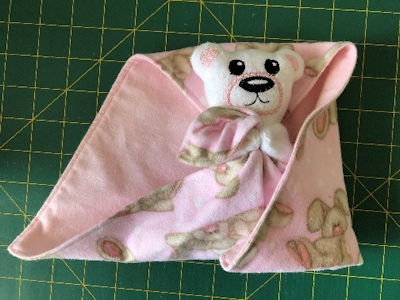
9 Don’t end off yet, we need to get the blanket out of his face! You will need to secure the tip of the blanket to the side as pictured, then I end off somewhere behind the blanket tip.
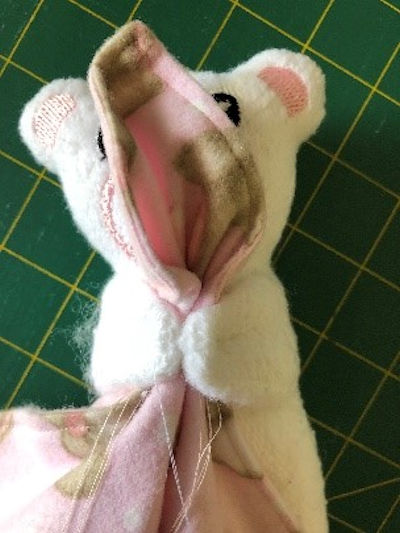
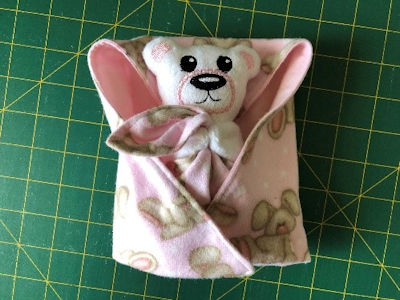
10 Now you can cut the gathering thread tails and wrap.
Thank you very very much for sharing Kym - I can't wait to see all the very cute Blanky Teds that will be shared with the group. Heather xx
