How to make a Quilt as you go Table Runner
Ever wonder what 'Quilt as you go' means - Sue kindly shares how she made her Mandala 'Quilt as you Go' Table Runner, which shows you how to Quilt as you go!
Outline Quilting Block with Sashing
by Sue Hosack
My supply list
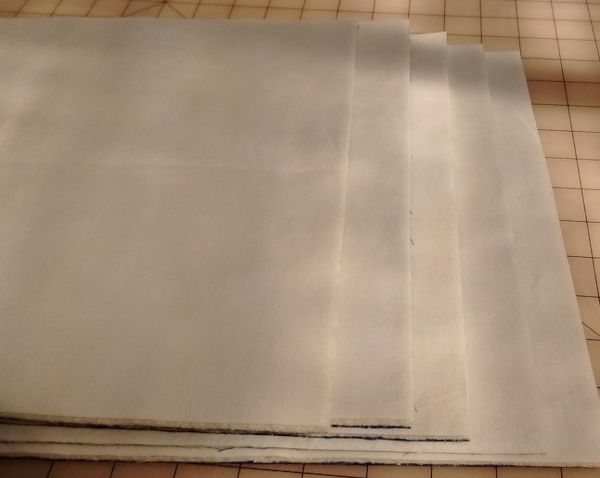
- 1 yd Kona Cotton white, cut into 5 - 12” squares
- 2 yd Kona Cotton blue, cut as follows
- 4 - 2.25” strips width of fabric for binding
- 5 - 12” squares
- 4 - 2.5 x 55” strips lengthwise for border (optional)
- 4 - 1.125 x 12” strips for back sashing
- 4 - 2.125 x 12” strips for front sashing
- Crib size (45x60) Warm and Natural batting
- 5 - 12” squares
- 2 strips 2.25” x 55” (optional)
- 2 strips 2.25” x 15” (optional)
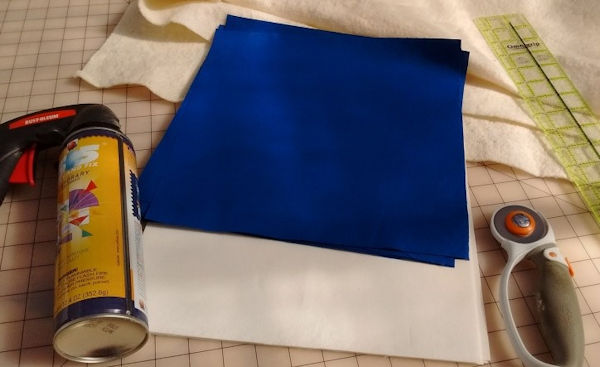
- 505 Basting Spray
- 50 wt cotton thread
- Clover basting tape
Preparations
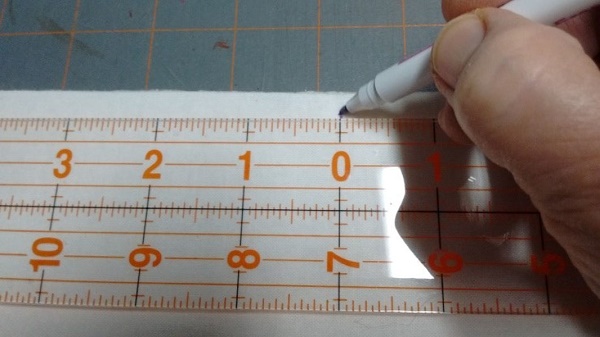
- I prewash and dry my fabric and batting in the same manner as it will be laundered when completed. This will prevent shrinkage and bleeding later. Starch and iron fabric BEFORE cutting your squares and strips.
- Once fabric and batting squares are all cut, take them to a well ventilated work area to spray baste. Do not spray near your machine and I never spray the spray baste inside my house. Please read the precautions on the spray can.
- Load a couple bobbins with cotton thread. I am using the same variegated thread on the top and the bottom but contrasting thread can be used on the back for added interest.
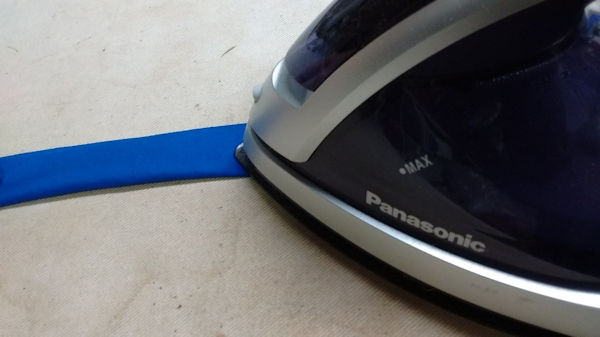
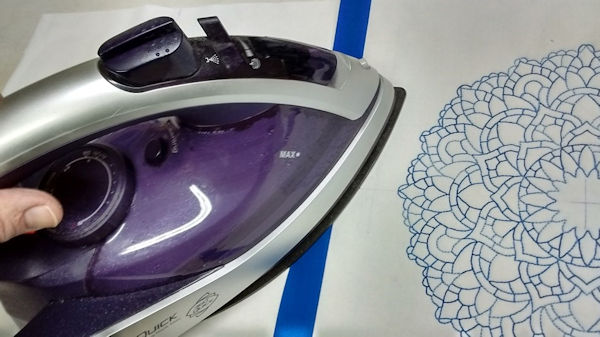
- Iron the 2.125 x 12” strips in half lengthwise.
- Insert new needle! Clean out bobbin race and oil, if you have not done so recently.
Making the sandwich
Lightly spray the batting with the spray baste, lay the back blocks down and trim with rotary cutter. Flip the blocks over, lightly spray with spray baste and lay the top fabric on the batting. Smooth out any wrinkles. Reposition if needed, all edges should line up exactly.
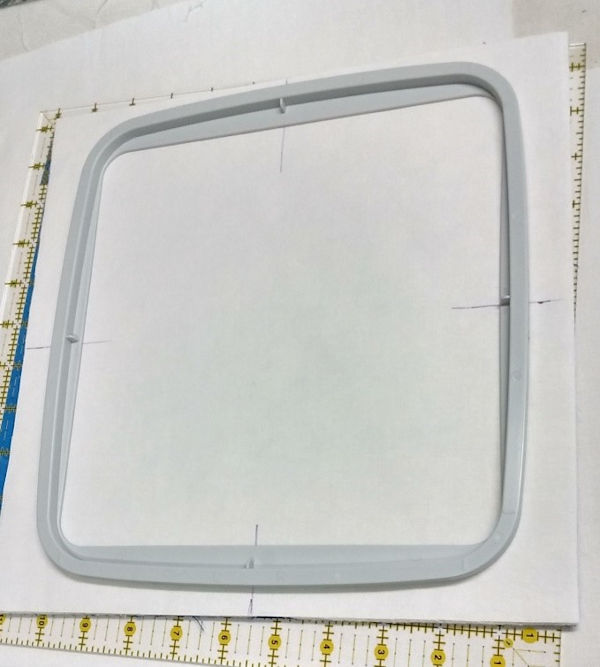
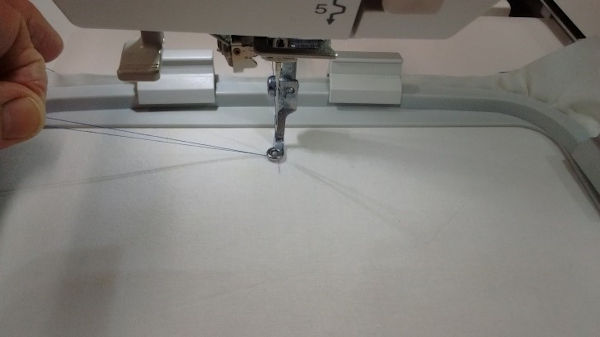
Hoop the blocks to begin embroidering
| Using this method, no Stabiliser is used - you hoop the whole quilt sandwich - in essence, the 2 layers of fabric and batting is the stabiliser |
NOTE FROM HEATHER:
I mark the centers with an air erasable pen. Place a 2 inch piece of Clover basting tape on each side of the top hoop to assist with holding the hoop in place while you get it secured in the base hoop.
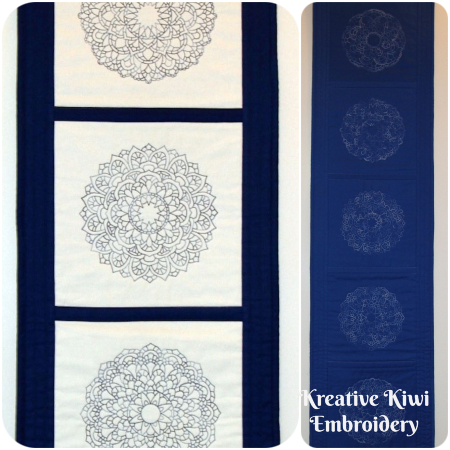
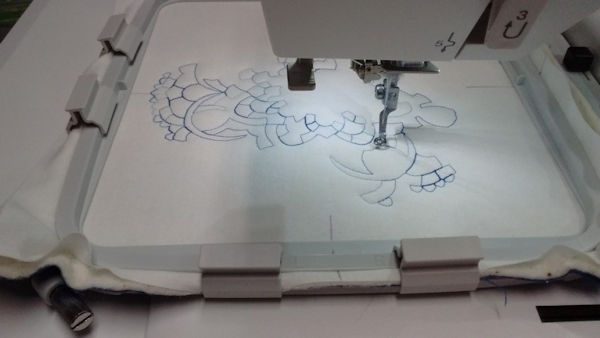
Commence with embroidering your designs. I am using Mandala designs 1, 3, 4, 5 and 9.
Any of the Kreative Kiwi Outline Block designs would work.
There are several, Infinity, Quilt Blocks (several variations), Abstract Blocks, Continuous Lines (several variations) that would be beautiful.
I turn off my thread cutter and pull the bobbin thread up and hold tight when it starts to sew. This will help produce a neater appearance on the back.
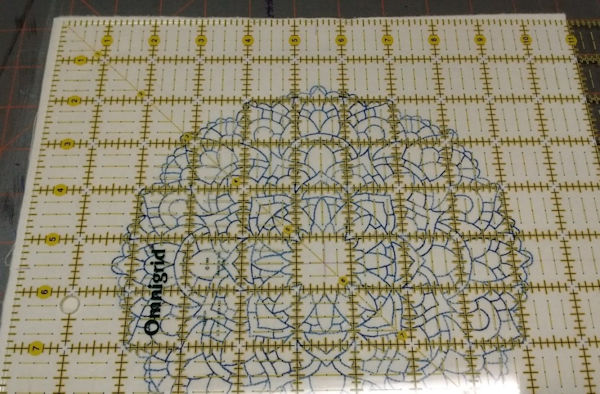
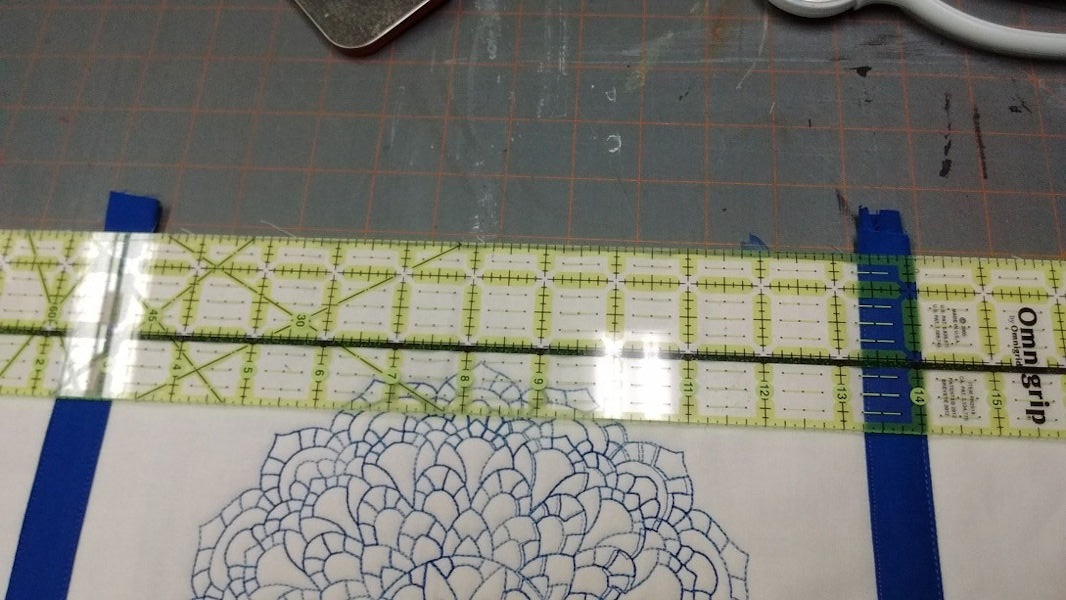
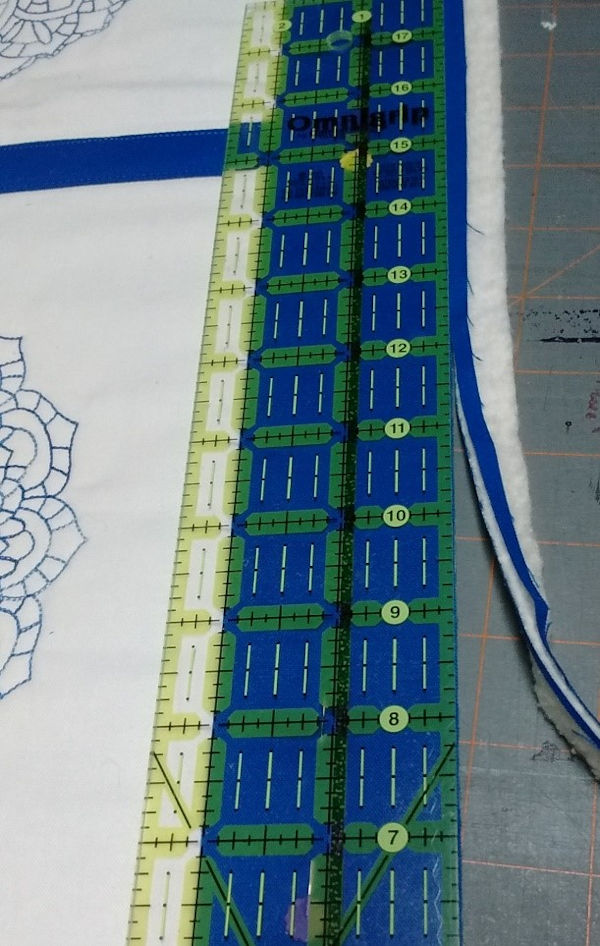
Squaring the embroidered blocks
Once all the blocks have been embroidered with the desired design, you will need to square them up or trim to size. I trimmed my blocks to 11 inches. I made small cross hairs in the center of the design to help with squaring properly. For help with squaring your blocks, you can view this video on YouTube, https://www.youtube.com/watch?v=Q1ACAuaAVwE.
Creating the table runner
This is a typical quilt as you go quilting (QAYG) with sashing method. The blocks have embroidered all three layers together and as you join these blocks, you are completing the project. You could make several rows of designs and join the rows together in the same manner as described below to make a quilt of any size you want.
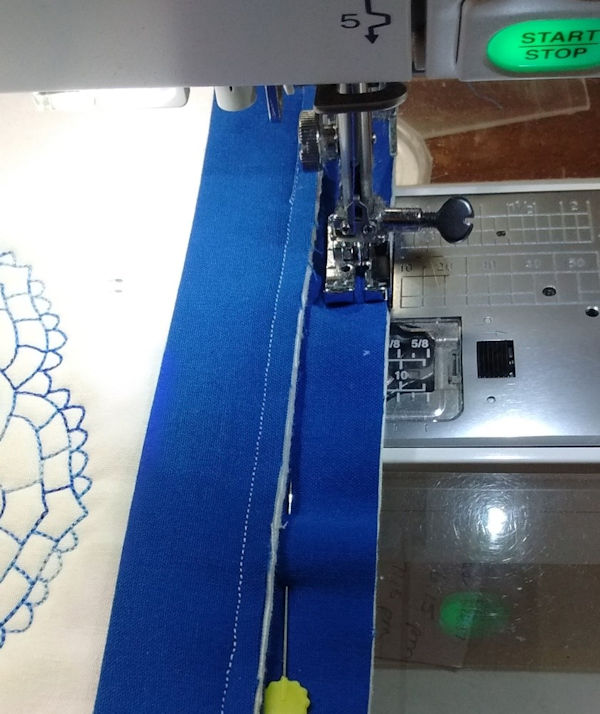
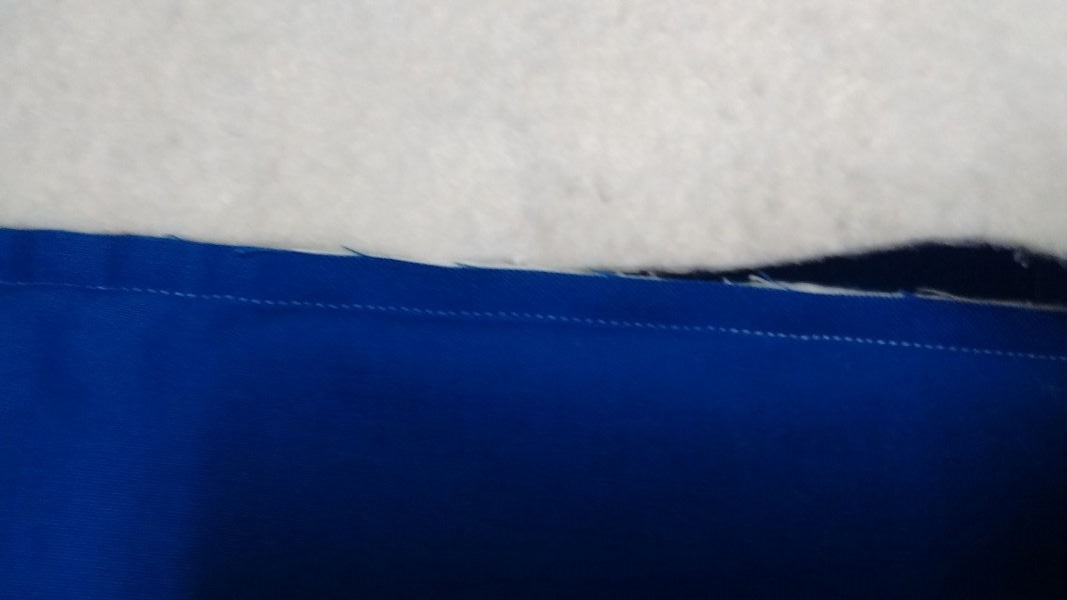
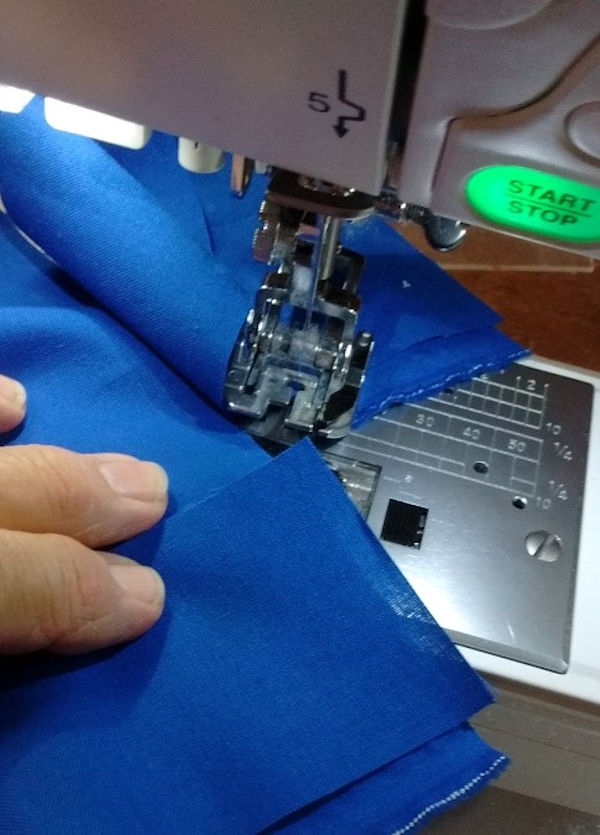
Take Block 1 and put one of the 1.125” strips, right sides together, along the side of the back of the block. Take one of the 2.125” strips ironed in half and attach to the front of block 1. Make sure the raw edges are all aligned and the folded edge is facing towards the center of the block.
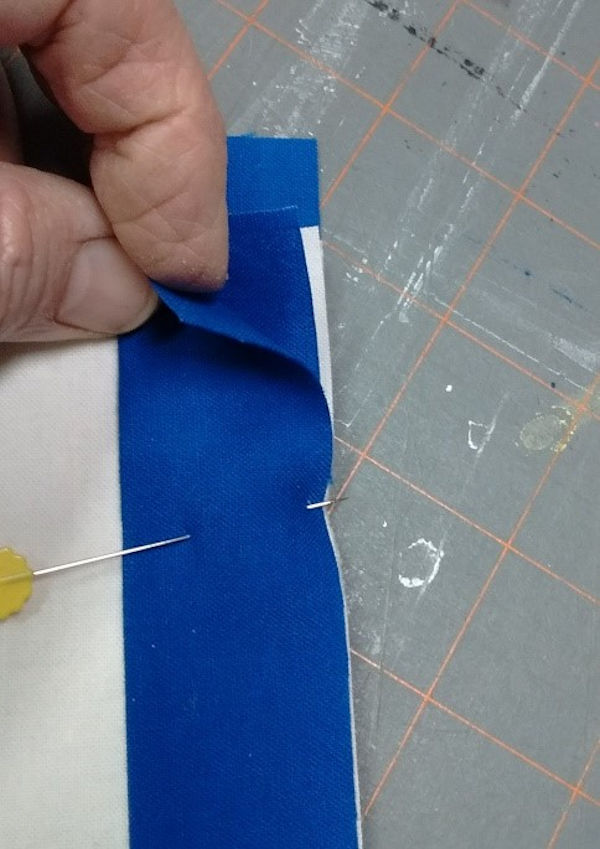
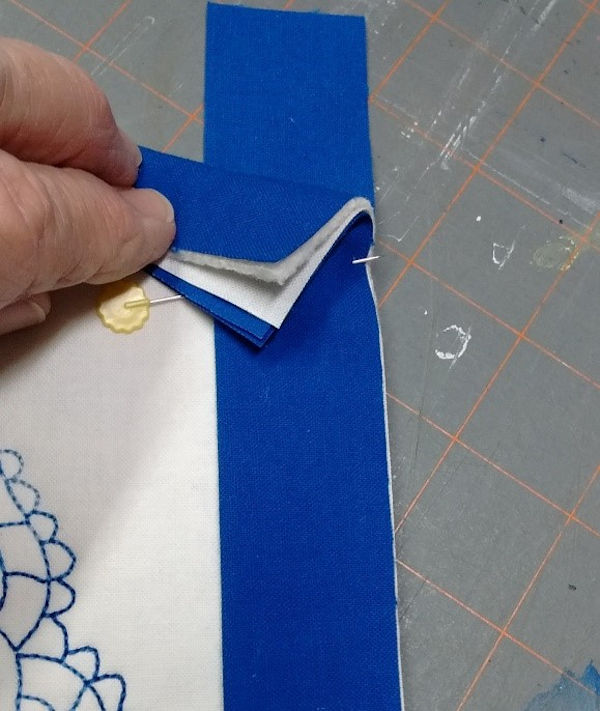
Stitch .25” from raw edge.
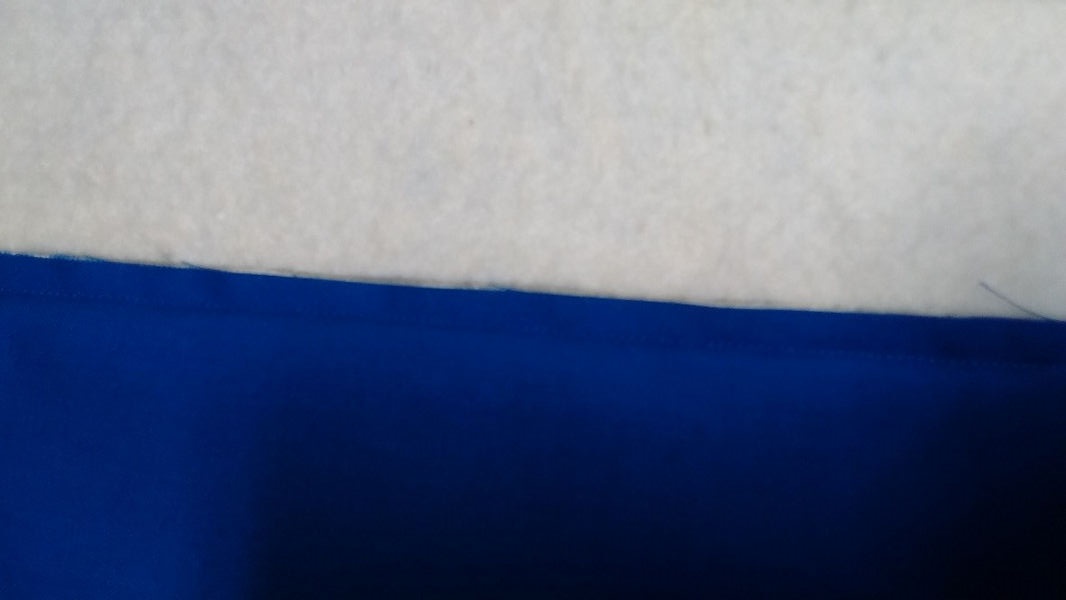
Press the back sashing out flat. Leave the front sashing facing towards the center.
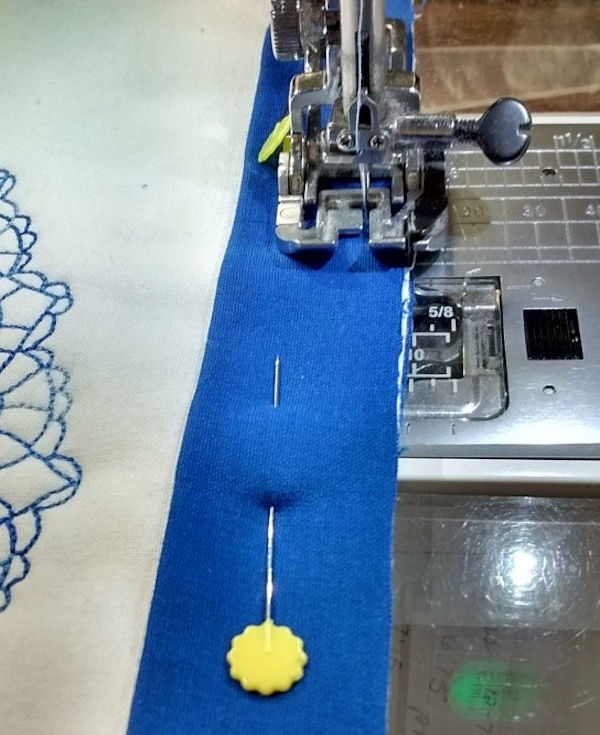
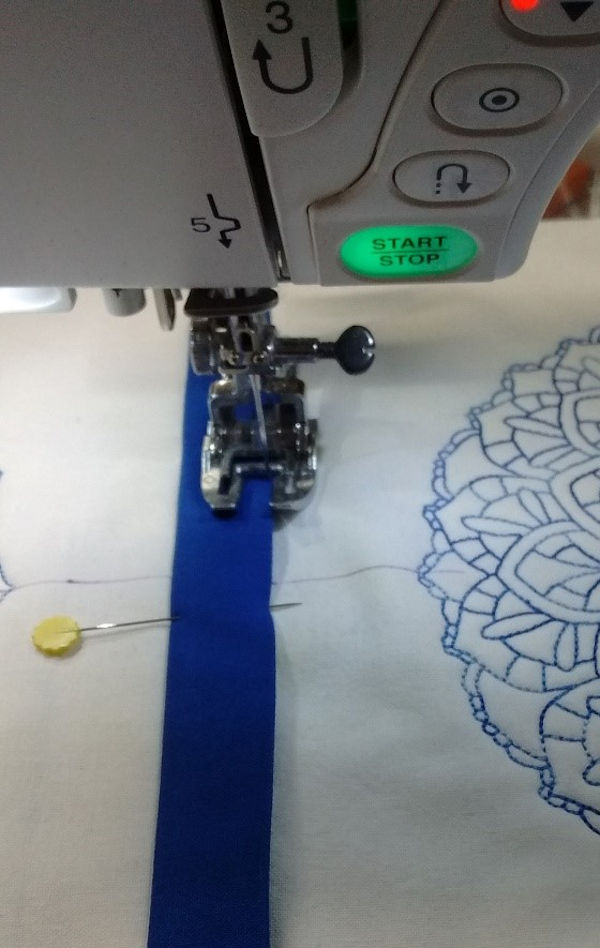
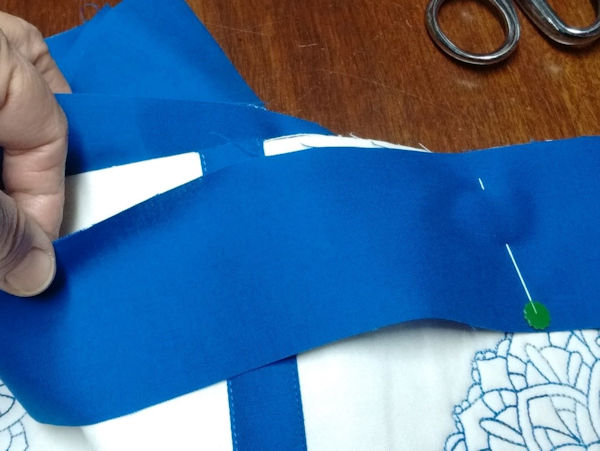
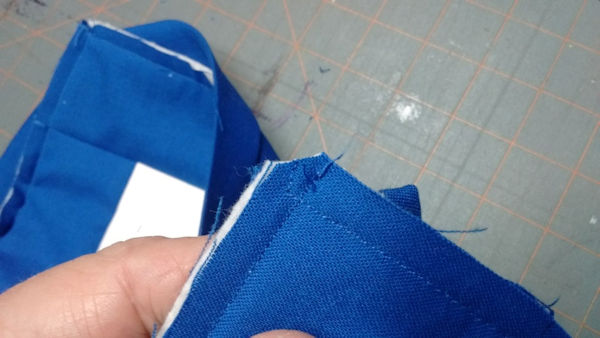
Place Block 2 on top of Block 1, with back fabric together with raw edge of sashing at raw edge of Block 2. Make sure the block is aligned perfectly with the first block.
Stitch .25” from raw edge of Block 2. This will join Blocks 1 and 2 together. When you open Block 2, the channel created will be filled in by the seam allowance.
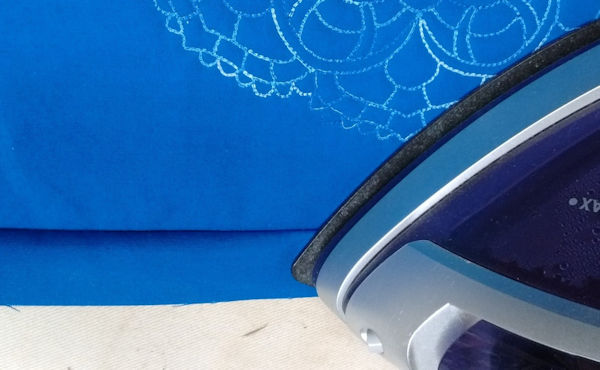
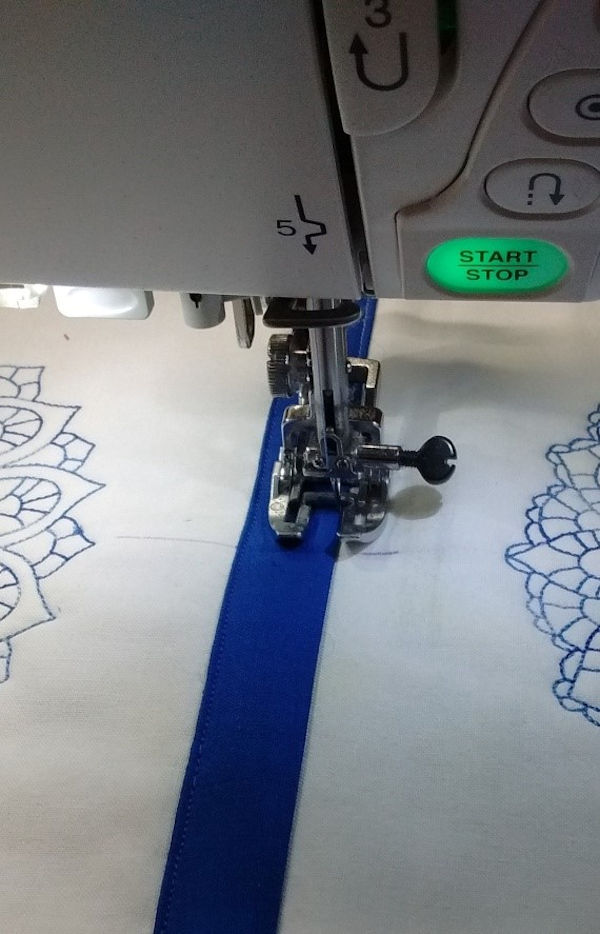
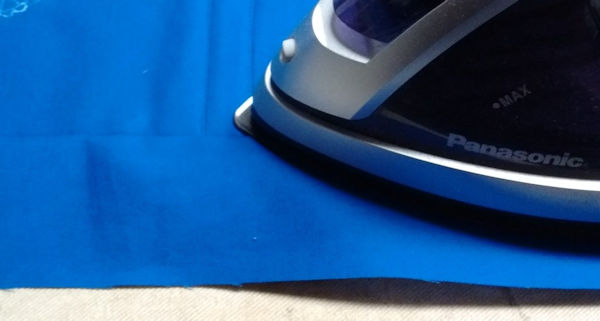
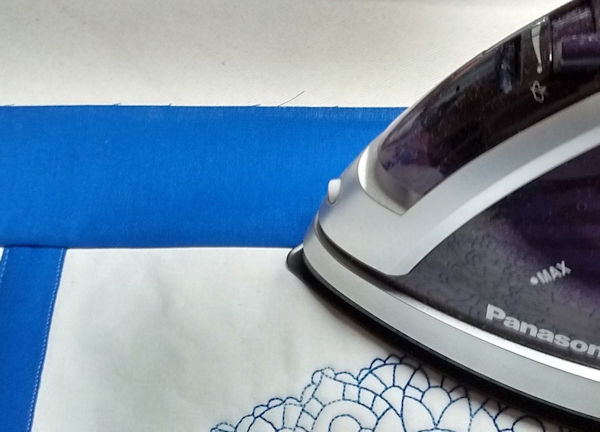
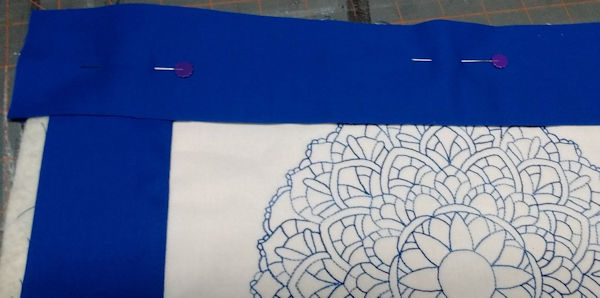
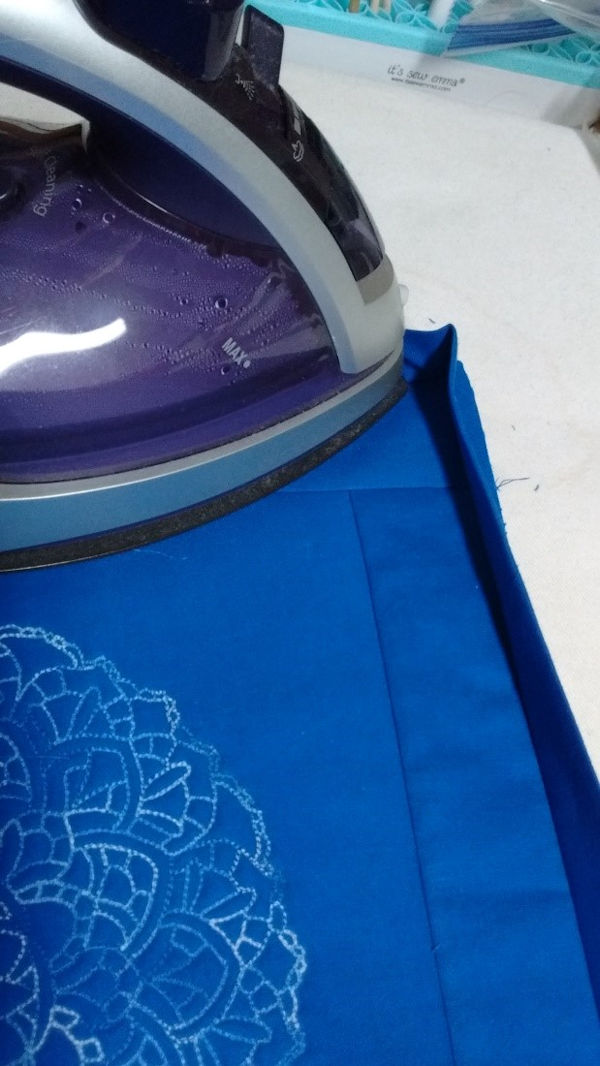
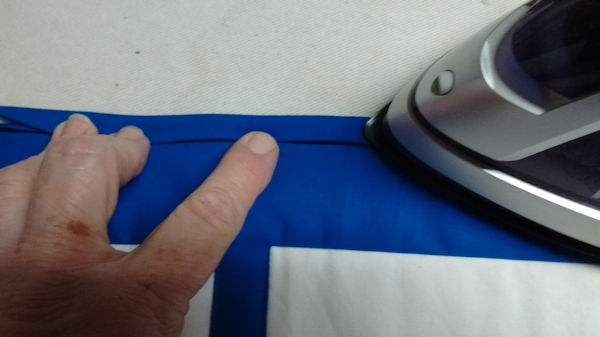
Fold Block 2 out and press the back sashing open. Turn over Blocks 1 and 2 and press front sashing over seam line for back sashing.
My walking foot is a pain to change from the ¼ inch foot to the open toe, so I wait and do all the topstitching at once. Repeat joining the blocks until all 5 are in one long strip. Topstitch down the folded edge, then turn and topstitch the other edge. Repeat for each sashing.
Trim the ends of the sashing even with the blocks.
Attaching a border (optional)
The border will add width to the table runner. If you do not want your table runner to be wider than the block or if you are going to make more rows to make a quilt, you can skip this step.
Attach one 2.5” strip to the front and back of the long sides of the runner, making sure right sides are together. Sew ¼” seam. Repeat on the other long side.
Iron border strips open on the front and back of the table runner.
Spray baste at least one side of the batting strips. Open the top border strip towards the center of the table runner and place one long batting strip with sprayed side down on the back border strip.
Make sure your butt the batting strip up very close and tight to the batting in the seam allowance. You do not want any visible space between the two pieces of batting. Take your time with placing these strips as it will make the border the same thickness as the blocks.
Fold top border strip over the added batting strips and smooth out any wrinkles or bumps. Pin in place. Now you want to attach the end border strips in the same manner as you did the long strips. Iron the border strips out flat and insert the batting strips. Fold the top border over the batting strips and pin in place.
Press the table runner and trim the border strips to 2”.
Binding
Using the 2.25” strips sew them together with diagonal seams. This will reduce bulk on the binding of the runner.
Trim the seams to .25” and press open. Press the long strip in half lengthwise and cut off the dog ears sticking out of the binding. Begin sewing the binding to the runner with a .25” seam allowance. Miter the corners. If you need help with how to make mitered corners on the binding, please review this YouTube video; https://www.youtube.com/watch?v=HpCow6SC89k.
For my table runner, I am attaching the binding to the back of the runner and pulling the folded edge of the binding to the front and will topstitch the binding down. If I were going to hand stitch the binding in place, I would attach the binding to the front and pull the folded edge over to the back. I have also clipped the tip of the seam allowances at the corners. This reduces bulk and makes a nice sharp point.
Press the binding out flat on the back.
Turn the runner over and press the binding over the seam. At the width it was cut, the seam should be covered by about 1/8”. Take care at the corner to fold the front miter opposite from the back miter. This reduces bulk in the corner. Press the front well and it will be much easier to stitch.
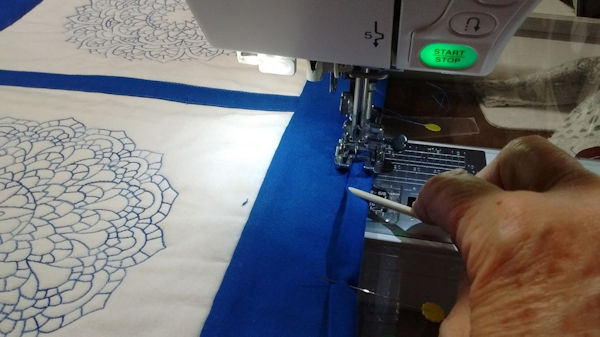
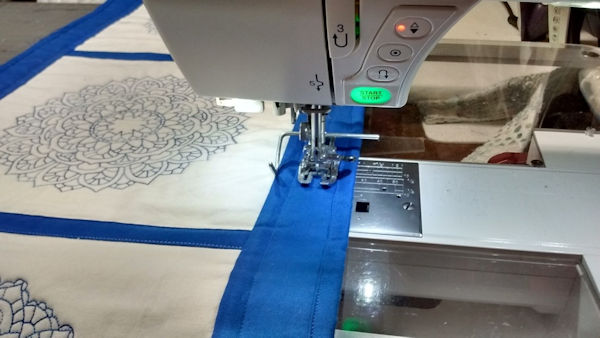
Topstitch down the edge of the binding. I am using a straight stitch though this is a perfect place to use one of the decorative stitches that comes with sewing machines. One of my favorite to use is a multi-stitch zig zag, most commonly used for stretch fabric. It takes 3 stitches up each leg of the zig and 3 stitches down the leg of the zag. What is great about that stitch is it is difficult for several stitches to come out at one time. I use an orange stick, like used for manicures, to hold the fabric down and to keep my fingers safe. If you can, position your needle so the edge of your foot rides next to the folded edge.
Finishing steps
Now we need to secure the batting strips you added into the border. If left with no stitching on the batting, it could shift out of place when washed. The spray will hold it for several washing, but it will not hold it forever. You want to stitch close to the edge of the batting, approximately 3/8” from the border seam. This is also a great area to use your decorative stitches. I like the Serpentine stitch. I stretch it out to the widest and longest it can be made on my machine. When washed it makes an awesome puffy texture. I also use it a lot on quilts done in row after row and the texture it produces is amazing. For this runner I used 2 rows of straight stitches as I did not want to detract from the Mandalas I embroidered. I place a second row of stitching about the same distance from the binding edge as I did on the border edge. The binding edge is already secured when I putting the binding on. This second row is simply decoration.
Tie and tuck any loose threads in the batting. Clip ends close to fabric.
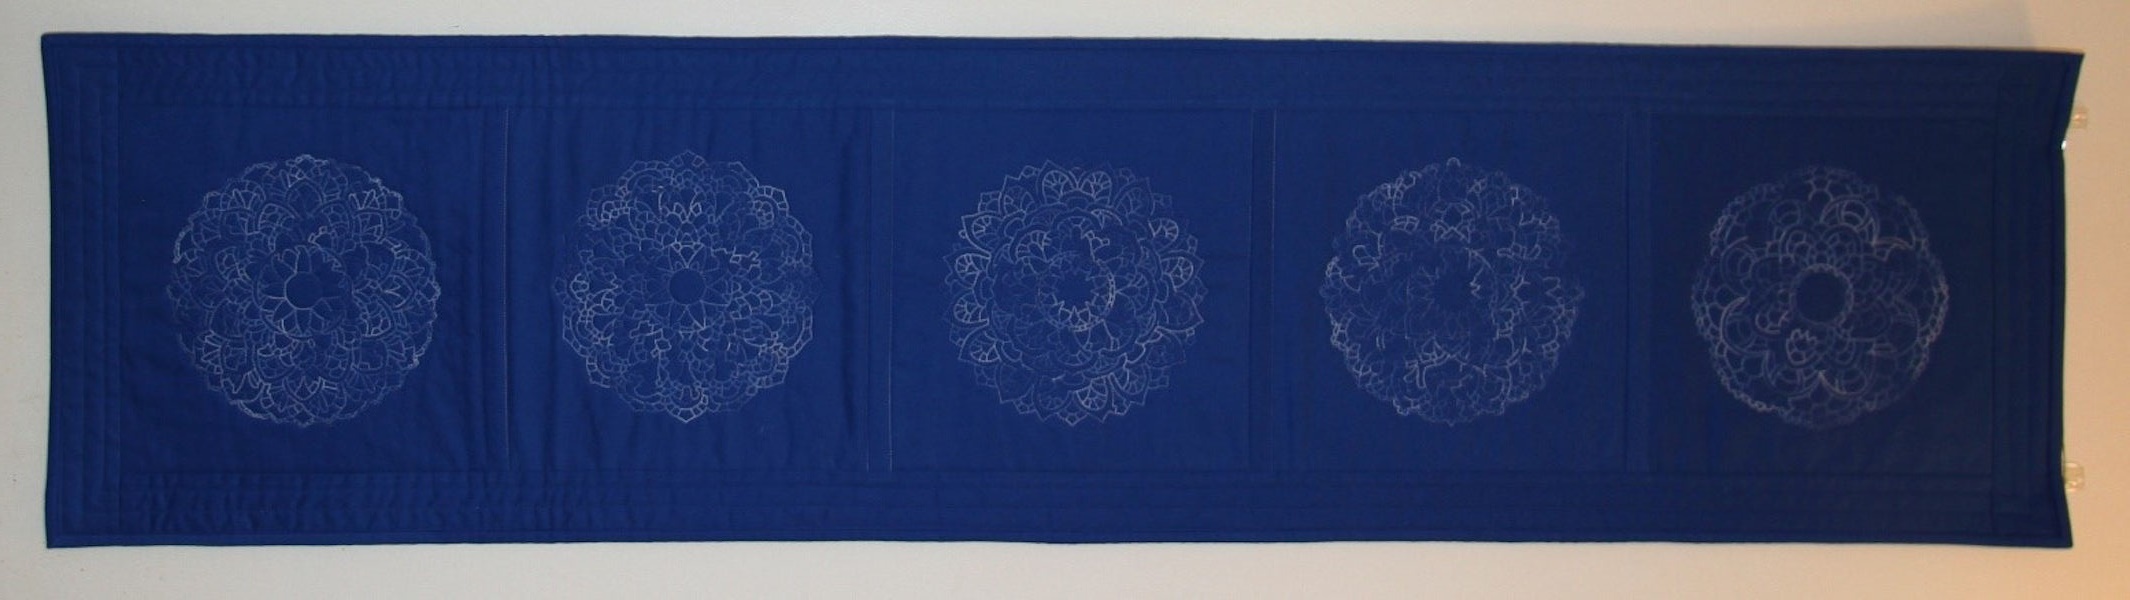
Photo of the completed table runner front is below. My lighting was very difficult, the blue is actually like the blue in the photos used throughout the document. The white around the table runner is the background the runner is on.
The back of the table runner is shown below.