
How to make a Reversible Table Runner

Need a Table Runner pattern that you can use with just about any Embroidery Design, and can make to any length?
This is it!
Darina shares her beautiful Table Runner pattern with us
Materials required for one side
|
|
6 seater |
8 seater |
8-10 seater |
|
Size |
50”/127cm |
54”/137cm |
58”/147cm |
|
Small Diamonds |
14 x 2.5” squares |
16 x 2.5” squares |
18 x 2.5 squares |
|
Large Centre Diamond |
1 x 6.5” square |
1 x 6.5” square |
1 x 6.5” square |
|
Strips |
28 x 6.5 x 2.5” |
32 x 6.5 x 2.5” |
36 x 6.5 x 2.5 |
Further fabric requirements will be the backing for a single sided runner, or double the amount for a reversible one.
Binding requirements – 2” straight strips the full circumference of your runner, depending on what size you make.
Can be made to suit any size table. Just increase or decrease as required.
To make it simple for your first attempt I suggest just doing two alternating fabrics with a feature small diamond.
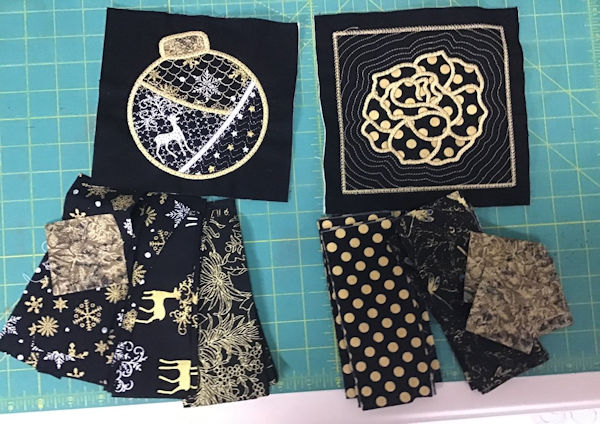
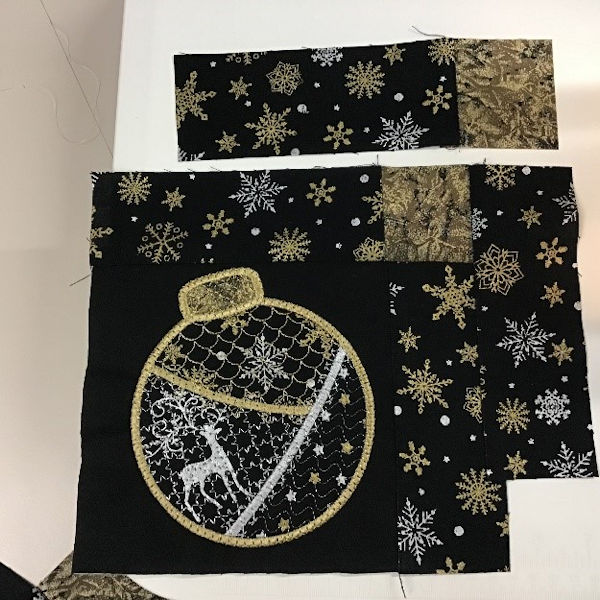
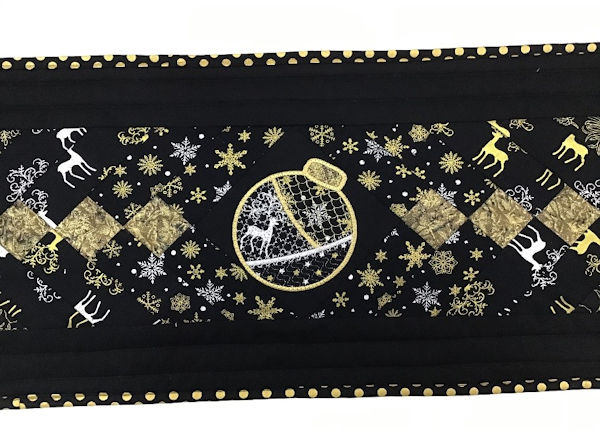
To create your centre diamond choose a non busy fabric (same as your small diamonds) and embroider a design of your choice. All 4x4 designs will fit well. Cut your centre piece slightly larger than required then trim back to your 6.5” square once embroidery is completed.
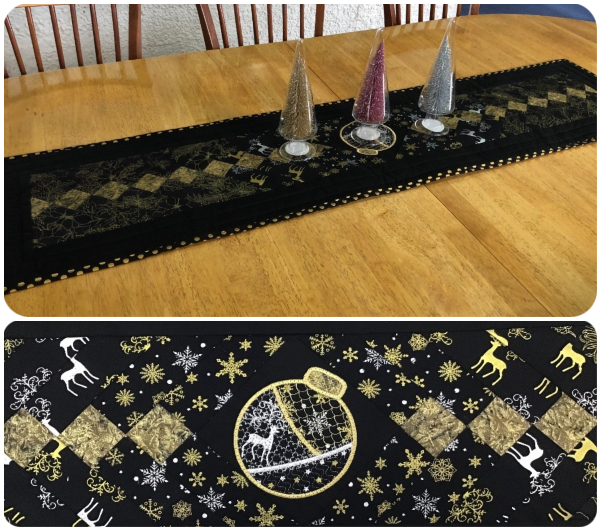
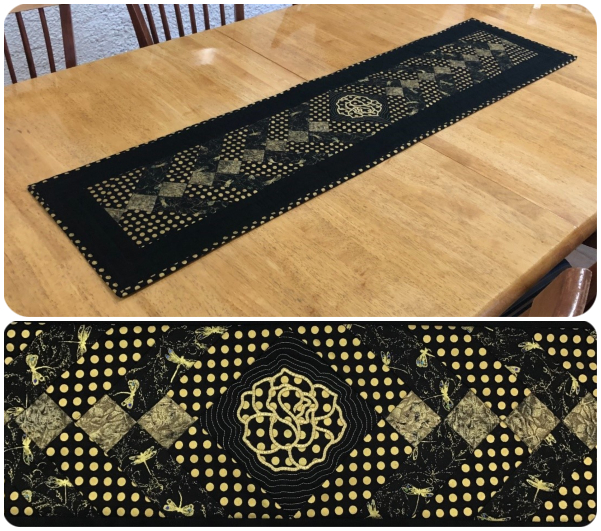
Darina used the Christmas Bauble Design and the Rose from Quilted Sweet Dreams for her Table Runners
Start by making one side of the runner then you can decide if you would like to make it reversible.
It is very important to cut all your squares and strips accurately and it is just as important to stitch a ¼” seam.
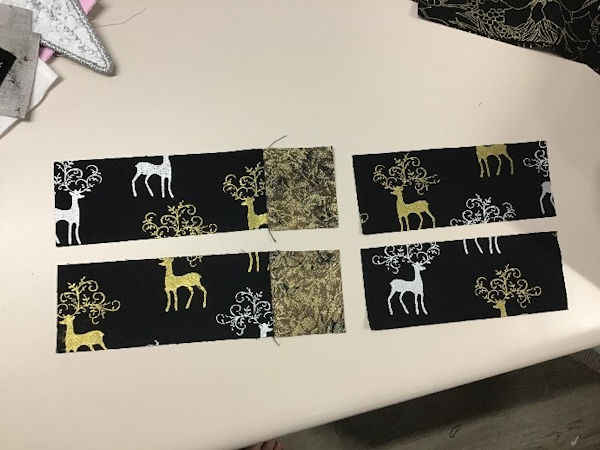
Step 1
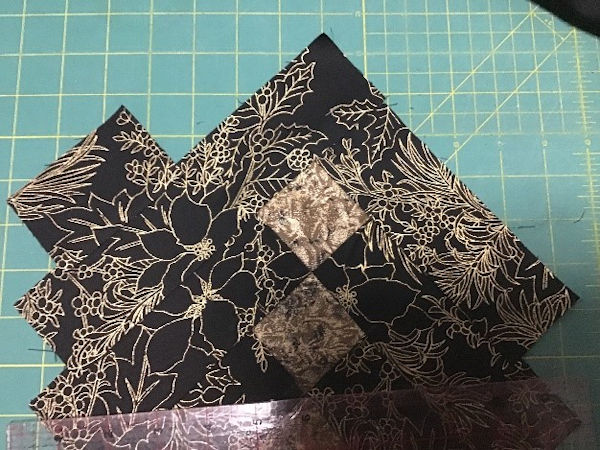
Take half of your strips (from each fabric) and stitch a small square/diamond to the end of the strip.
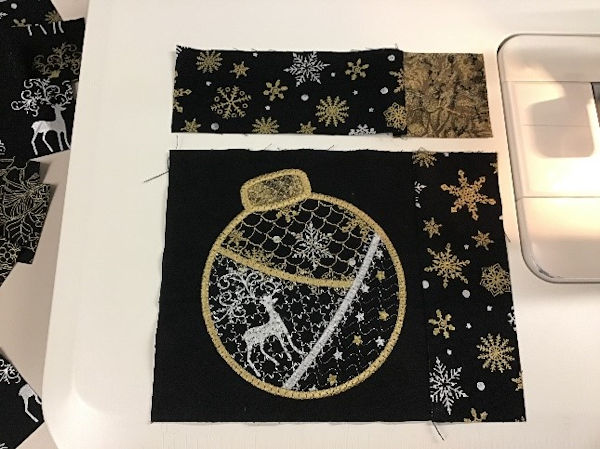
Step 2
Take your large centre square/diamond and stitch the short piece to one side of the square. Then take your extended piece and stitch on the other edge.
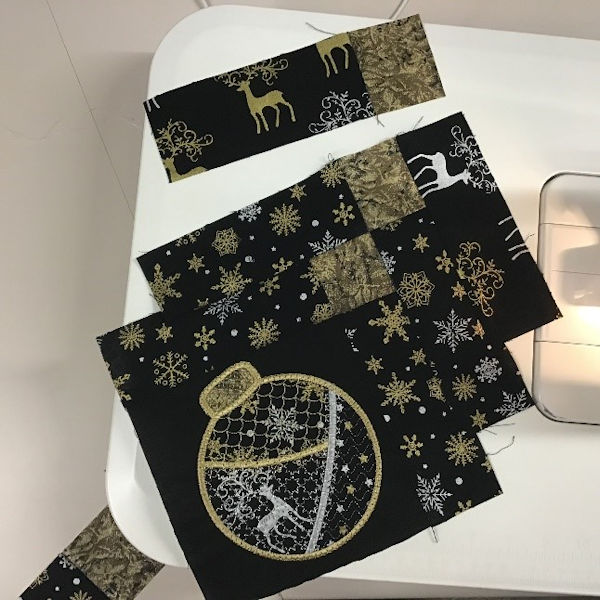
Step 3
Then pick up a short piece and stitch it on the first side remembering to always keep your added piece to the point of your previous addition.
Step 4
Continue adding your strips, not forgetting to alternate your different fabrics. In my sample I used the same fabric for several rows then changed to another fabric further along. You can be creative and do it just as you like.
Depending on your required length you will need to build out your last few pieces by adding just some strips without the extended small diamond. You will be trimming off the end about 1/4” past your half diamond.
Step 5
Once that end is completed turn your work and do exactly the same for the other end.
Step 6
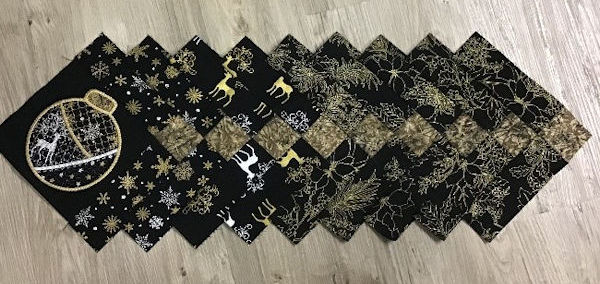
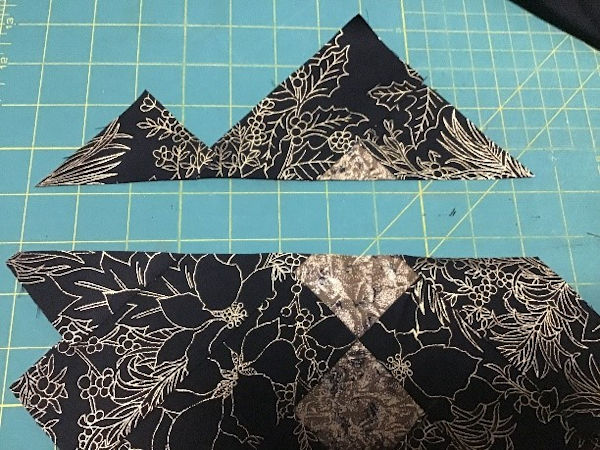
Once you are happy with the length and squared off end you then need to trim down both sides of your piece. As it is quite long I recommend lining it up with the lines on your cutting board then place your see through ruler on top and find a line that matches the centre of your diamonds. It is easy for it to swing a little out of line if you don’t do this. The right hand side of your ruler will be your cutting line just taking off all those excess peaks.

Your completed centre will look similar to this
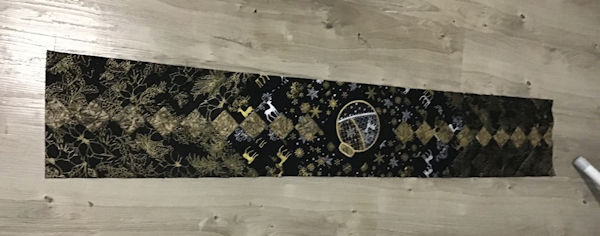
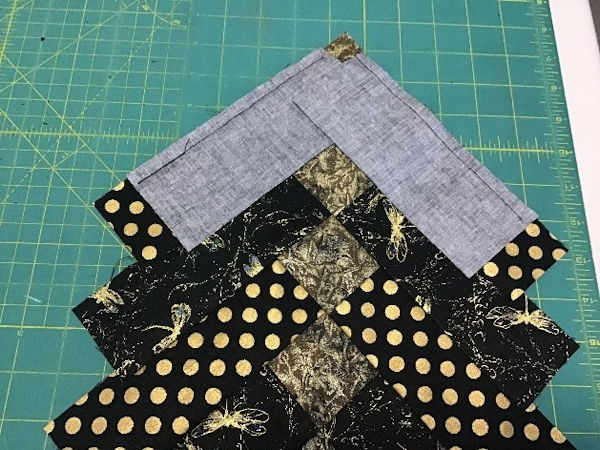
Step 7
We will now build out the sides by adding 3.5” strips.
Add the length of the two sides. You will most likely have to join so just do that at random, on the straight.
Then add the two end pieces.
I have chosen plain black to complement it.
Step 8
I chose to put the heatproof wadding/batting (Insulbrite) in this one but you can use just ordinary quilt wadding/batting.
If you have chosen to only do a one sided runner then cut a backing fabric to size.
If you have chosen a reversible runner proceed to make a second top just as you have the first.
Step 9
Once you have put your quilt sandwich together, which is the top, batting and bottom layer, I then pin through in lots of places but where you don’t want to sew. You can use quilt safety pins or just normal pins.
I then proceeded to stitch in the ditch of all the centre diamonds by sewing in a straight line across the right hand side of one that then continues along the left hand side of the second one, pivot and continue along the next side. When you get to the far end just turn and come back, completing the diamonds.

Step 10
It is really hard to get a picture to show my stitching on the black borders but what I have done is stitched about 1” in from the outside edge. Then I stitched in the centre of that line and the side of the internal panel. Resulting in two rows of stitching around the border. I have not stitched close to the inside edge of the centre panel as I would never get the front and the back to line up on the reversible one. If you are doing single layer you could certainly stitch in the ditch right around the outer edge of the centre panel.
Step 11
Last step is to make a binding (see my blog for making your own binding). It only needs to be cut on the straight as there are no curves to deal with.
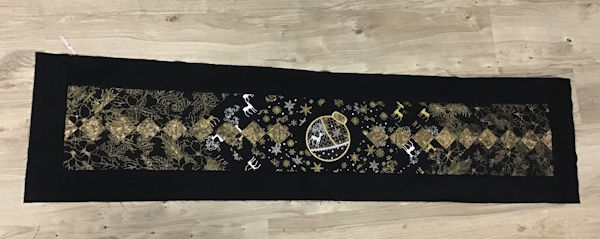
Stitch in place and your table runner is complete.
In place on my daughter’s table. She loves it!!
Christmas Side
All year round side.
This was my daughters Christmas present.
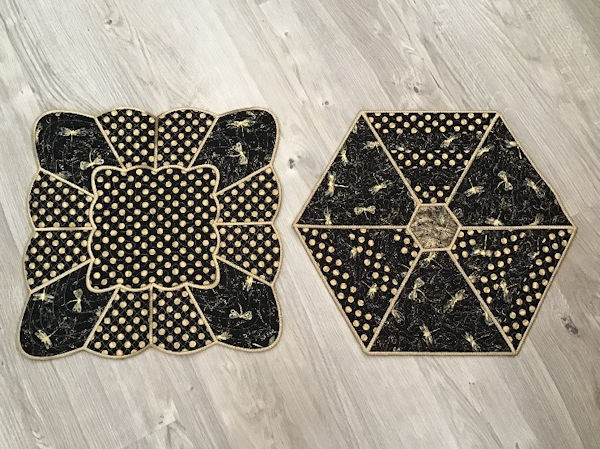
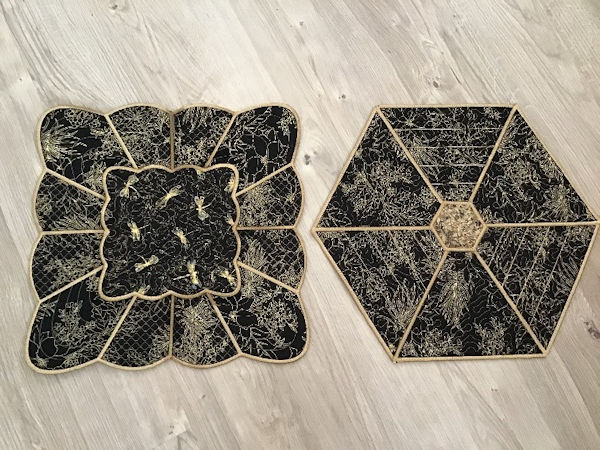
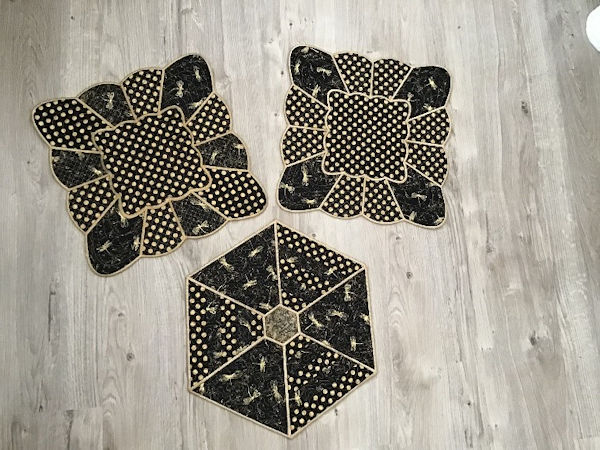
Placemats for her 1 January birthday almost done!
I have intentionally tried out a few different variations of the fabrics. So far I have two of each one.
Designs used:
Note from Heather:
Thanks so much for sharing Darina - I've seen similar Table Runners and thought they looked 'too hard' to make, but after reading your instructions, I'm going to give it a go!.
Thank you!!

