
How to make a Sleeping Bag for Dolly - version 2
Everyone Absolutely Loved  Darina's In the hoop Sleeping Bag for Ted, now Darina shares how to make a Sleeping Bag to fit any size doll/teddy
By Darina
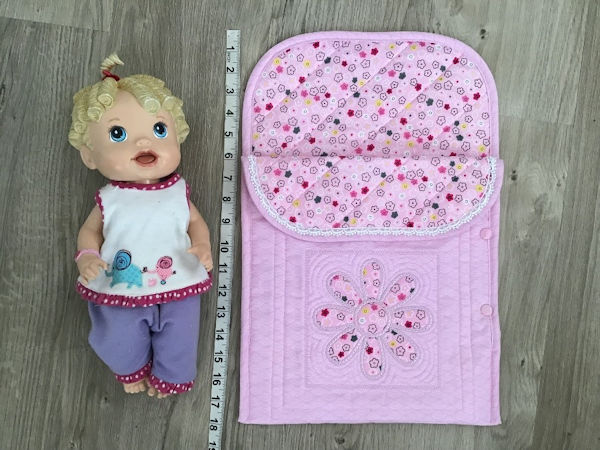
These can be made to suit any size doll.
FABRICS
-
1 mtr of two coordinating fabrics (will need a little bit more for the largest size.)
-
1 mtr of wadding/batting
-
Decorative lace or edgings is required
- Optional** Kam snaps
|
Size |
Cut at |
Finished |
|
16-18” doll |
39 x 13 |
38 x 12 |
|
14-16” doll |
36 x 13” |
35 x 12 |
|
12-14´doll |
32 x 11” |
31 x 10 |
Step 1 - Cutting
Cut the fabric to required size
Cut the wadding to required size
Step 2 - Embroidery and/or Quilting
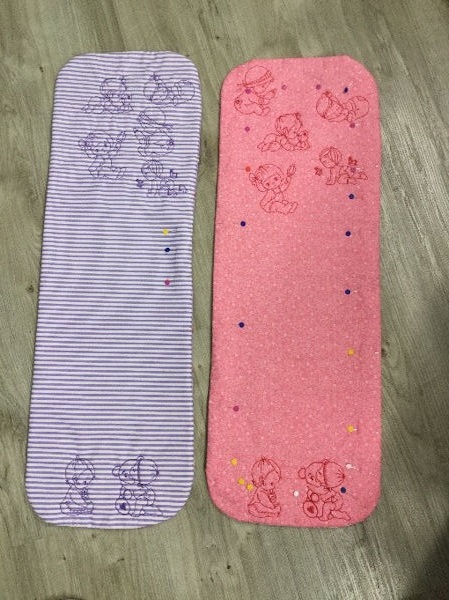
The world is your oyster with this project!
You can add any embroidery design you like - if you don't want the back of your embroidery to show, then add your embroidery design to your main fabric now, before you construct your Sleeping Bag
(See below, if you want to see how to add a simple outline design after you have made your sleeping bag)
or you can
Quilt your Fabric and wadding ** Optional
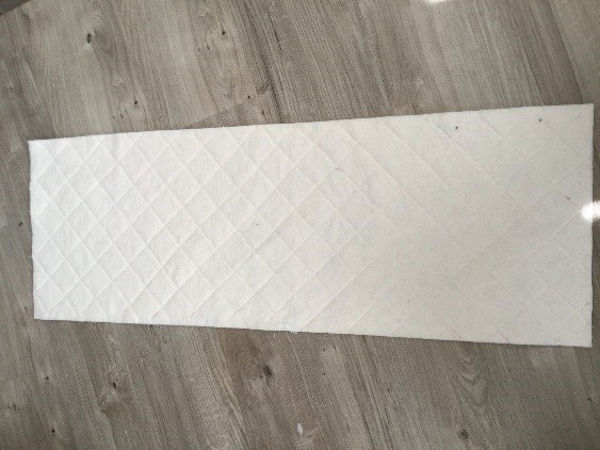
Not sure how to cross hatch quilt? Click here to read our How to Quilt a Reading Pillow - this has the same techniques
Step 3 - Construction
Lay your two fabrics right side together.
Place your wadding on top (I chose to put it on the fabric I want on the outer side of the bag)
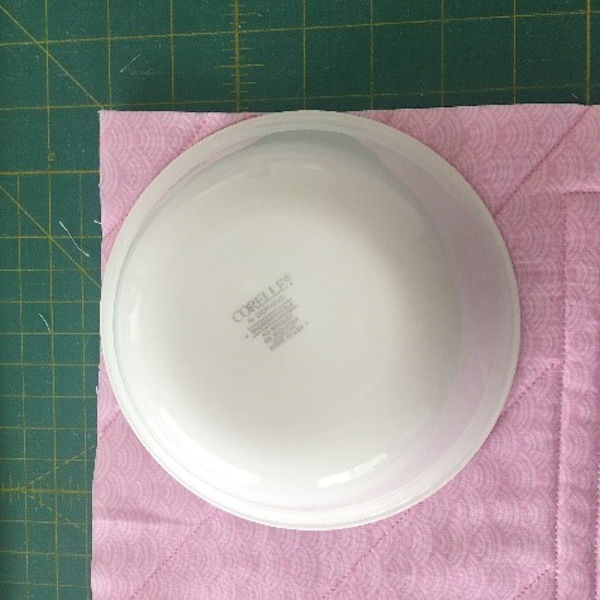
To have a nice curve on the corners I used a dessert bowl as a guide and marked it.
Stitch all the way around leaving an opening on one side (approx. half way down on your side seam).
Now trim and clip your corners.
Step 4 - Top Stitching
Turn the bag through then press lightly.
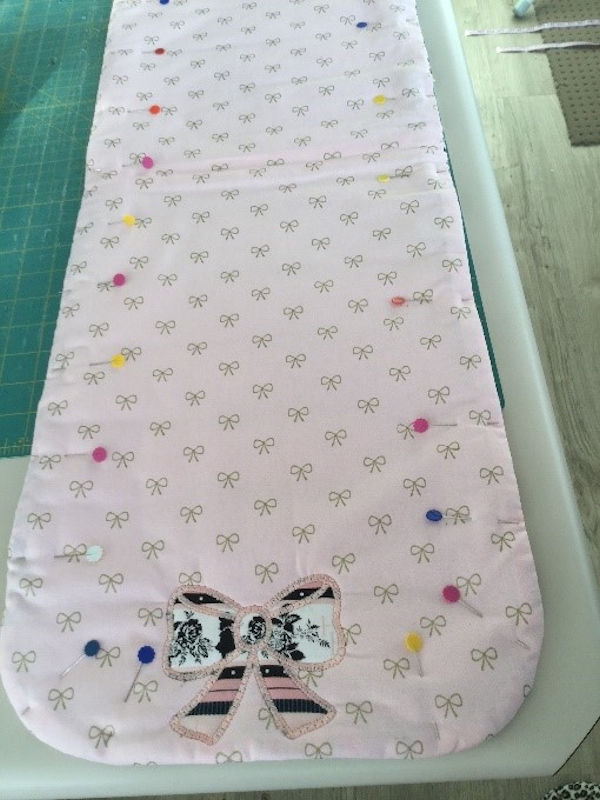
Before I top stitch I pin all the way around as per my picture. With the narrow point of the pin facing the stitch line you should get a nice finish. This way you don’t get stretch of your top fabric.
Top stitch with at least a length 3 stitch, or use a nice embroidery stitch.
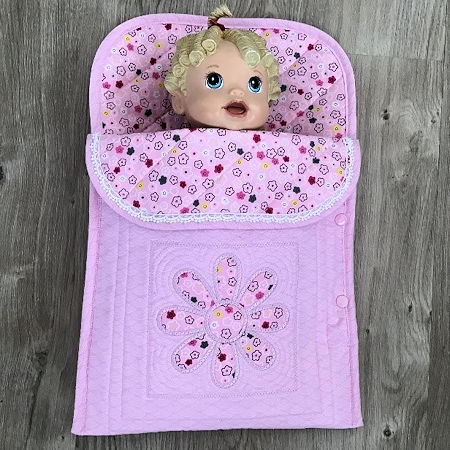
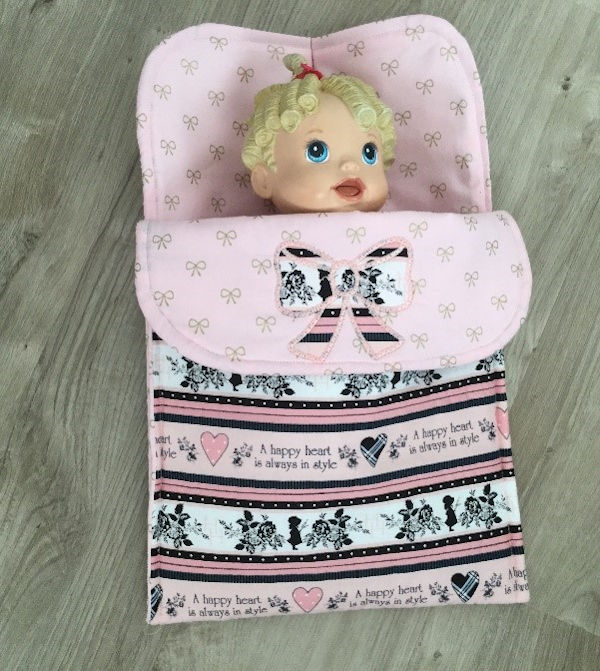
Step 5 - Embroidery
If you choose to add an embroidery design once the bag is constructed, this is how you hoop
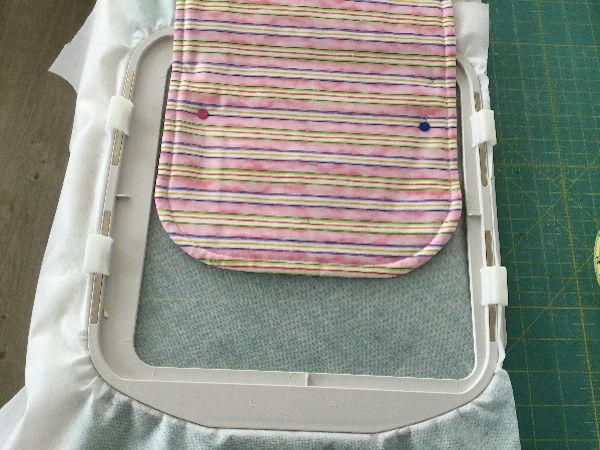
I have chosen to embroider different designs in different places so the choice is all yours. Keeping in mind the front flap that is folded down.
Step 6 - Stitch Sides
The last step, is to simply fold the bag in half, and stitch through both layers to where you fold the flap back
The easiest way to work out where to stop the stitching, is to pop your doll on top
VARIATIONS
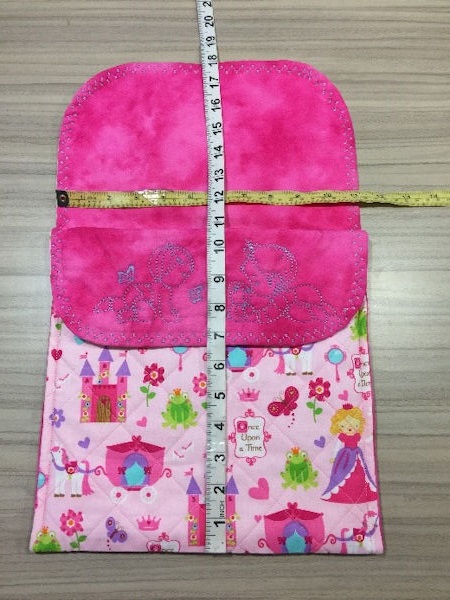
For Larger Dolls, to make the opening easier to 'put Dolly to bed', you can add a couple of kam snaps to one side, as your closure
or
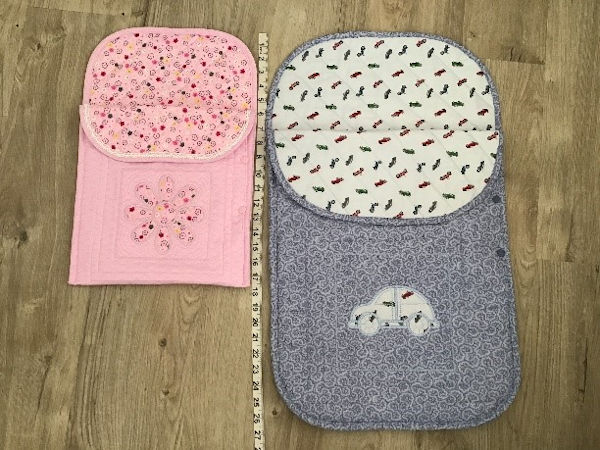
The blue sleeping bag was made for a very large boy doll.
It was made by making a separate front and back piece (with curves top and bottom) with bias binding all the way around both edges. I then incorporated a couple of Kam Snaps on the side so it could be opened a little.
Use your imaginations ladies. So many embroideries to choose from and different sizes.
Happy Stitching. I am sure there will be smiles on little girls faces.
Note from Heather - You;ve done it again Darina - another awesome gift idea - I can't wait to see all the photos!!
