How to make In the hoop Sleeping Bags for Little Dolls
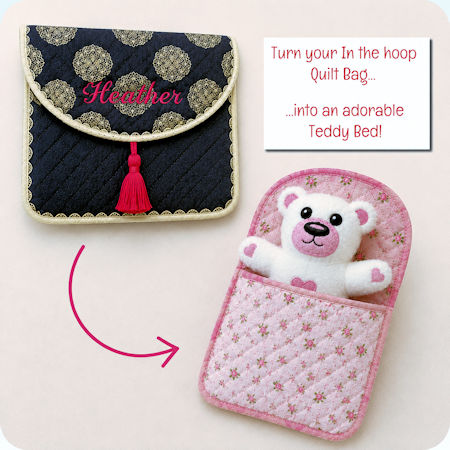
Turn Our In the Hoop Quilt Bag into an Adorable Doll Sleeping Bag
One of my favourite things about machine embroidery is discovering new ways to use designs you already own.
This little project created by our amazing Darina is a perfect example!
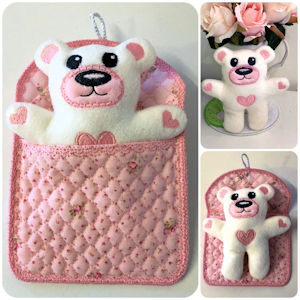
With one simple idea, our In the Hoop Quilt Bag transforms into the cutest Doll Sleeping Bag for our FREE Teddy Bear. It's a quick, easy project that makes a thoughtful handmade gift for children, grandchildren and teddy lovers alike.
It's also a wonderful way to use your favourite fabrics to create something truly special.
❤️ One Design... A Whole New Purpose
Originally designed as an In the Hoop Quilt Bag, this project takes on a whole new life as a cosy little sleeping bag.
The curved flap becomes the perfect cover, creating a snug place for your teddy to sleep.
Sometimes the best ideas come from looking at a design a little differently!
|
|
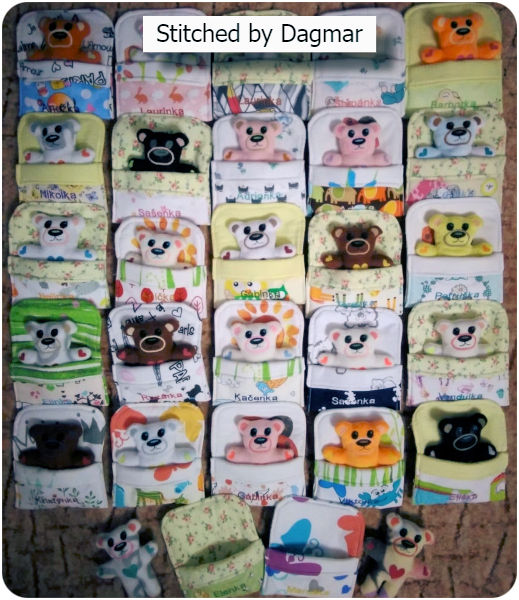
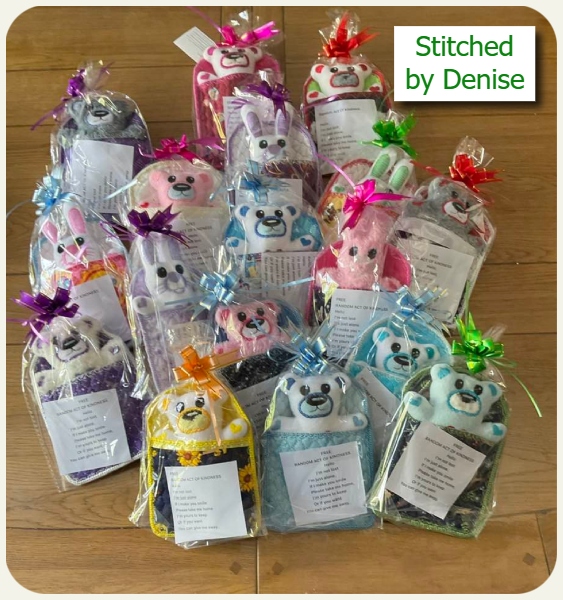
Meet Our FREE TeddyIf you haven't already downloaded our little teddy, now is the perfect time. Over the past six years, our FREE Teddy has become one of the most-loved designs in the Kreative Kiwi collection, with hundreds of stitchers creating beautiful bears for gifts, charities, grandchildren and keepsakes. He fits perfectly inside the Quilt Bag Sleeping Bag!
|
✂️ What You'll Need
To make your Teddy Sleeping Bag you'll need:
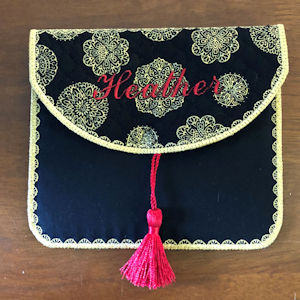 |
In the Hoop Quilt Bag embroidery design |
TIPS
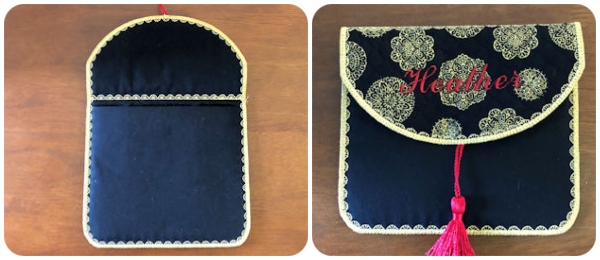
- When you make the Quilt Bag to Instruction, you have your pretty fabric on the front of the hoop, and, add the front 'pocket' to the back of the hoop - this is so the 'pretty' fabric shows when you fold the flap to the front. For your Ted Bed, swap the fabrics round and add your pocket on the front of the hoop
- Make the sleeping bag one hoop size larger than the Teddy.
For example, if you stitch the 5x7 Teddy, make the 6x10 Quilt Bag to create the perfect-sized Teddy bed.
Quilted Front
- Make the quilted front as per instructions using your 'pretty' fabric
Now stitch the Bag

- Stitch Color 1 Guideline for Bag
- Place your Pretty Fabric on the BOTTOM of the hoop
- Place your Lining Fabric on the TOP of the hoop
- Stitch Color 2 to attach
- Stitch Color 3 which is the Quilting
- Place your completed pocket ON THE FRONT OF THE HOOP
- Skip Color 4 (decorative stitch for Flap)
- Remove Hoop from Machine and Cut away all your excess Fabric
- Return hoop to Machine and stitch Color 6 - Satin Stitch edge
That's it! All done
Watch this step by step video from Sue at OML showing how to make the original Quilted Bag
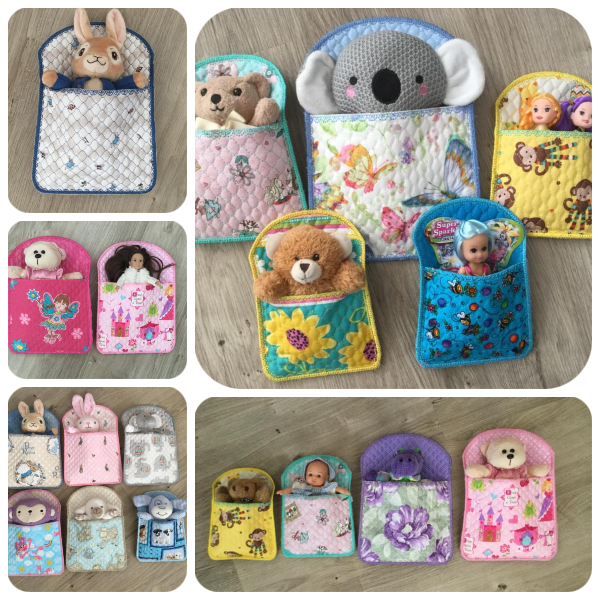
Heres (just a few) Sleeping Bags Darina has made
Such a great way to use up fabric scraps - and a really cute Gift that Little Ones will LOVE