
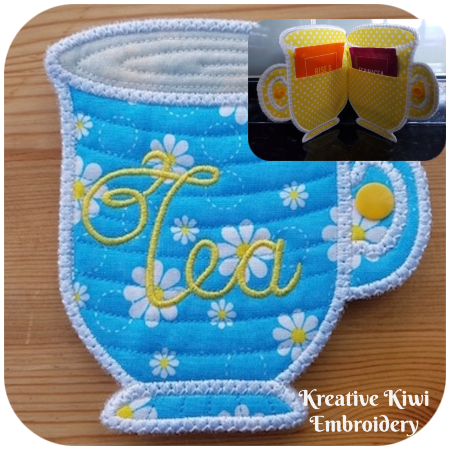
Free In the hoop Tea Bag Holder
Our very clever Cathy kreated this very cute Tea Bag Holder using our
Thanks so much for sharing your instructions Cathy
|
|
|
Description A nice small project to create a handy tea bag holder, that can be used to hold 2 – 4 tea bags. Useful, for when you are out and about and your favourite cuppa may not be available. Also makes an ideal gift |
Cutting List
|
Number Required |
Dimensions |
Material |
Comments |
|
2 |
7” x 9” |
Cotton fabric |
Front & back pieces. |
|
4 |
7” x 9” |
Cotton fabric |
Inside and pocket. |
|
1 or 2 |
2” x 5” |
Cotton fabric |
Top of cup (depending on thickness) |
|
|
|
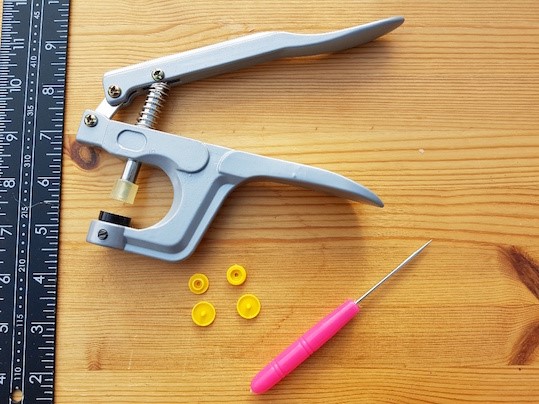
Fastener |
Plastic popper (if you have the tool to insert), or velcro, or, button and loop, or, sew on popper. |
NOTES
These instructions are to be used in conjuction with the instructions (pdf file) for the "Free in the hoop Tea Cup Coaster"
This project is based on the larger design, for a 5" x 7" hoop, as the Kreative Kiwi instructions provide two sizes of cup coaster.
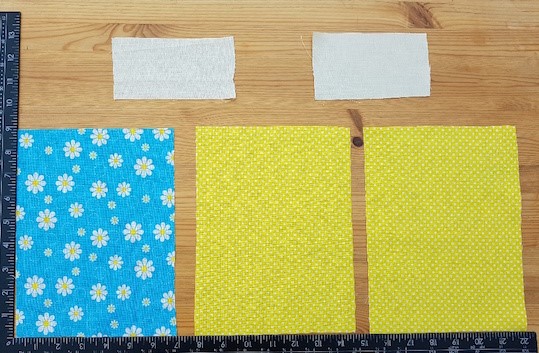
STEP 1 – Cutting out
|
|
|
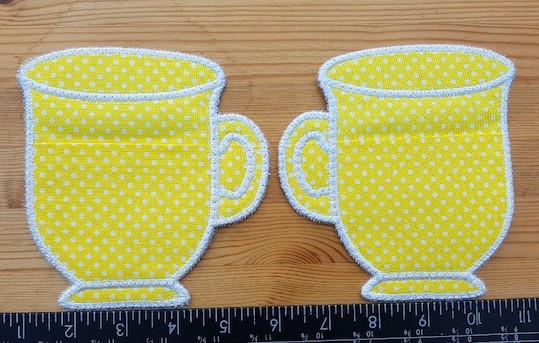
Picture above shows the pieces required to make one half of the tea bag holder, i.e. 1 coaster:
You will need the same again to make the other half of the tea bag holder, which is made from two modified coasters that are secured on one edge, to form a wallet. |
|
|
|
Follow the Kreative Kiwi instructions, up to the point of applying the backing to the coaster. Then follow, as below. |
|
|
|
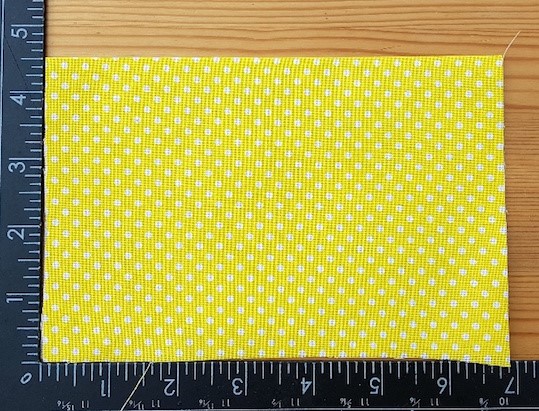
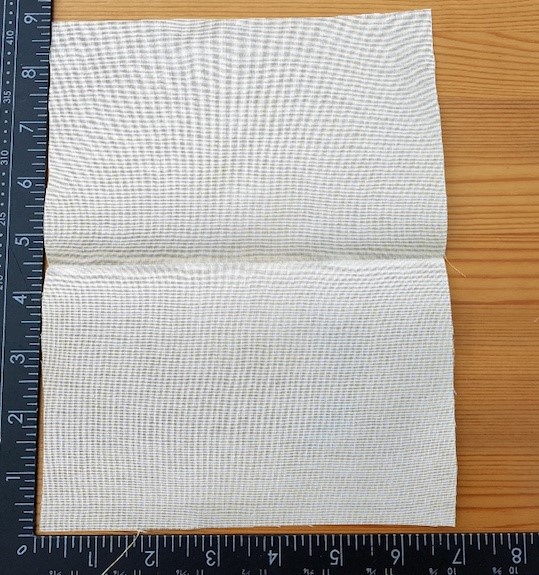
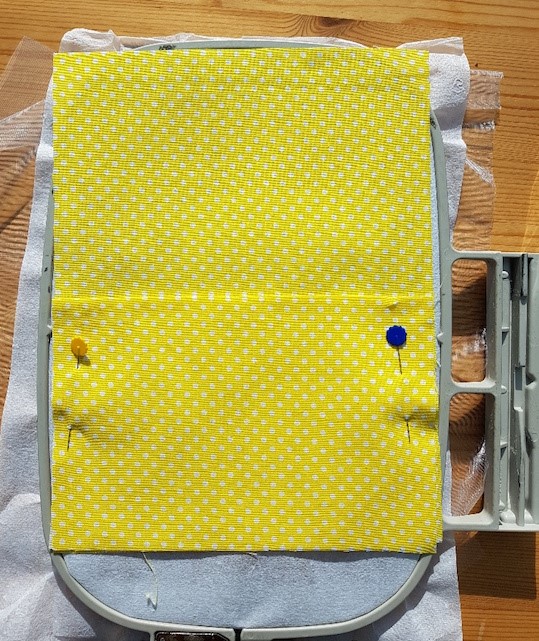
The piece above, is the back of my yellow fabric, that I will fold in half (wrong side to wrong side) to form the pocket front. |
 |
|
The picture above shows the piece folded in half (fold at the top) to give a tea bag pocket piece of 7” x 4½” |
|
|
|
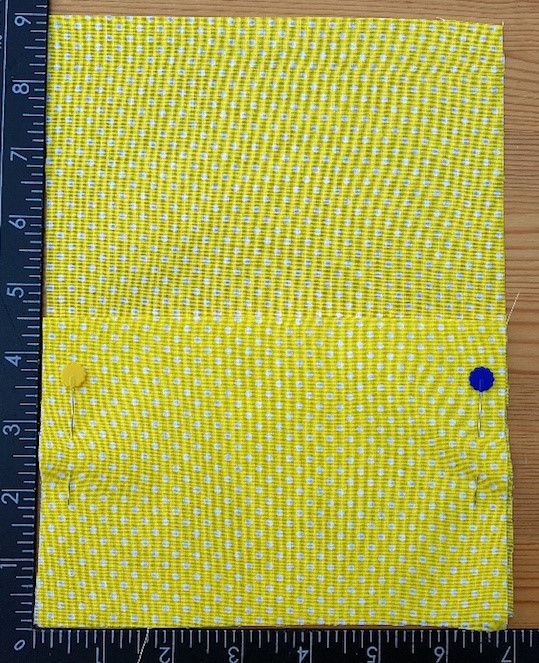
Now pin the front pocket piece that was folded in half (with the fold at the top, to give a nice finished edge to the pocket) in place, as shown above. |

STEP 2 – Making the pocket
|
|
|
|
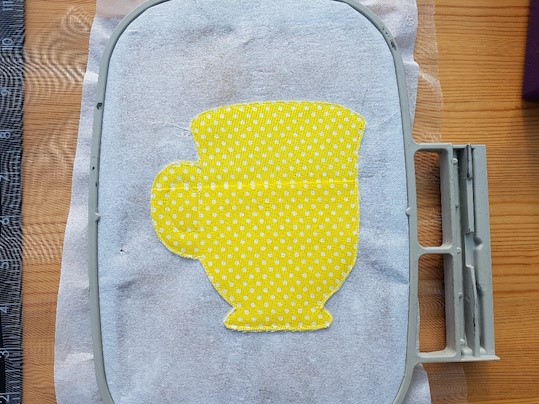
Having followed the Kreative Kiwi instructions to make the front of the coaster, you should have something similar to above. |
|
|
|
|
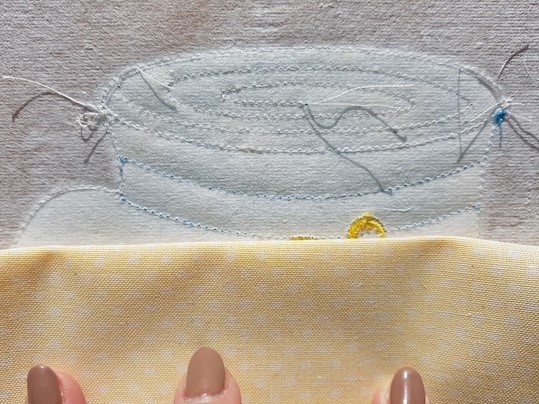
This is where we deviate from the Kreative Kiwi instructions, by modifying the back of the coaster to incorporate a pocket. Lay the pieces pinned together in an earlier step on the back of the design, ensuring the design is fully covered. |
|
|
|
|
|
As we are going to be making two coasters, to create a wallet, we will want to have pockets that are positioned in the same place. Achieve this by folding down the fabric to the top of the pocket and position that edge on the bottom line of the stitching, i.e. top of pocket is aligned with second line of stitching. By repeating the same process when you make the second coaster, you should end up with two matching coasters.
Note that if you want a deeper pocket, you could align to the line of stitching above, the one used in the picture. |
|
 |
|
|
Here is the pocket, after machining and trimming. |
|
|
|
|
|
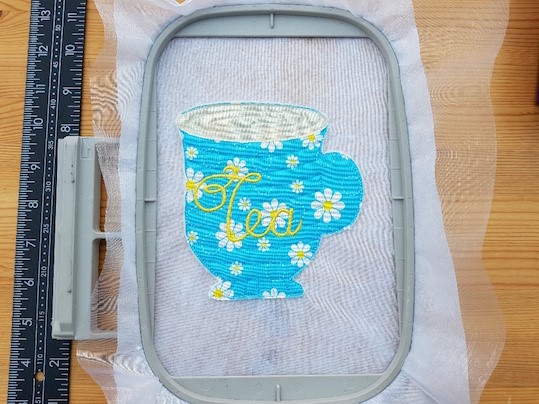
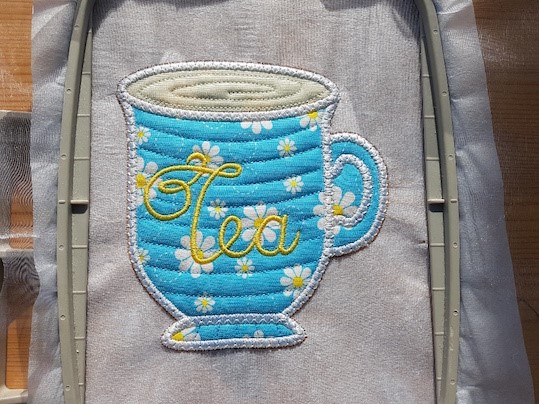
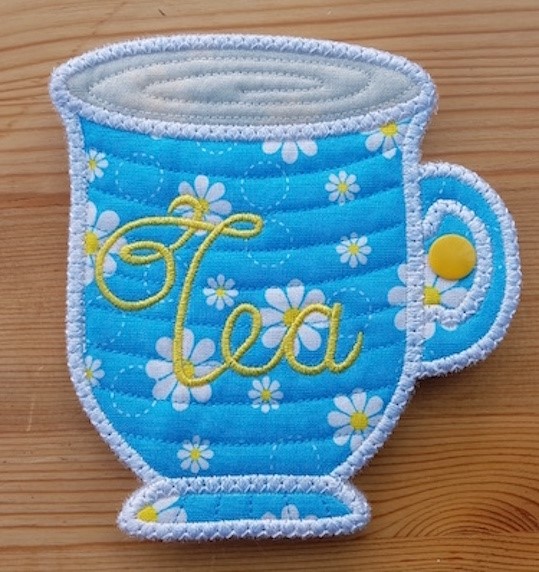
This picture shows the front after the satin stitch has been completed. Remove from hoop and trim as required. |
|
|
|
|
|
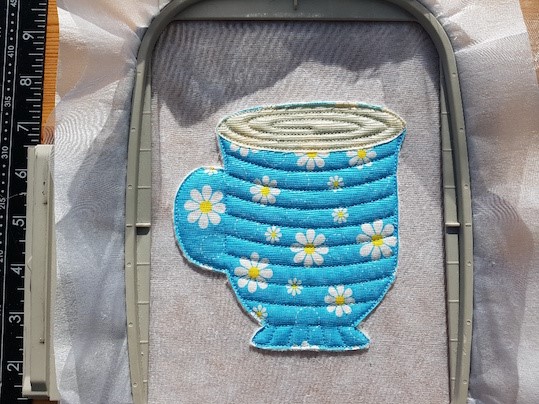
To make the back of the wallet, you will need to use the mirror facility on your machine to flip the design.
You will also omit the step to create the word “Tea” on the back, as if you did this step as well the word “TEA” would also be mirrored and would not be readable (as you can see above). |
|
|
|
|
|
The picture above shows the completed back before adding the backing. |
|
|
|
|
|
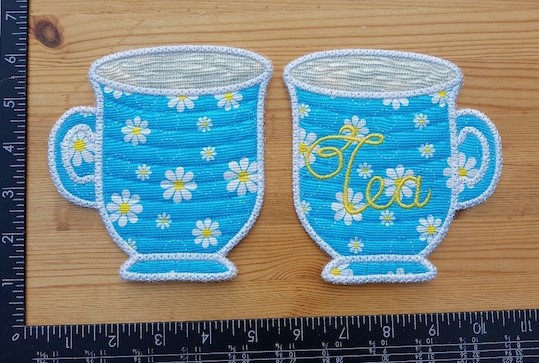
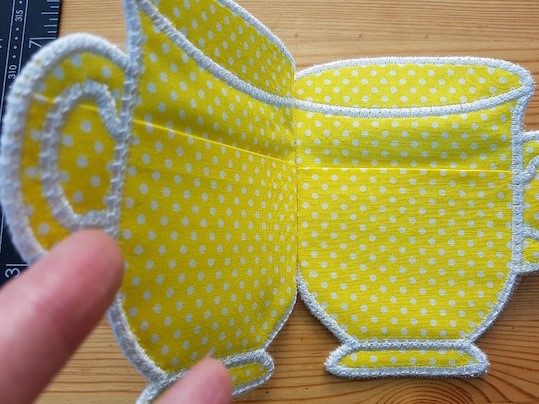
Here we can see the front (with Tea) and back coasters, viewed from the front. |

STEP 3
|
|
|
Here we can see the coasters viewed from the back, showing the pockets. Note that both pockets are at a similar height, as we aligned them to be consistent before machining. |
|
|
|
Pin the two coasters together pocket side to pocket side and pin as shown above, |
|
|
|
Now using a sewing machine, or, by hand secure the two coasters by sewing down the edge close to the satin stitch (where my finger is pointing), between the pins. This is about 2 ½”, i.e. the straight part only. |
|
|
|
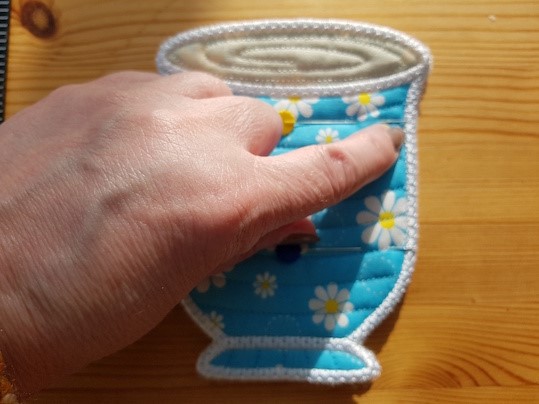
You should now be able to open the two halves like a wallet. |
|
|
|
For this project I used my special pliers to fix a plastic popper on either side, but if you do not have such a tool available, you could use velcro, or, a sew on press stud. |
 |
|
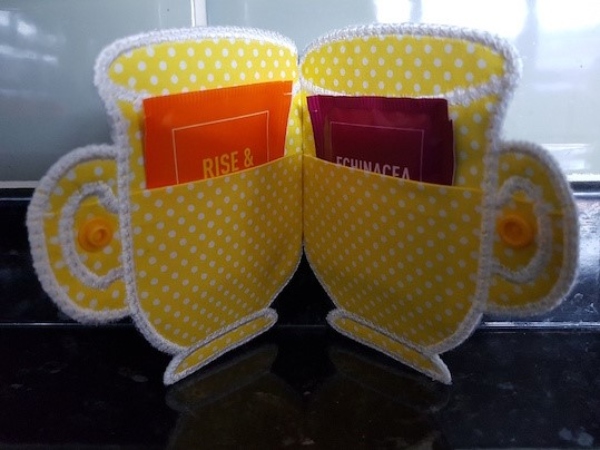
The inside of the finished tea bag holder, that can hold 2 - 4 tea bags, |
 |
|
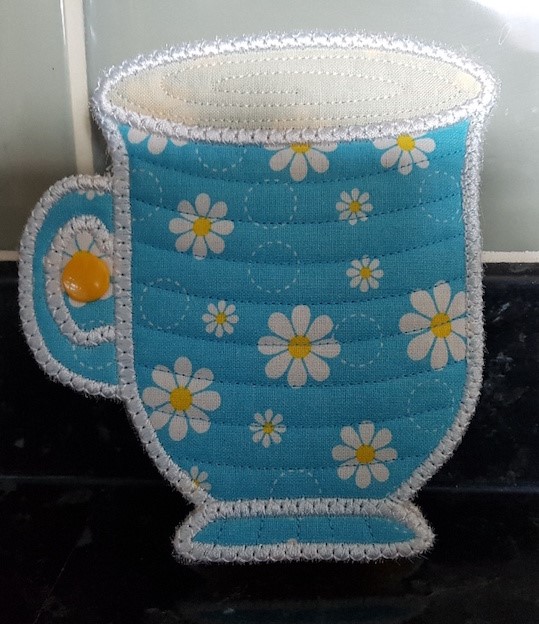
The front of the finished tea bag holder. |
|
|
|
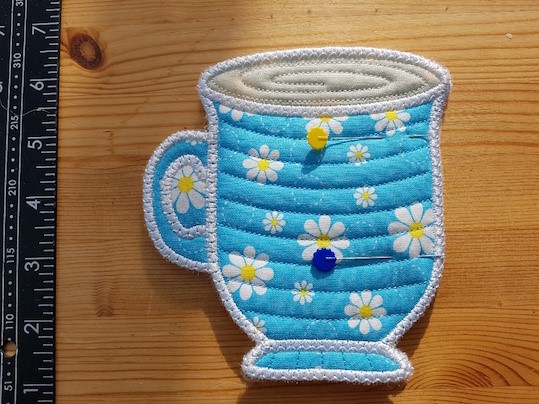
The back of the finished tea bag holder |
CONTACT DETAILS
- eMail: cathy1981@live.co.uk
- Website: http://picklecreations.co.uk/PickleCreations/Welcome.html
- Etsy Shop: PickleCreationsShop
