
Making the best use of Water Soluble Stabiliser
MAKING THE BEST USE OF WATER SOLUBLE STABILISER.
By Lorraine Platten.
I have noted that many members of the Kreative Kiwi Community have commented on how much water soluble stabiliser they use and the expense involved.
This is intended as a guide only. I use a strong water soluble stabiliser (much heavier than “Solvy”) and not shiny. As I make quilts for charity I do not use a backing when making Kreative Kiwi designs.
I have stitched out the large Panda and taken photos of each step and hopefully my explanations will assist.
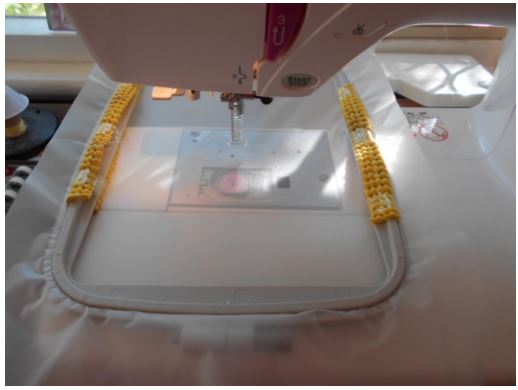
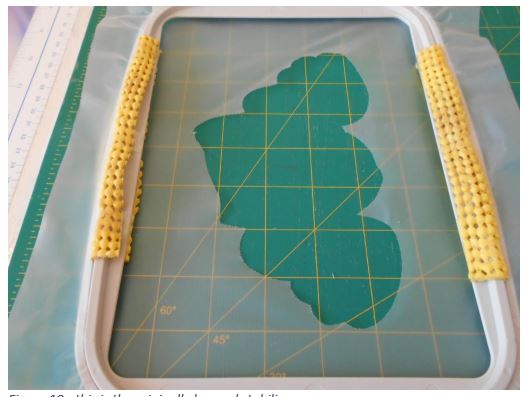
Figure 1 - hoop 1 layer of WSS
I hoop one (1) layer of WSS and to achieve two (2) layers I float a layer of tearaway and a large scrap of WSS between the machine and the hoop (you may like to tape the tear-away to the hoop).
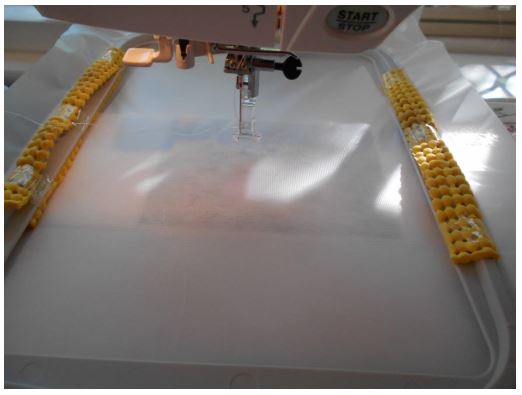
Figure 2 - float 1 layer of tear-away plus scrap of WSS
I then use another layer of scrap WSS on top of the hoop and large enough to cover the design area, the first colour is then stitched. It looks a little bubbled on the WSS here but the next step smooths that.
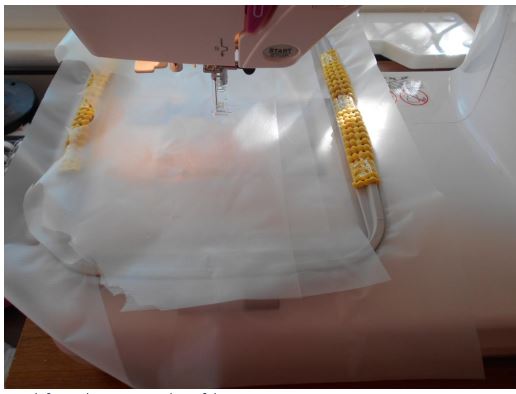
Figure 3 Stitch first colour to set outline of design.
I use offcuts of wool wadding instead of pellon. Place the white fabric and pellon over the stitch guidelines and stitch colour 2. Then follow the instructions given for the design to finish the section.
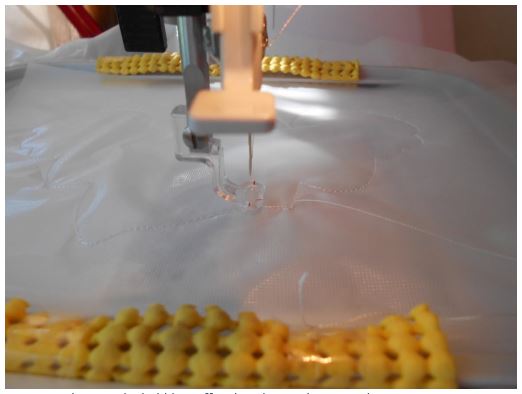
Figure 4 - showing the bubbling effect but this can be ignored.
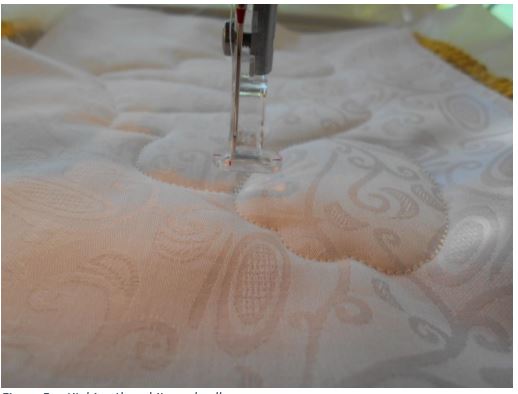
Figure 5 - stitching the white and pellon
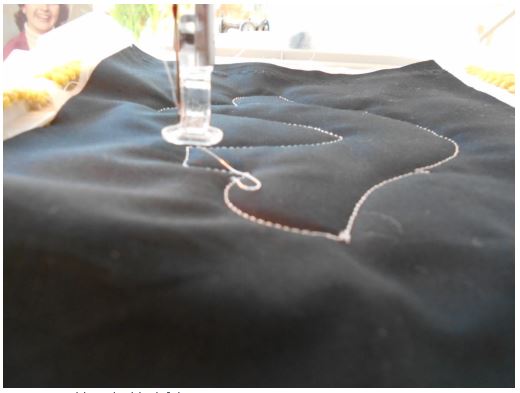
Figure 6 - adding the black fabric
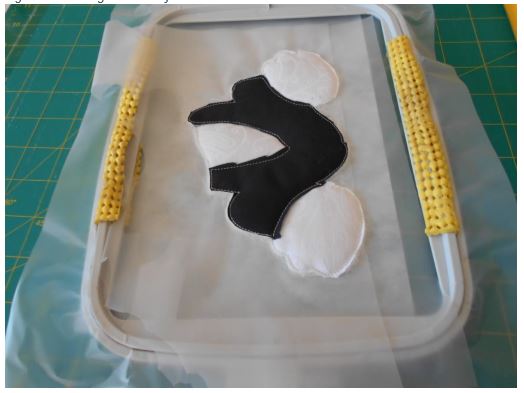
Figure 7 - showing the layers of WSS under the design & before properly trimming away
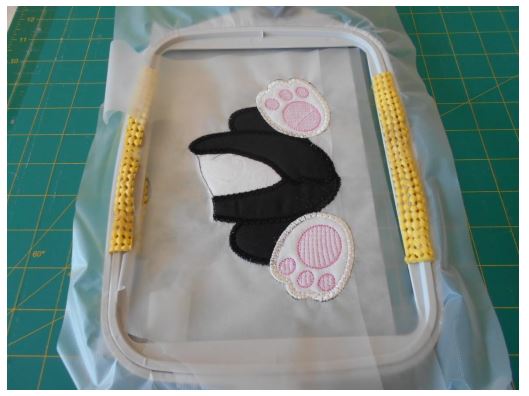
Figure 8 - finished section
Note that the final stitching does not pull away as has been experienced by some members. Do not remove stabiliser from the hoop but gently remove the design.
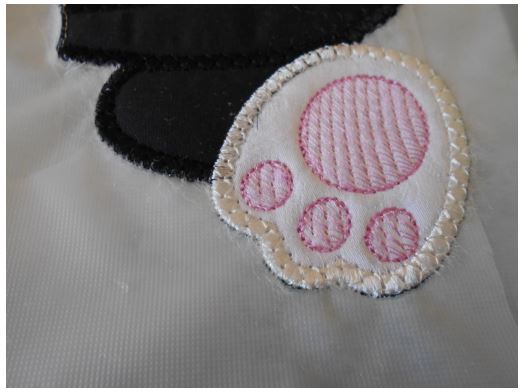
Figure 9 - close-up of finished section showing a little pull away around each foot.
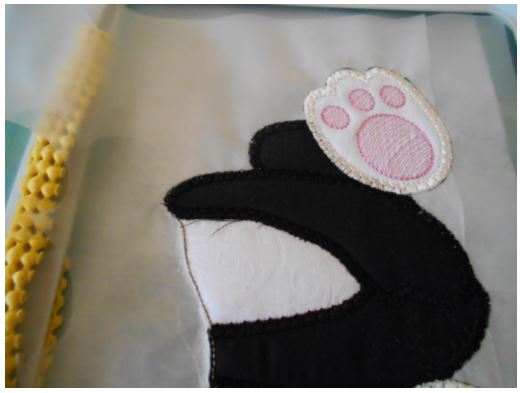
Figure 10 - finished section just needs a little clean up.
Figure 10 - this is the originally hooped stabiliser.
As the next part of the design is a different shape you can safely add layers of scrap stabiliser by doing the following.
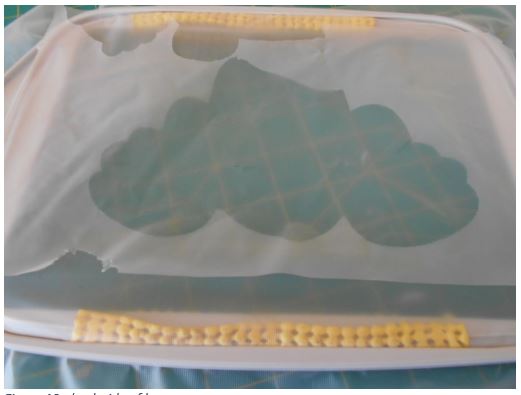
Figure 12 - back side of hoop
Lay a scrap of stabiliser over the “hole” and using masking tape, tape tear-away over that.
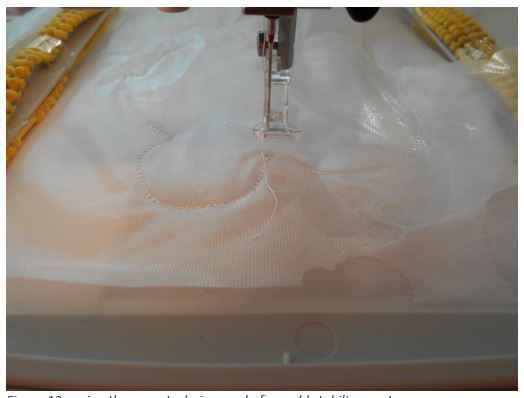
Figure 13 - using the same technique as before add stabiliser on top.
This also looks bubbly but, trust me, this is going to work. Follow the instructions to the end and see the result.
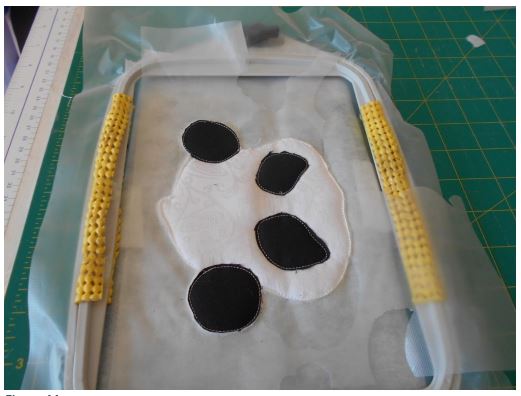
Figure 11
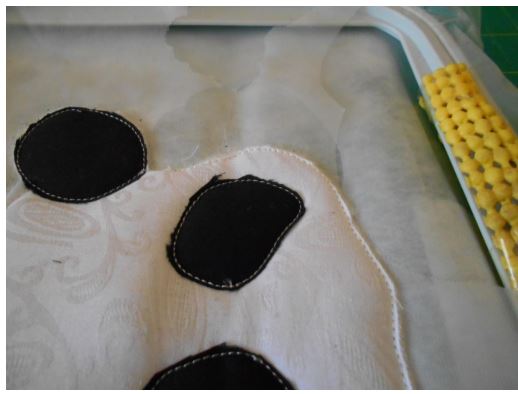
Figure 12 - this one & No.14 show how much scrap is used.
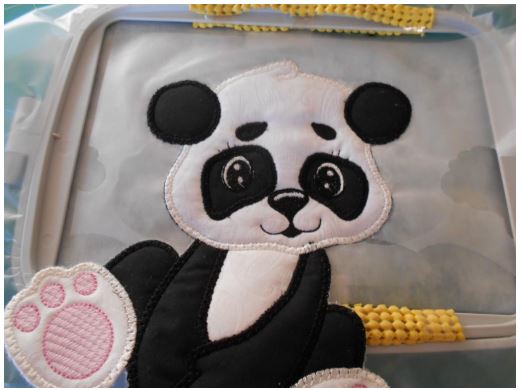
Figure 13 - finished Panda
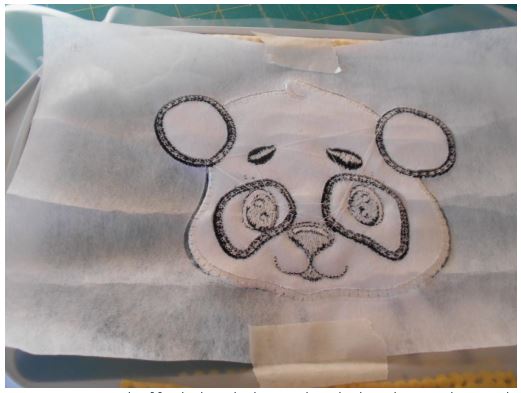
Figure 14 - wrong side of finished Panda showing the only place I have used tape in the whole exercise.
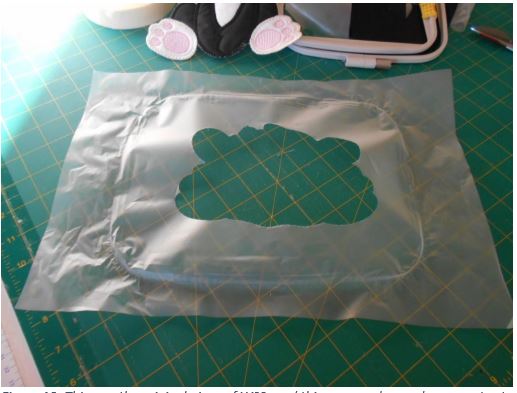
Figure 18 -This was the original piece of WSS used this can now be used as scrap to start the next project.
PS. Quilt basting spray also can be used to hold the pieces together but I don’t bother.
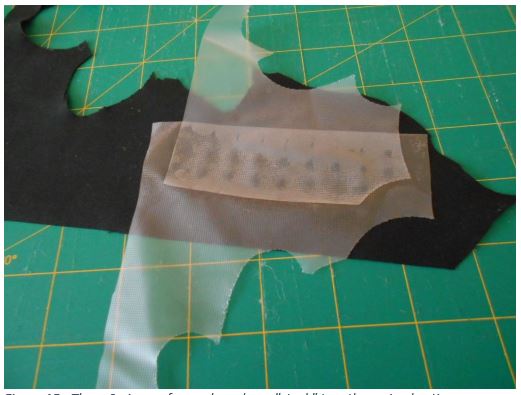
Figure 15 - These 2 pieces of scrap have been "stuck" together using basting spray.
Hope this helps
Thanks again for sharing Lorraine - this is a very useful (and well written) BLOG
Cheers Heather
