
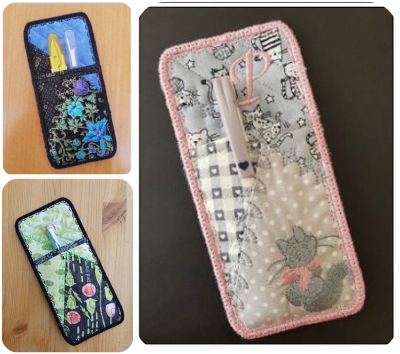
Design Inspiration using our Crazy Patch Bookmark Design
Blog Post by Cathy ofPickle Creations
A relatively quick and simple project to create a Pen Holder using our
Ideal for keeping nail files, sewing tools, etc..
Cutting List
|
Materia1 |
Comments |
|
As per the original Kreative Kiwi design. |
|
|
Scraps for additional front pocket. |
Given the small size of this project and the fact that it is a crazy patch, it is a great project for using up material scraps. |
Embroidery Design Used
Crazy Patch Bookmark
This project will take two hoopings, rather than just one, as per the original bookmark design.
Hooping one for the front and hooping two, for the back.
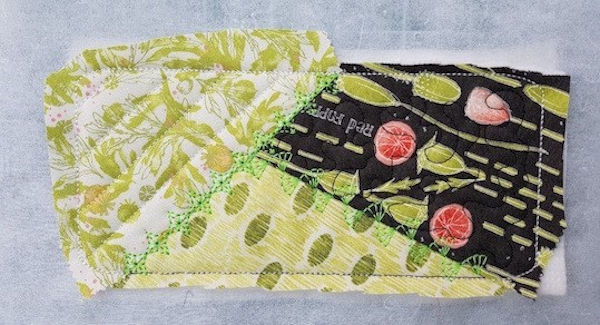
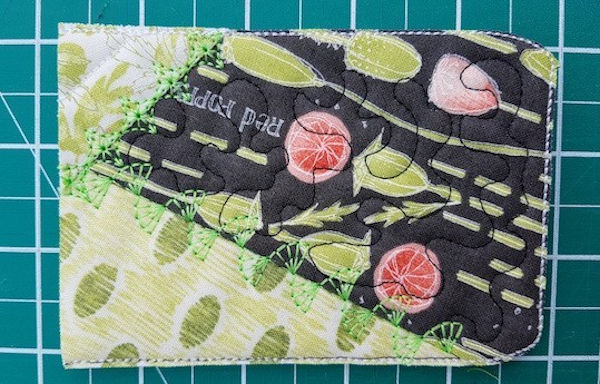
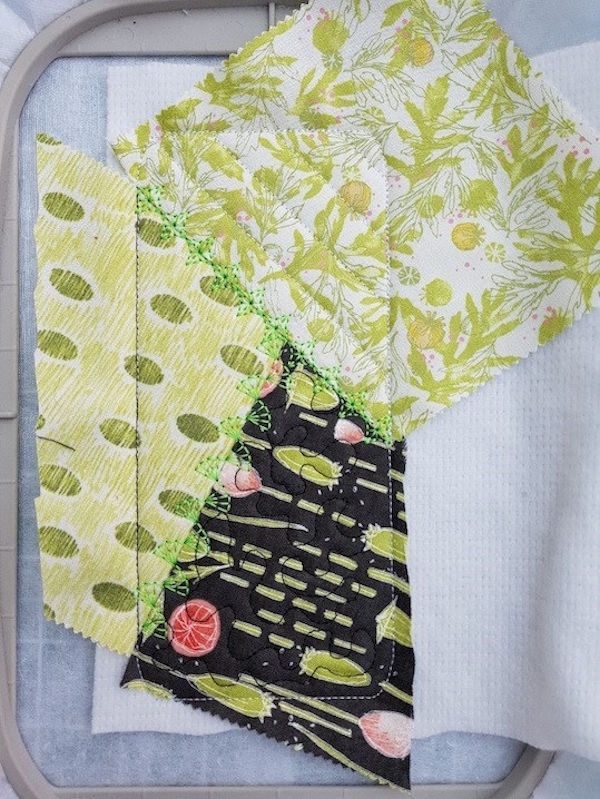
STEP 1 – Crazy Patch Pocket Piece
|
|
|
Using the “Crazy Patch Bookmark” design available from Kreative Kiwi, follow the instructions that come with this excellent design, but for this project I skip steps: 10 – flowers that will not show against the background I used, 12 - Monogram 13 – Book motif. I finish after step 14, adding backing. |
|
|
|
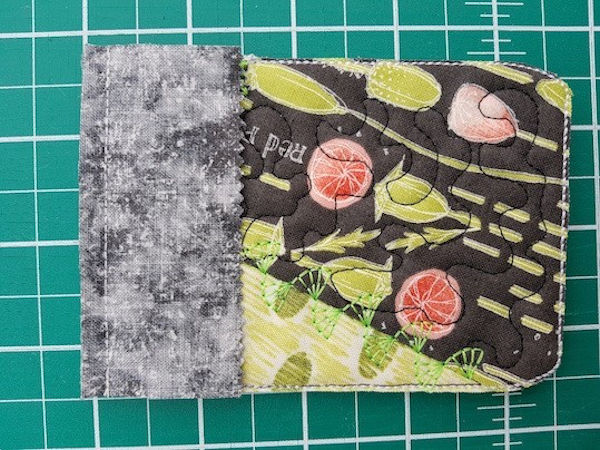
Having finished step 14. Measure up from the bottom of the design 4 ½” and cut, as this forms the front of the pocket. |
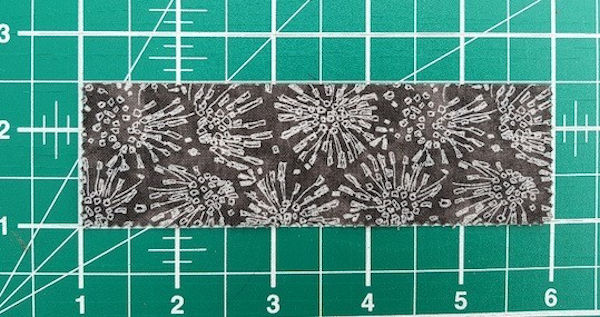
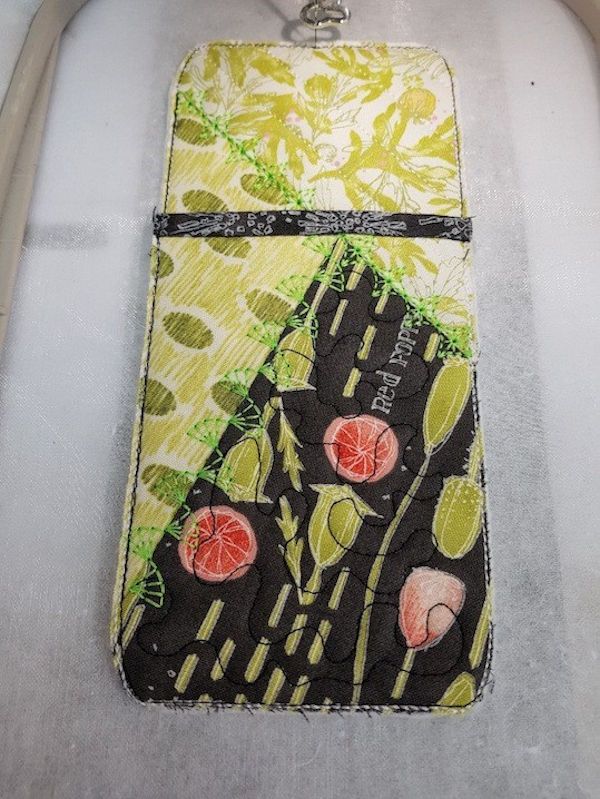
STEP 2 – Pocket edge
|
|
|
Cut a small piece of fabric, 5” x 1 ½” that will be used to finish the edge of the pen pocket. |
|
|
|
Place right side to right side along the top edge of the pocket and top stitch with a 3/8” seam. |
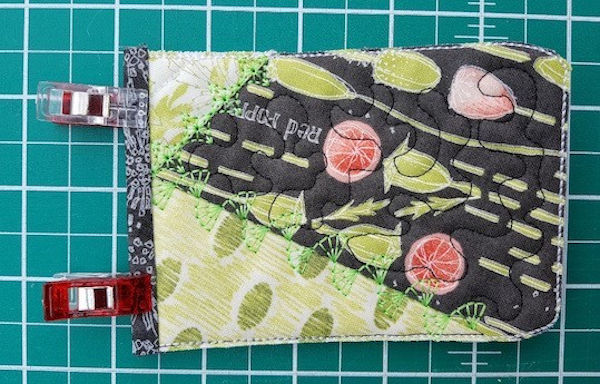
STEP 3
|
|
|
Fold to the back of the pocket, making sure you tuck the raw edge under on the reverse. Pin or clip in position. |
|
|
|
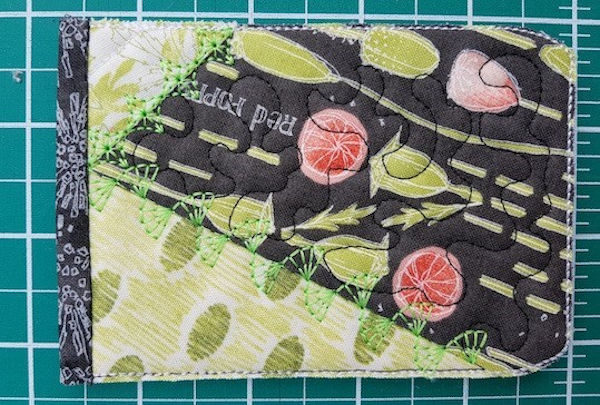
Top stitch in position with a ¼” seam. |
|
|
|
Back of finished pocket should look as per above. |
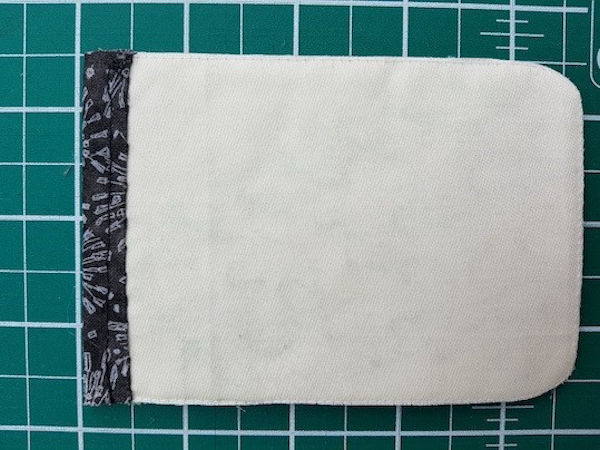
STEP 4 – Back of Pocket
|
|
|
This step is very similar to Step 1, as we are using the same approach to create the back, as we did to create the front of the pocket. Using the “Crazy Patch Bookmark” design available from Kreative Kiwi, follow the instructions that come with this excellent design, but for this project I skip steps: 10 – flowers that will not show (as will be inside pocket) 12 - Monogram 13 – Book motif. I finish after step 13. |
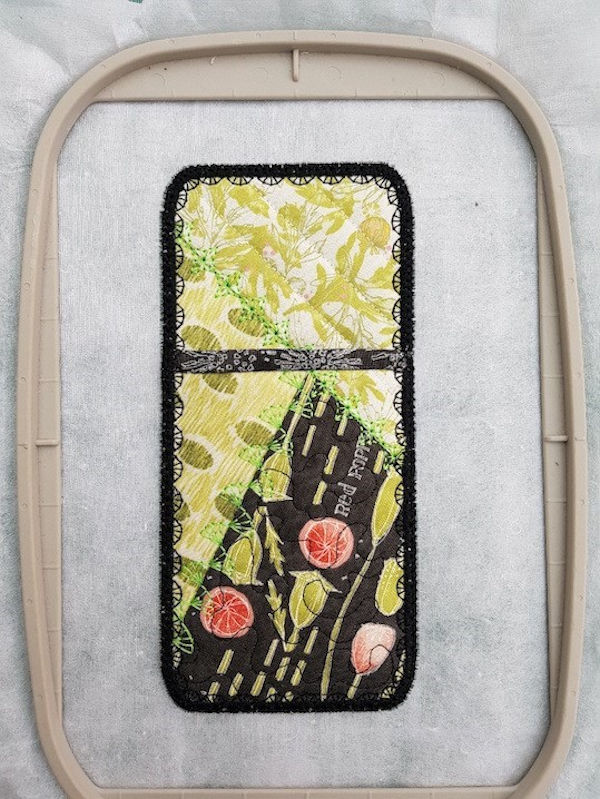
STEP 5 – Joining Front and Back
|
|
|
As per the instructions supplied with the Crazy Patch Bookmark design I now attach the backing (Stage 14 of the design), BUT in addition, at this stage we will also be joining the pocket to the back. So looking down on the above the sandwich will comprise of:
|
STEP 6 – Finishing satin stitch
|
|
|
For the satin stitch edging I find it best to slow the embroidery machine right down. In addition I also use tweezers (taking great care, to not let the needle hit them) to hold down the front of the pocket corner, as the needle approaches, as if you do not do this there is a danger that the pocket may pucker. |

STEP 7 – Finishing the Back
|
|
|
Remove from hoop and trim. |
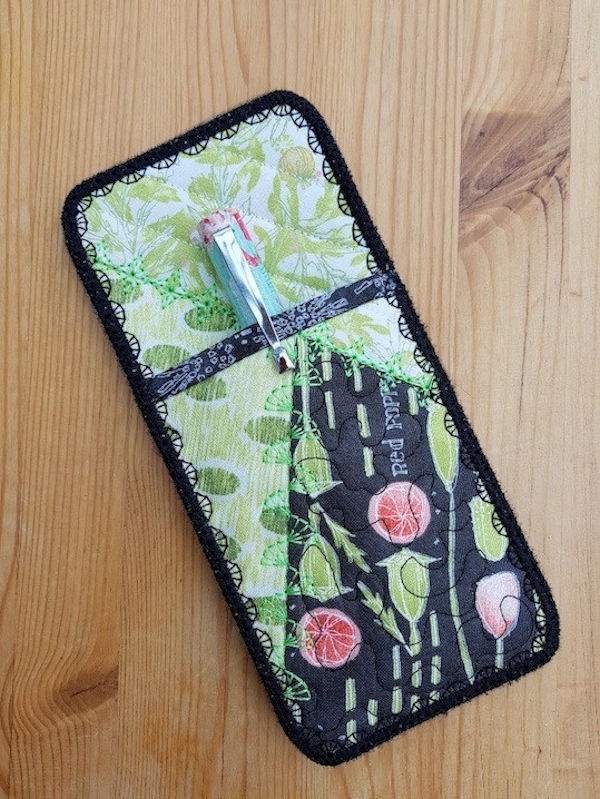
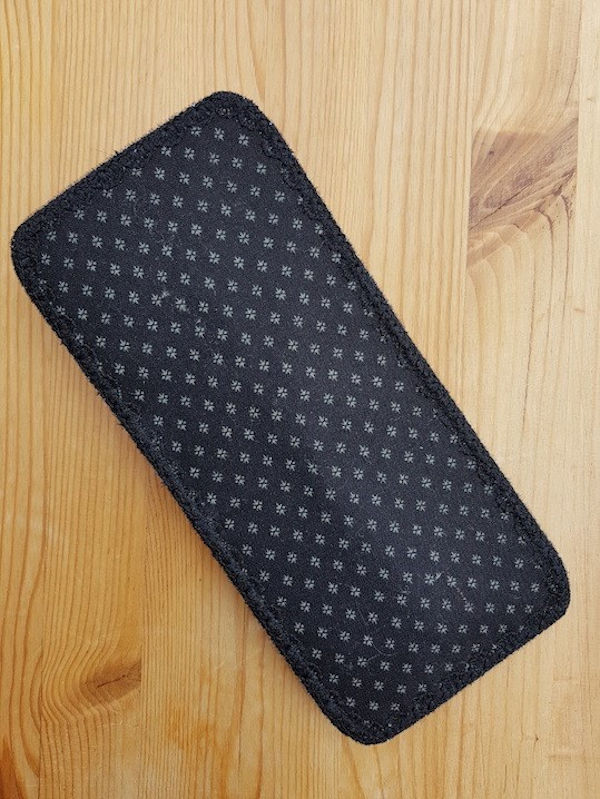
STEP 8 – Finished item
|
|
|
Hopefully the front of your Pen holder should look similar to the one above. |
|
|
|
Back of pen holder. |
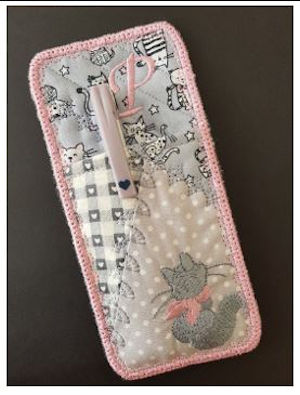
Variants
 |
 |
View more of Cathy's detailed pattern's at her Website Pickle Creations
