
How to make a Cushion

Mastered machine embroidery, but not so confident on your sewing machine? Start with a cushion - Darina shares 3 ways to complete a cushion with a professional finish, so you can confidentially show off your beautiful embroidery designs
How to make a Cushion
By Darina of Sew Nice by Darina
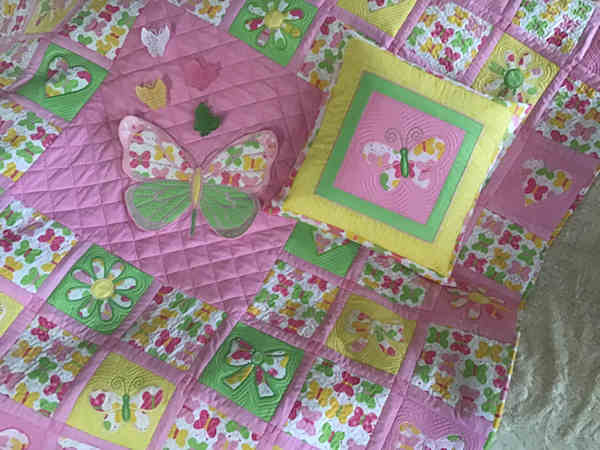
Darina makes the most beautiful Quilts, and her photos are always amazing - I've worked out her little secret - adding a cushion to her sets - doesn't it make a difference!!
Darina writes:
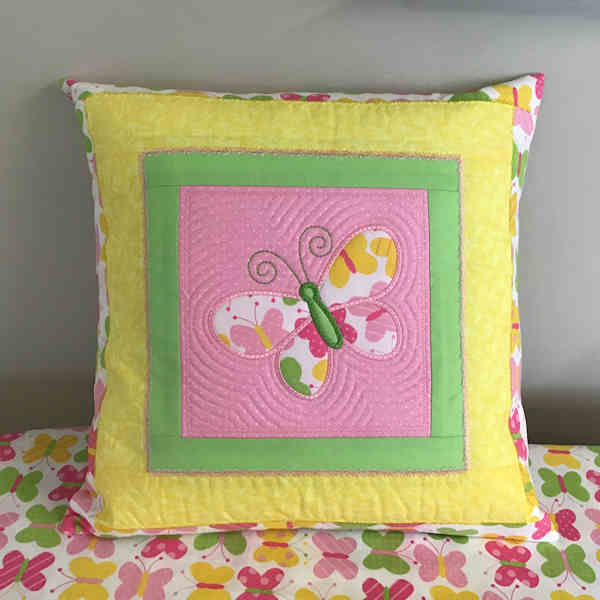
I make an extra embroidered block when making a quilt, then turn it into a matching cushion - a nice addition to the room decor
I'd like to share a few variations on the construction of a cushion/pillow.
SIZING
To determine the size of the block/front panel, you need to start with the end in sight.
You either:
- Purchased Cushion Inner - add 1 inch to all sides, to get your 'raw' front cushion size
- 14 inch Inner - Panel needs to be 15 inch
- Using your own stuffing - you can make cushion to any size - but again decide on the finished size you want, and add 1 inch to all sides
- Finished size of Cushion 14 by 18 inch - 'raw' front Panel needs to be 15 by 19 inch
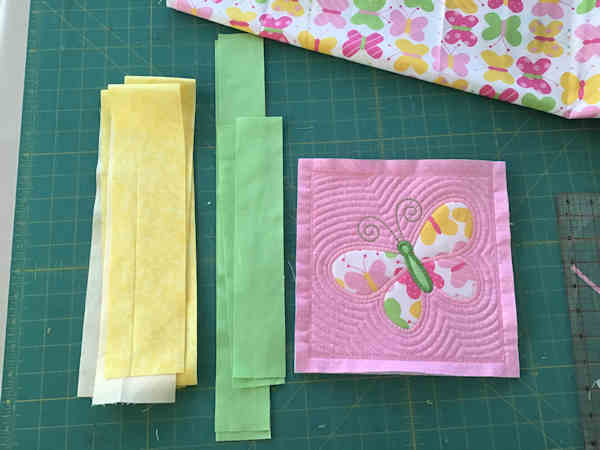
CREATING FRONT PANEL
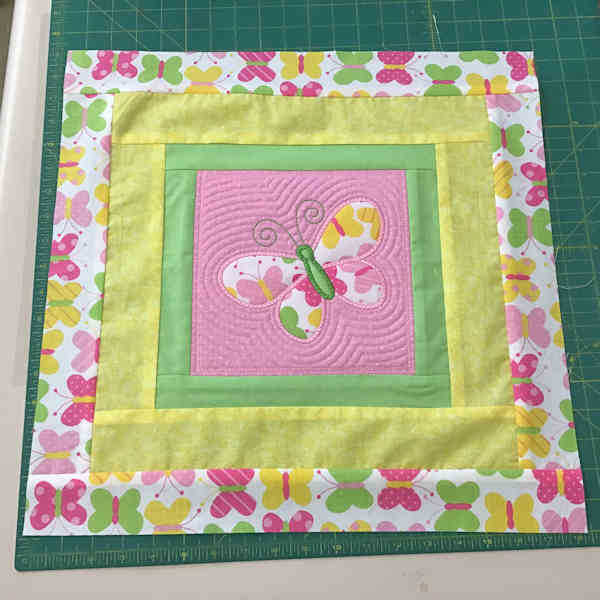
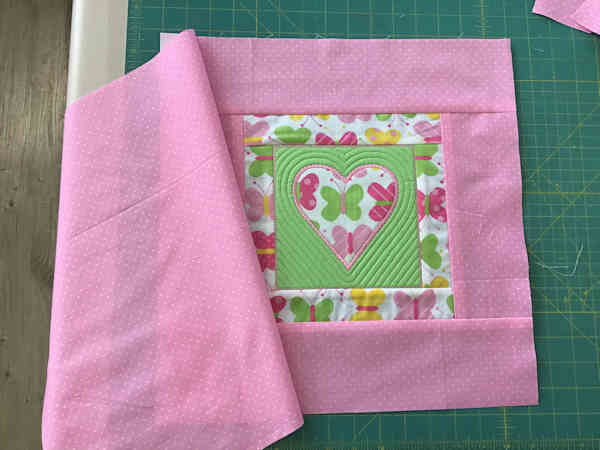
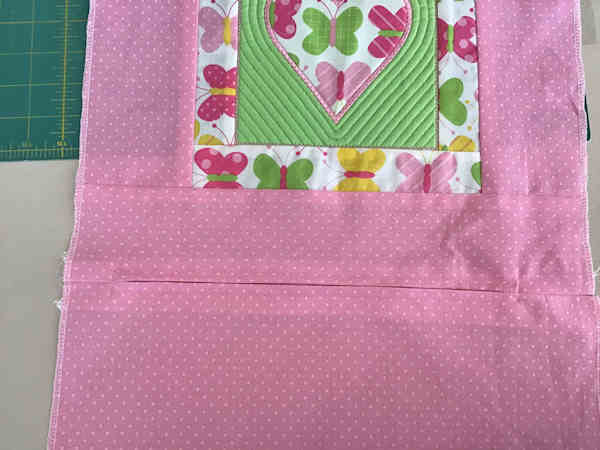
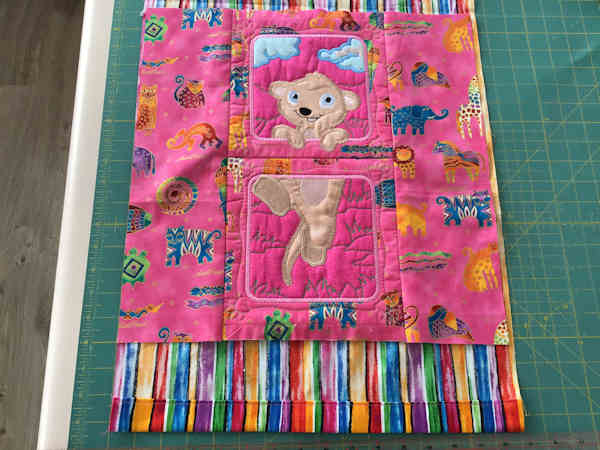
A beautiful way to show off a pretty embroidery design, is to build out a block with matching fabrics
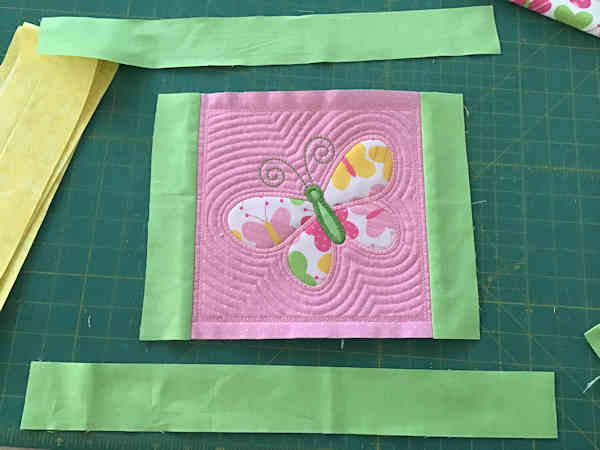
When building out a centre block with several different fabrics I suggest you start with a narrow one then increase the width as you add another. You can do as many or as few as you wish.
Always add the side panels first then remember your top and bottom ones will be longer than the side ones, unless you wish to do corner blocks, which I have not. Too fiddly for me! Hehe.
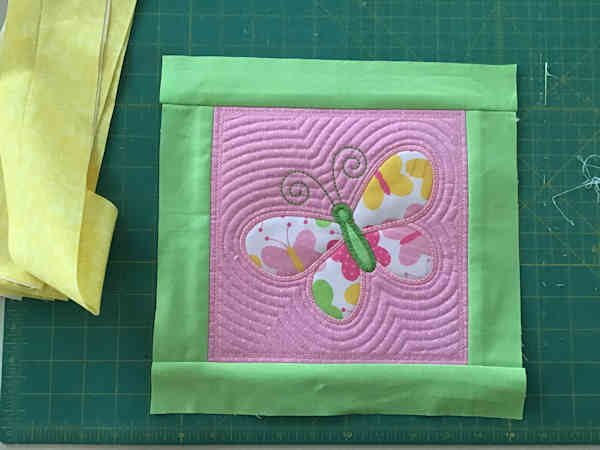
Once my front panel was complete I chose to press a piece of parlan (fabric style iron on interfacing) to the back to give a nice finish on the front.
 |
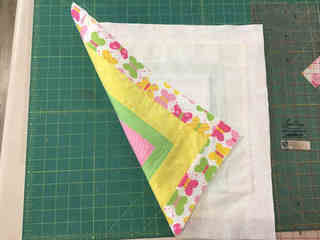 |
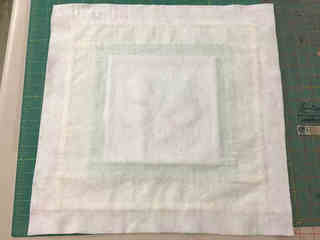
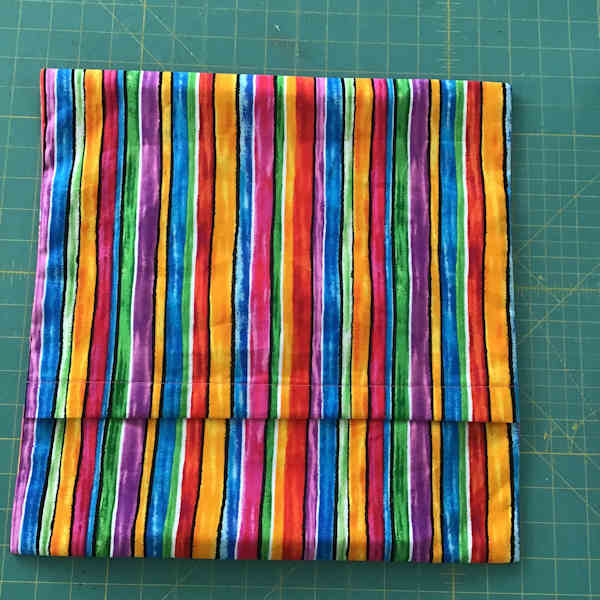
Serge or zig zag around the entire panel - this gives a nice finish and saves time later.
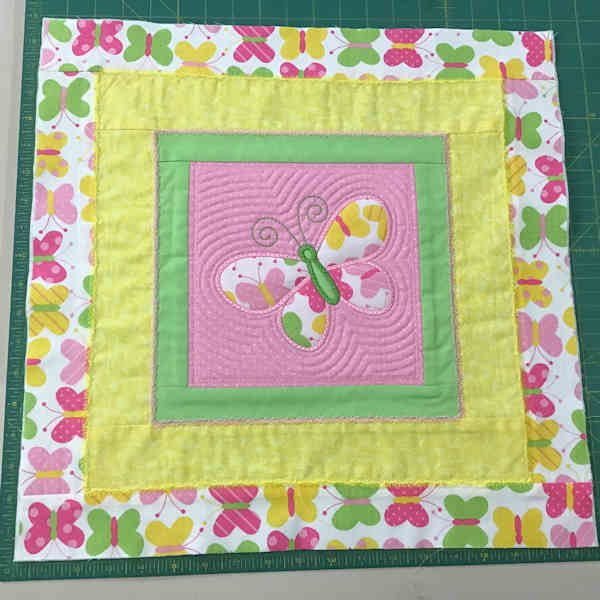
Got an oblong embroidery design? Add side pieces to make your square panel
 |
 |
CLOSURES
How you want to close the cushion will determine how much fabric you need for the back
Here Darina shares 3 ways to complete your cushion closures
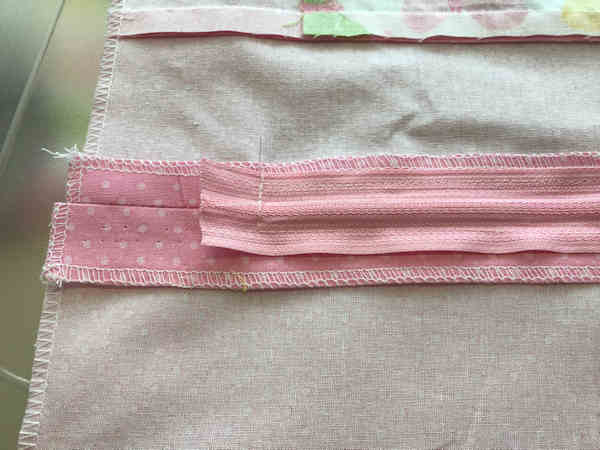
ZIP CLOSURE
 |
 |
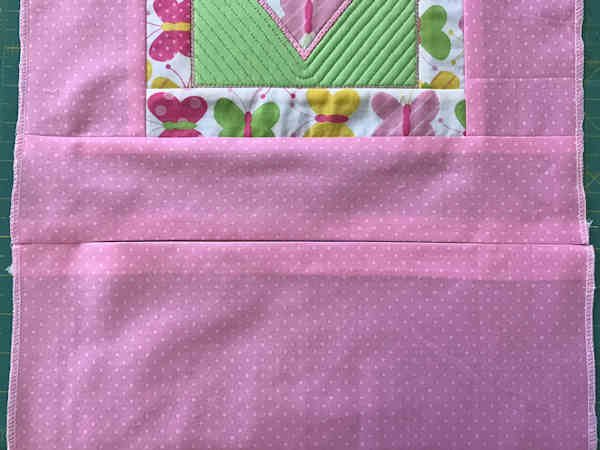
Cut backing the same size as your completed front panel - ie 1 inch larger than your finished size
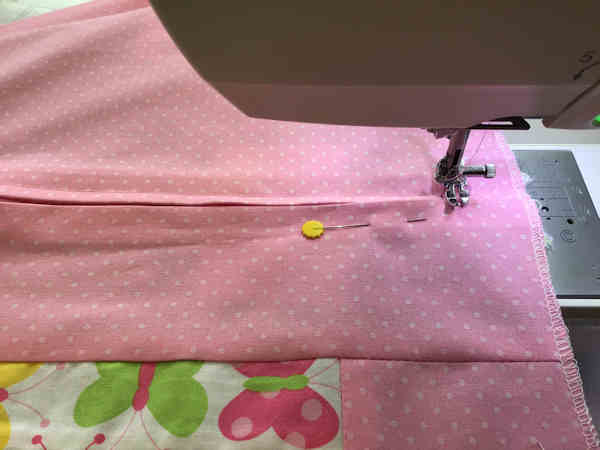
You can have the zip closure of any of the sides - Generally the bottom is easier to 'hide'
Place right sides together and on the bottom seam stitch in about 2” on either end, leaving a ½” gap on the outer edge. Press flat.

Place your zip under the open seam with your pull at the top. Stitch down the left side and across the bottom. Come back to the top and stitch across the top and down the right side.

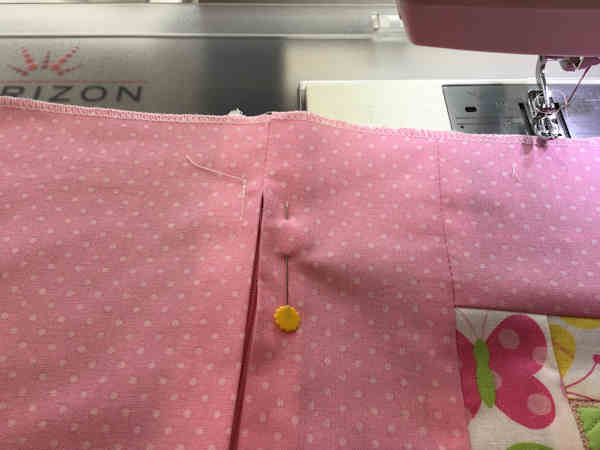
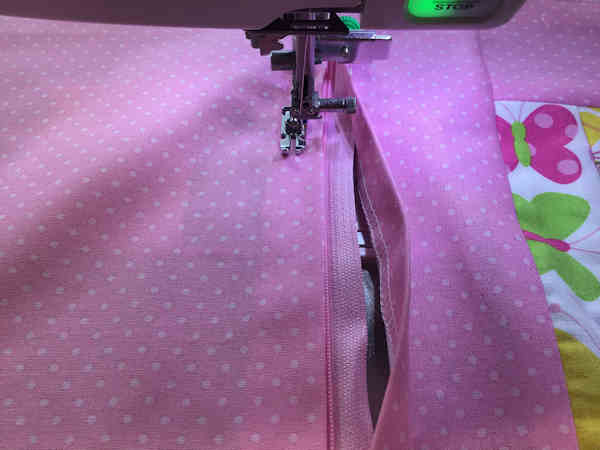
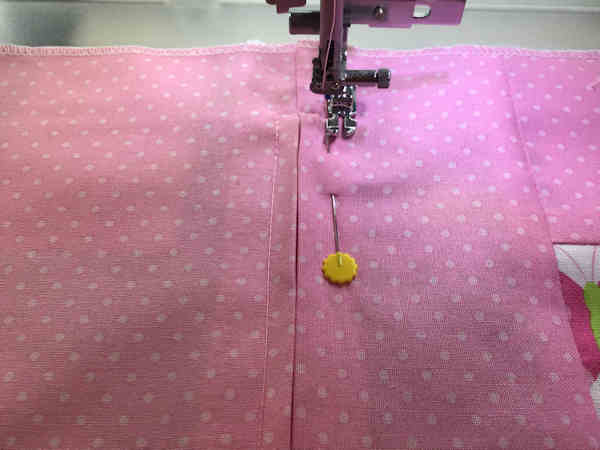
Your zip is done.
Open your zip a few inches for easy turning.
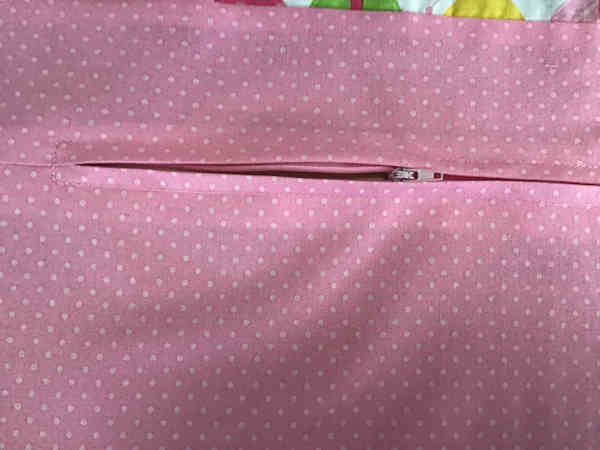
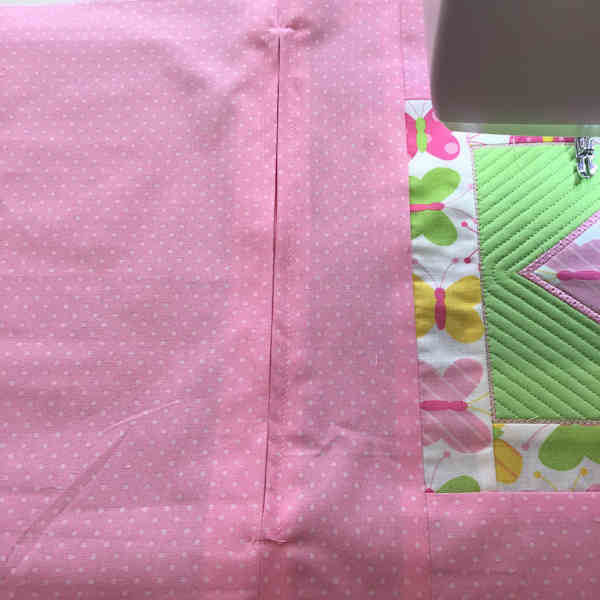
The only thing left to do is to put your rights sides together and stitch around the other three sides, leaving the ½” gap at each corner.

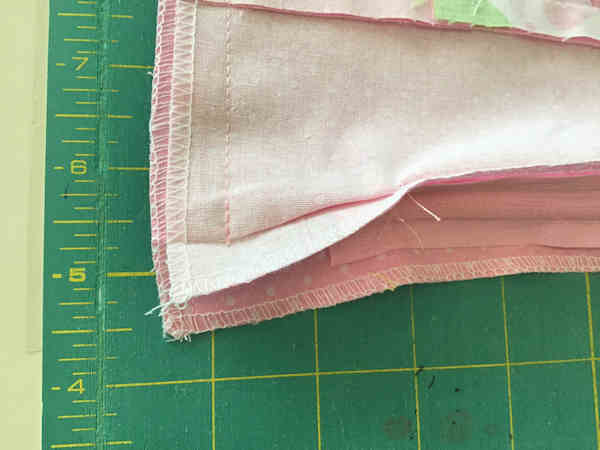
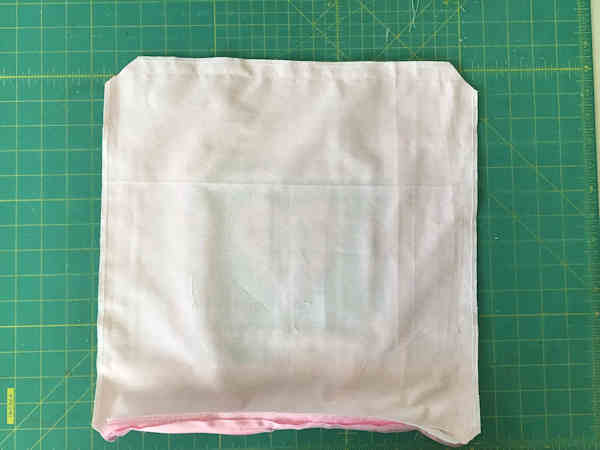
Trim the corners diagonally and turn through and press.
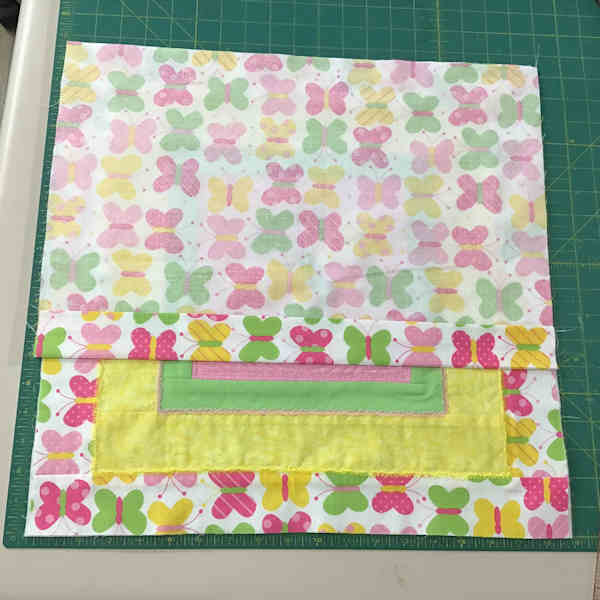
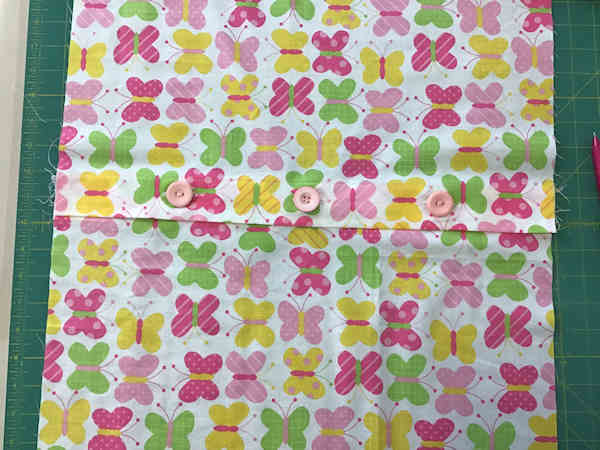
BUTTON CLOSURE
|
|
|
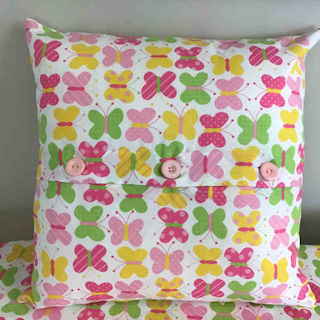

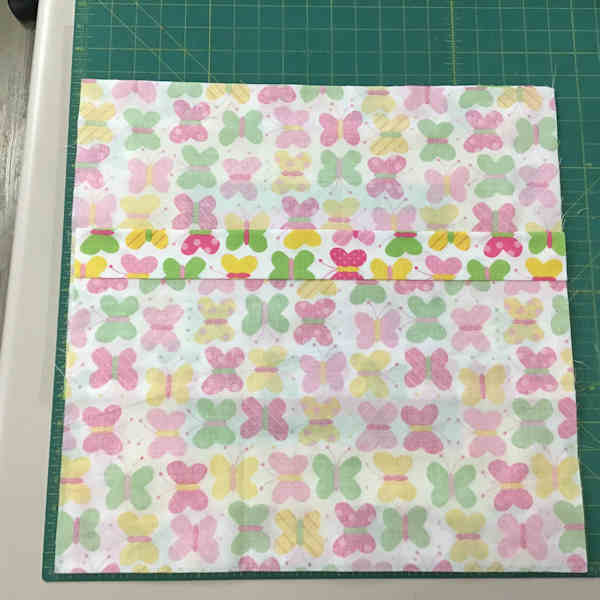
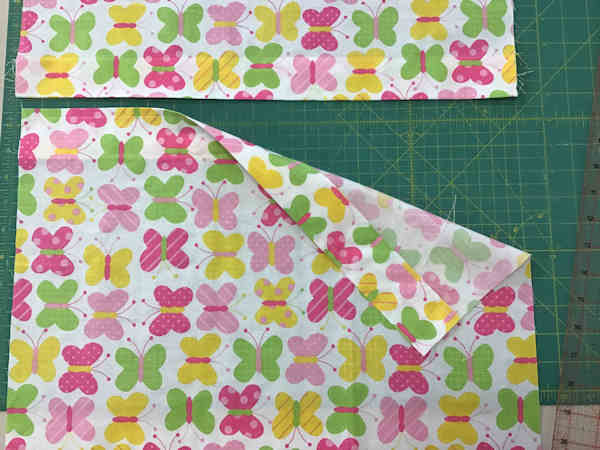
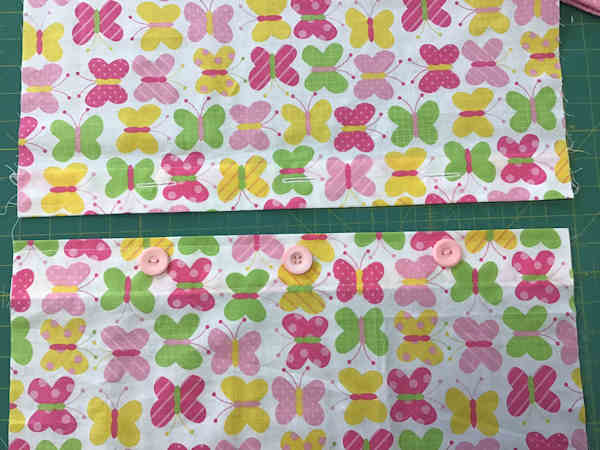
You will need to cut two pieces of fabric for the back for this style.
I am inclined to cut a little longer length, so I can trim back to the correct size when done. The width can be the same size
I measure the full length, divide by 2 then add another 3 inches to to the length of each panel.
If you plan on large buttons, you may need to add extra inches.
The finished panels need to overlap when finished, and will be cut to the exact size of your front panel once you have completed the overlap closure
Fold in one edge of each piece - This will be the edges that meet in the centre for the overlap
Do a double fold to strengthen the edge where you add buttonholes/buttons or whatever fastener you wish.
If your fabric is a one-way fabric, make sure you have the fabric the right way
Visually place your buttons
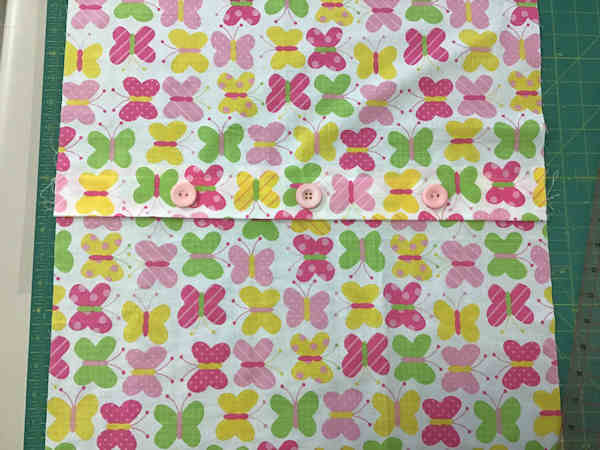
Mark the centre line on your fabric as pictured
One side for the buttons
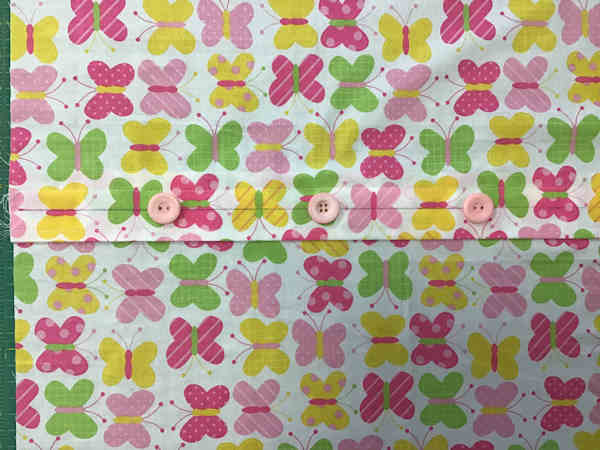

Complete your buttonholes whilst still a single piece.
Stitch your buttons in place also then you can just lay the completed back face down on the front panel and stitch all four sides.
Once you've completed the closure, you can cut this panel down to the exact measurements of your front panel
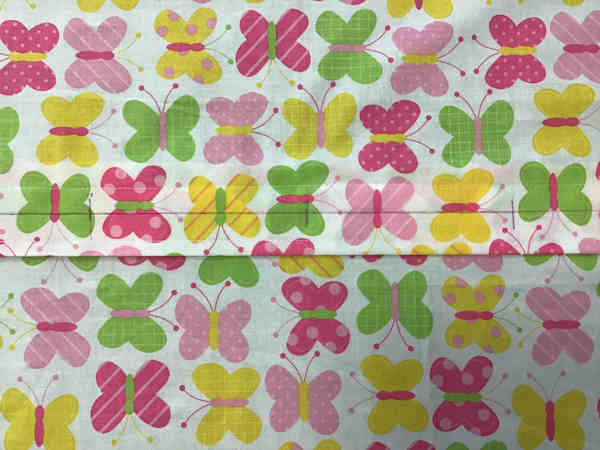
Stitch around all 4 edges - again don’t stitch all the way to the edge but leave a ½ gap so you can trim your corners.
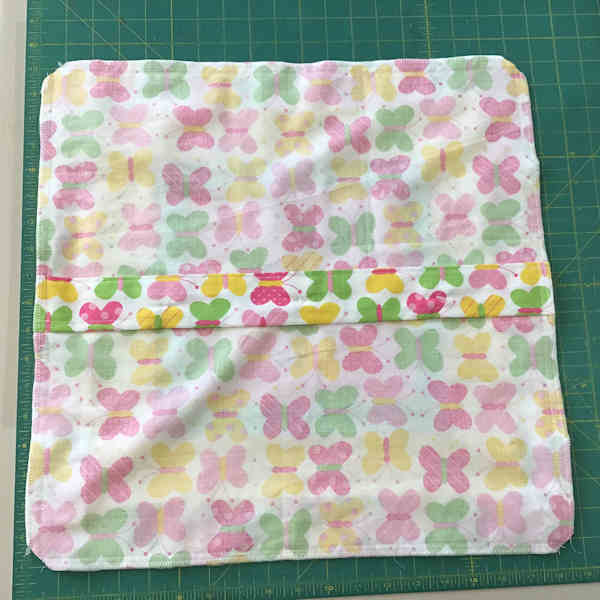
A nice variation for this one is to use a couple of matching fabrics to create a bit of a feature. I did one like this as I was short on fabric. Nice accident.
 |
 |
ENVELOPE CLOSURE
| |
 |
Cut 2 panels the approximately same size as your front panel or just a couple of inches shorter, from top to bottom.
- Neaten one end of each piece with a nice double fold and stitch across.
- Lay your two pieces with the neatened edge to the centre but overlapped, checking that when you turn it your top layer flap is facing down to the bottom of the pillow.
- Stitch around the four sides with right sides together.
- Turn through and press.
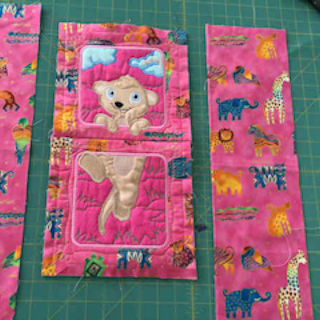
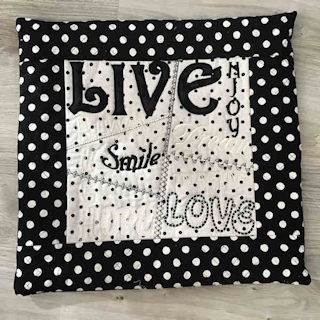
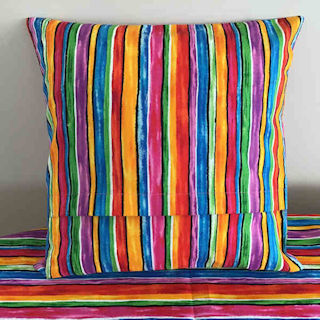
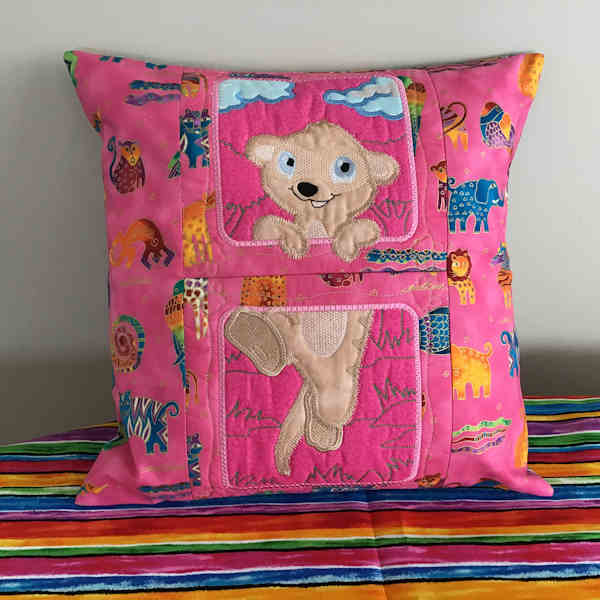
Designs used in Darina's beautiful samples:
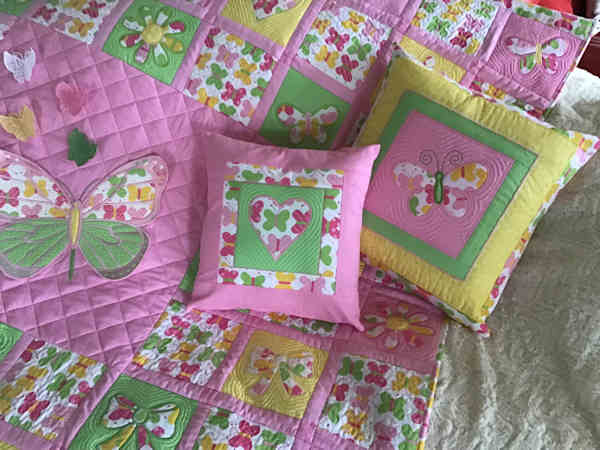
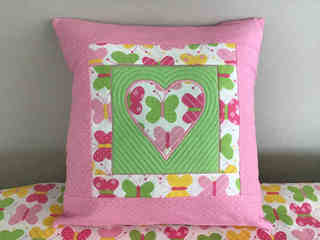
This amazing set uses Darina's famous Simply Quilting Set with our Large Applique Butterfly and free lace Butterfly
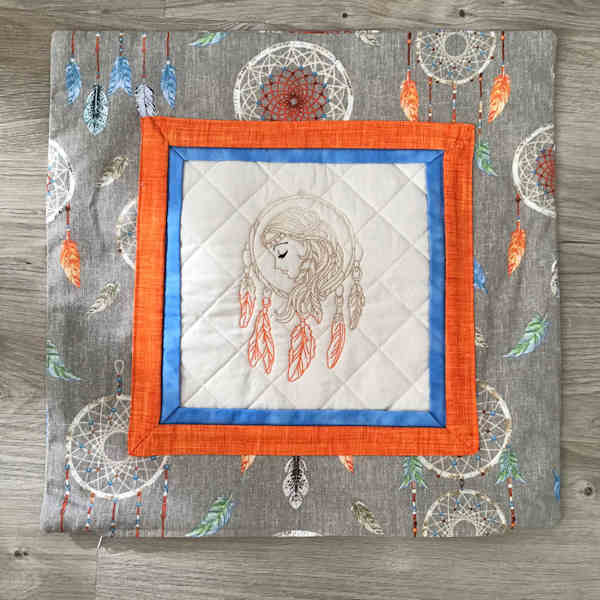
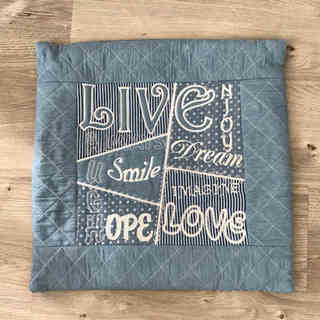
Free Dreamer Embroidery Design
| |
 |
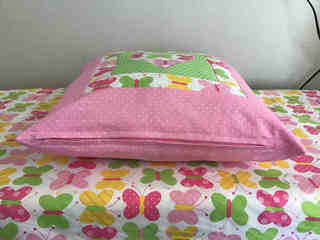
I'm going to showcase my effort - I followed Darina's instructions to make a zip closure cushion (I've been spoilt by In the hoop designs, so previously stayed clear of adding zips. I'm pleased to add Darina made it easy!!)
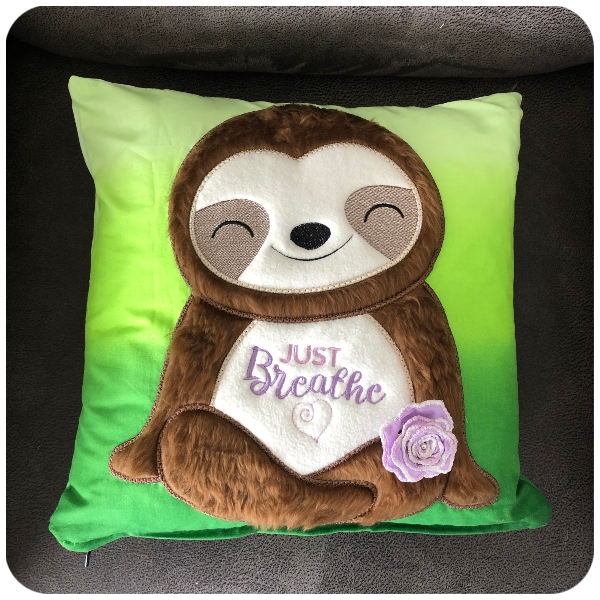
Large Applique Sloth
