How to make Burp Cloths from Purchased Towels
Baby Burp Cloths
Made from Purchased Towels
By: Darina
I have been making these burp cloths for about 15 years.
They have been greatly loved. I have probably made hundreds.
I used to be able to buy towelling by the metre but is not readily available now so I purchase nice soft white towels mostly when on special. I try to get ones that don’t have a border near the bottom but you can still work with it.
Depending on the size of the towel you can get between six and nine cloths.
First step is to cut up the towel. I also unpick or trim off the seam top and bottom.
As they are all different just make a decision that is practical to have an average size.
The example I will share with you today is a towel that measured:
140cm long x 70cm wide (55”x25.5”)
A great size to cut into six.
Finished size of each cloth 46cm x 33cm (18” x 13”)
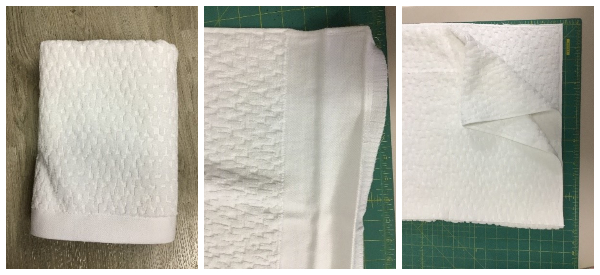
Step One
- Fold the towel into three lengthways
- Place on your cutting mat and using your roller cutter, cut accurately across the towel
- Now cut in half widthways.
- I then overlock/serge the edges as it makes it easier for stitching on the binding.
Step Two
Choose the fabric you want for your binding.
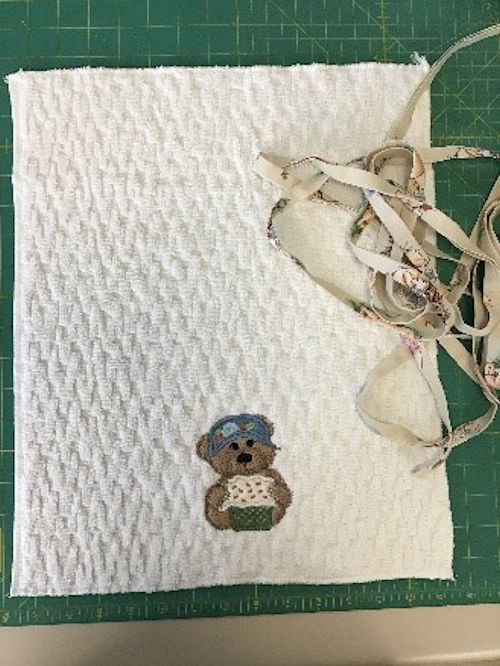
It is easier to choose it first then embroider to match rather than the opposite way around.
Your binding is only cut on the straight as the cloth has square corners. The strips are cut @ 2” wide. You need the length around plus about 3-4” to work with.
|
Not sure how to make Binding? |
Step Three
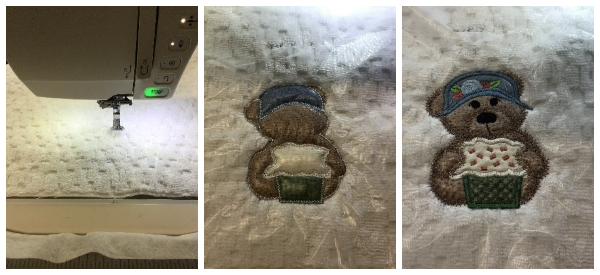
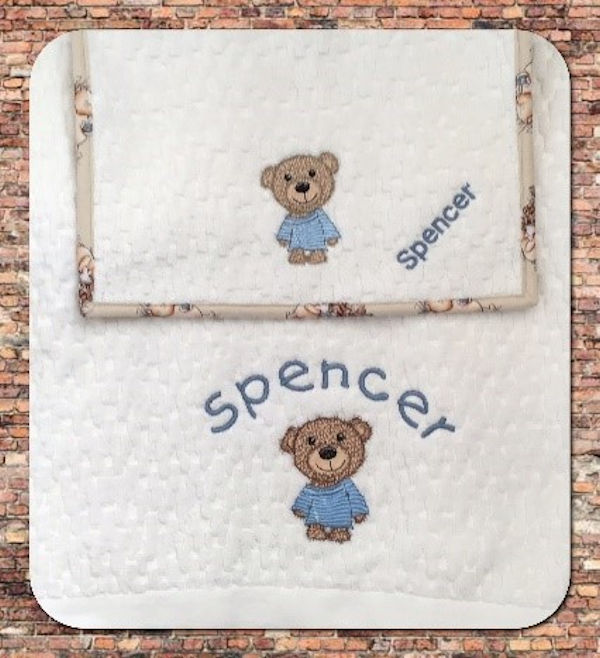
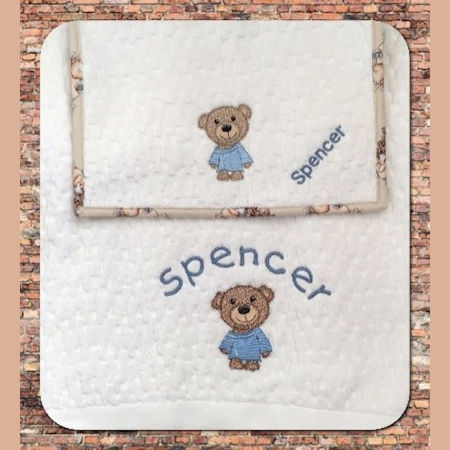
- Embroider your chosen design. Any 4x4 design works nicely.
- I love applique’s.
- Frame up stabiliser of your choice. I like to use the soft no show mesh. Could also use a tearaway or wash away.
- Float the towel on top with the film type solvy on top. Secure. My machine does a basting stitch around the outer edge which secures it nicely.
- As I usually make these to have in stock I don’t add a name until it is needed but if you are making for a planned one you can add the name at the beginning.
Step Four
- Attaching the binding.
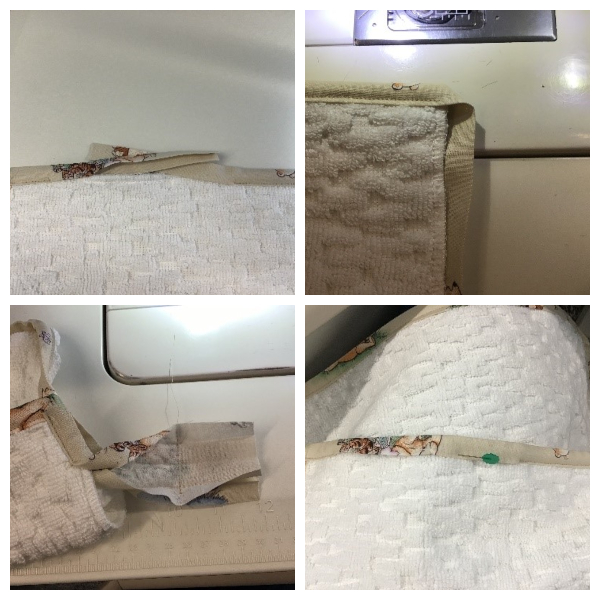
See this in detail on Darina's Binding Blog
- I like to start on the top right hand side about one-third down leaving about a 2” tail.
- Stitch right to the end of the first corner. No need to backstitch. Remove from the machine and with your fingers create a mitred corner.
- Drop your needle back into the corner. Backstitch at the beginning and proceed to the next corner. Repeat the process around the four corners.
- Stitch a short distance toward the tag at the beginning.
- Join the two ends as per the photos. Top stitch the last small section.
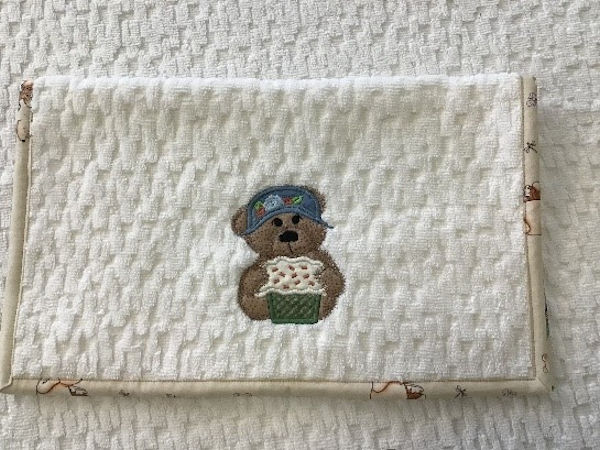
Your burp cloth is complete!
When adding a name later I have done them in all different places. Above, below, on the diagonal on the corner. The choice is yours.
To add a name to the completed cloth
- Hoop your Stabiliser
- Float your completed cloth over the top of the frame (to hold down, either use a basting stitch on your machine, or pins outside of the stitch area)
- Add your solvy topping
- Stitch name thru all layers
SAMPLES
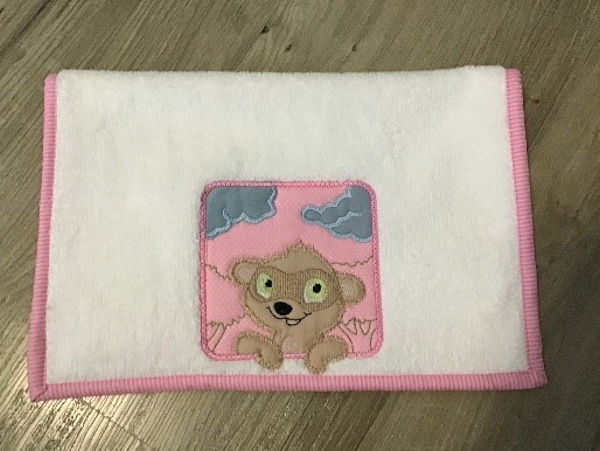
Meer Cat design from Jungle Animals Combo
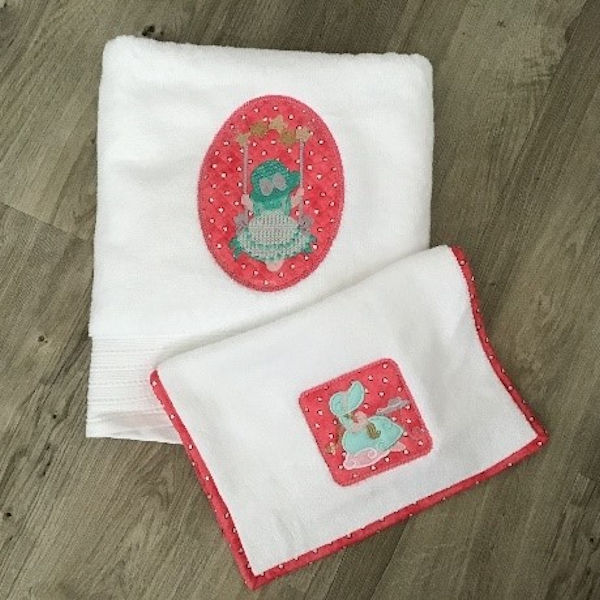
Sunbonnets from Swinging Sunbonnets and Ohlala Sunbonnets
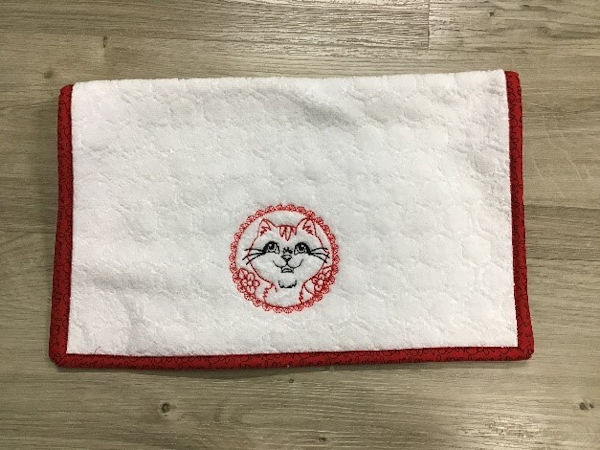
Cat from Animal Patches
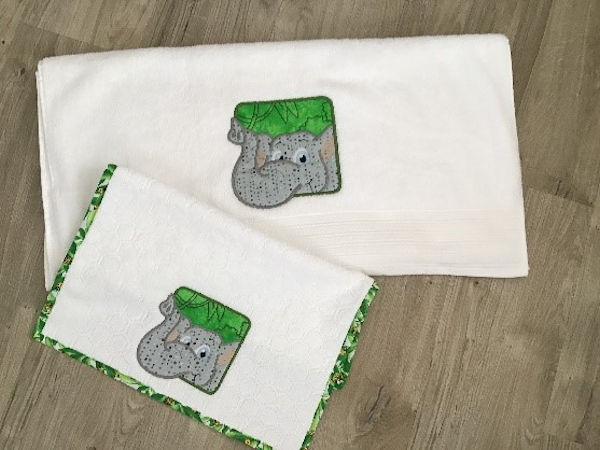
Elephant from Jungle Animals Combo