
arrow_circle_down Designs
arrow_circle_down Subscribe
arrow_circle_down Large Appliques - How to achieve perfect joins - every time!
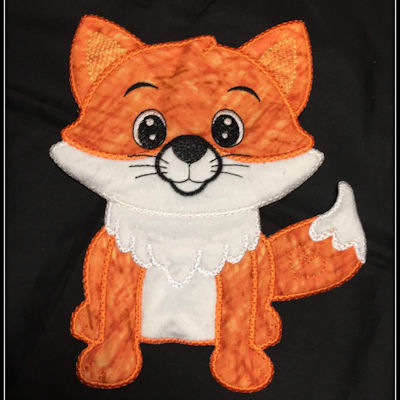
Do you Struggle with trimming your batting and having neat edges for joining our Large Applique projects?
Kim has shared her fool-proof method to achieve neat joins every time
(This also works well for smaller designs like the glasses cases)
Blog Post by: Kim - Kreative Kiwi Admin
I often struggle to cut both batting and fabric together, especially on colder days and my hands are a bit stiff. I was getting bits of fluff sticking out of the satin stitch giving an unsightly finish to my projects.
This is a method that helps me get a perfect join every time and no fuzzies.
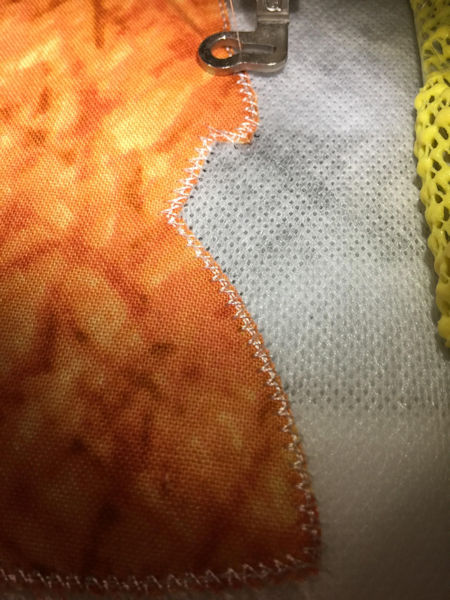
1. Load design into your machine as normal. Run the placement stitch that shows where you place your batting (pellon) and fabric.
2. Now reverse your machine back to 1st stich.
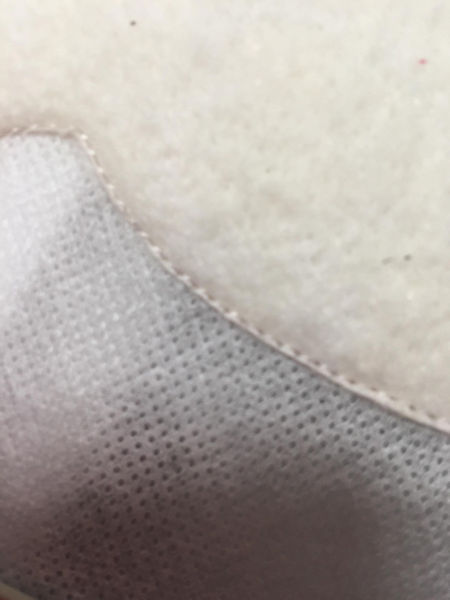
3. Place your batting only over the guide and run the placement stitch again to attach your batting.
4. Now trim your batting back to the stitch line. This should be nice and close. (It’s better to accidentally snip a stitch here than with the fabric)
5. Continue on with the stitch sequence as in the instructions. You’ll see that the stitches sit deeper making it a lot easier to trim your fabric.
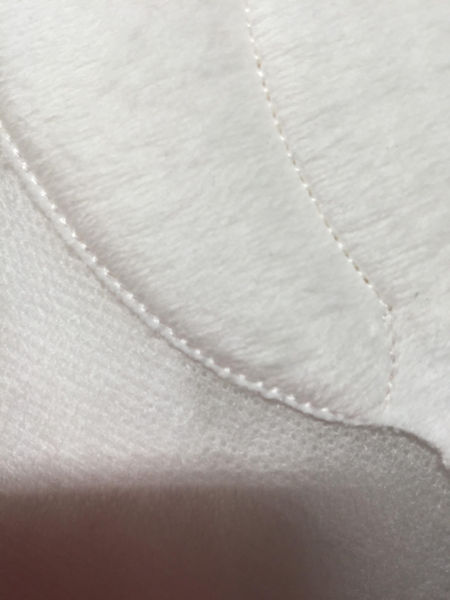
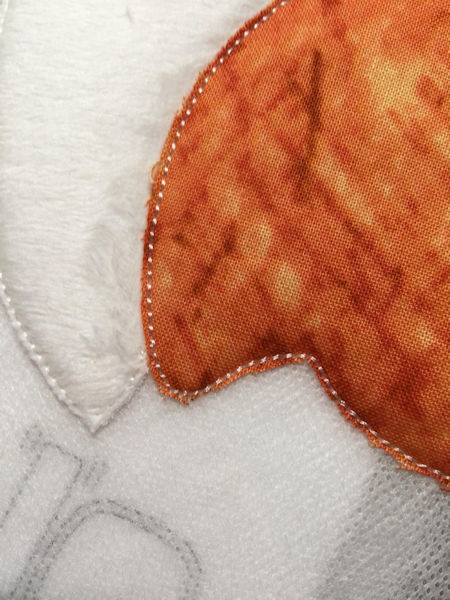
Now when you get to the zigzag stitch around the design, the stitches should cover the trimmed edges leaving no raw edges outside them.
If you find you do have fabric extending past the zigzag edging, carefully trim it now then run the zigzag stitch again.
Next we work on the actual joining.
Your machine will stop at the beginning of the join.
I cannot stress enough the importance of following Heather’s instructions and
SLOW YOUR MACHINE DOWN.
Line up the two pieces by slightly overlapping them and visually aligning the stitch line on both pieces.
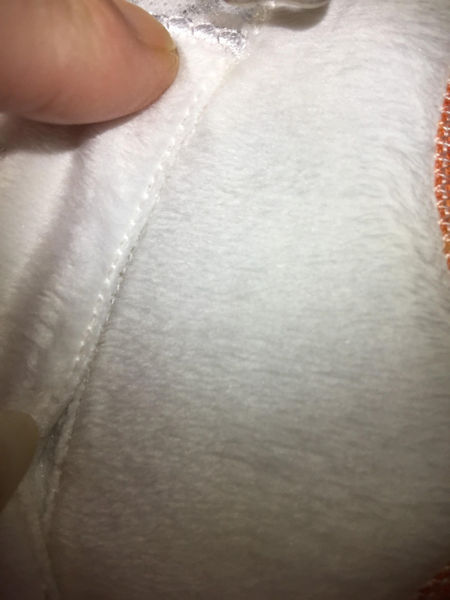
Stop every few centimeters and check that your join is progressing well. When you reach the end of the join stitch, there should be no loose threads outside of the zigzag.
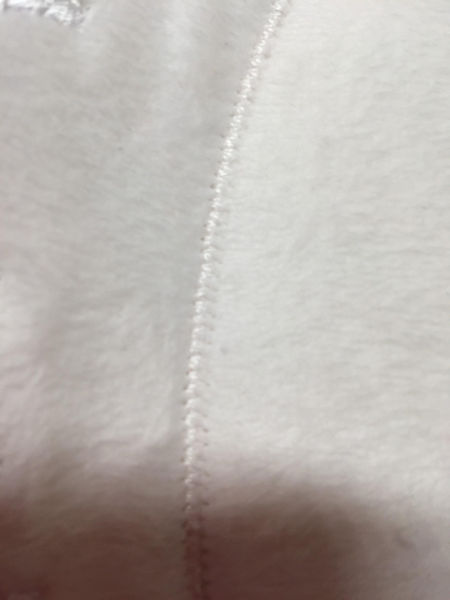
If your join is not perfect, cut the zigzag stitching away and redo the last step.
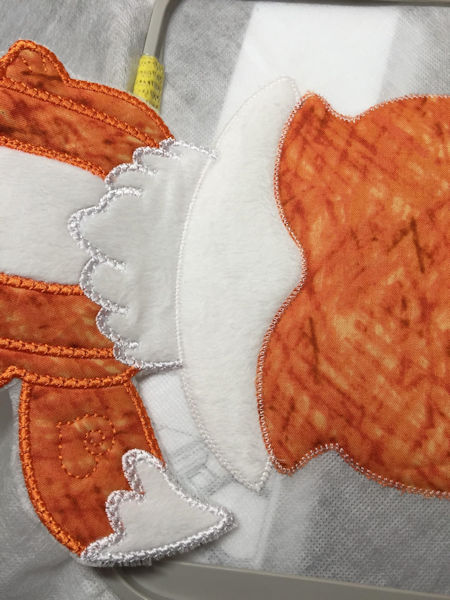
Now we’re ready to begin Heather’s beautiful signature satin stitch.
A perfect join every time ;)
|
Using this method helps to… • Remove those leftover fuzzies • Allows you to trim your fabric nice and close without cutting the stitches by accident • Ensures that the zigzag stitch captures both sides when joining.
|
HAPPY STITCHING - Kim
| Top |