
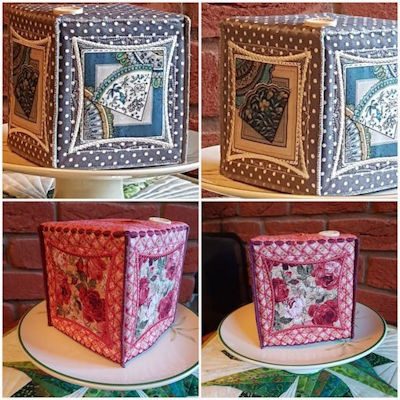
Design Inspiration using our Orange Peel Block to make a Tissue Box Cover
Blog Post by Cathy of Pickle Creations
TISSUE BOX COVER
Description
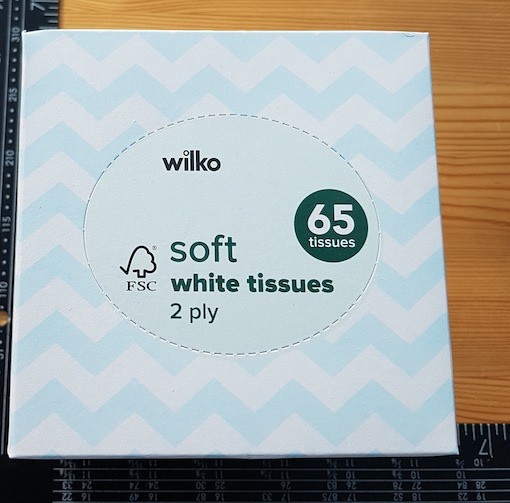
A re-usable tissue box cover to fit a square (or squarish) box of tissues. Note that the pattern here has been sized to fit tissue boxes purchased in the UK from Wilko and the boxes measure 4.625” ( 4 and 5/8”) by 4.625”, by 5” tall. Variants have also been made in the past to fit other sizes as most manufactures produce rectangular rather than truly square boxes.
Cutting List
|
Number Required |
Dimensions |
Material |
Comments |
|
4 |
6” squares |
Cotton, Denim, cotton canvas, or any other fabric with a bit of stiffness / body to it. |
Side panels |
|
2 |
5” squares |
Cotton, Denim, cotton canvas, or any other fabric with a bit of stiffness / body to it. |
Top |
|
4 |
6” squares |
Batting / wadding |
|
|
2 |
5” squares |
Batting / wadding |
|
|
4 |
4” squares |
Patterned material |
Fussy cut material for the side panels |
|
Optional |
As required |
Buttons |
Sometimes useful to add additional embellishment, or, to cover up any minor sewing imperfection! |
Embroidery Pattern
This particular tissue box design is using the
Orange Peel in the hoop 4 x 4 pattern
I have found this pattern to be excellent for making tissue boxes, using 4 fussy cut panels. A very versatile pattern that is a useful addition to an ever expanding collection of embroidery designs.
STEP 1 – Cutting out
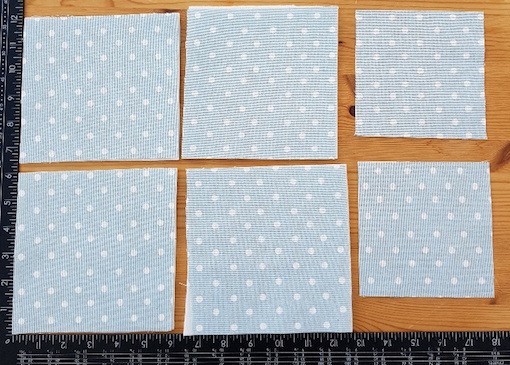
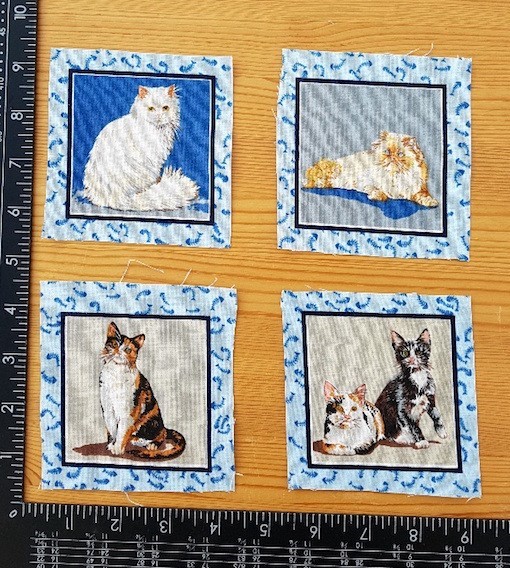
Cut out the 4 off 6”x6” side panels and the 2 off 5”x5” pieces for the top. Then fussy cut the 4 off
4” x 4” squares for the panels.
STEP 2 - Embroidery

Hoop up the side panel ready for the machine embroidery, in a suitable hoop size to accommodate the 4” design.
STEP 3
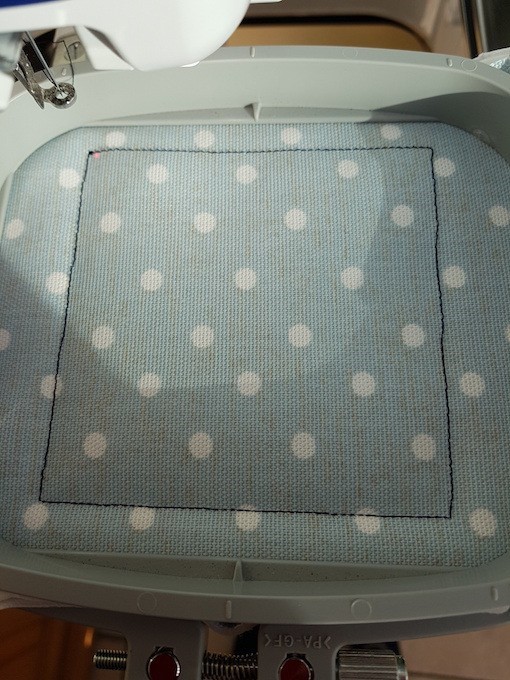
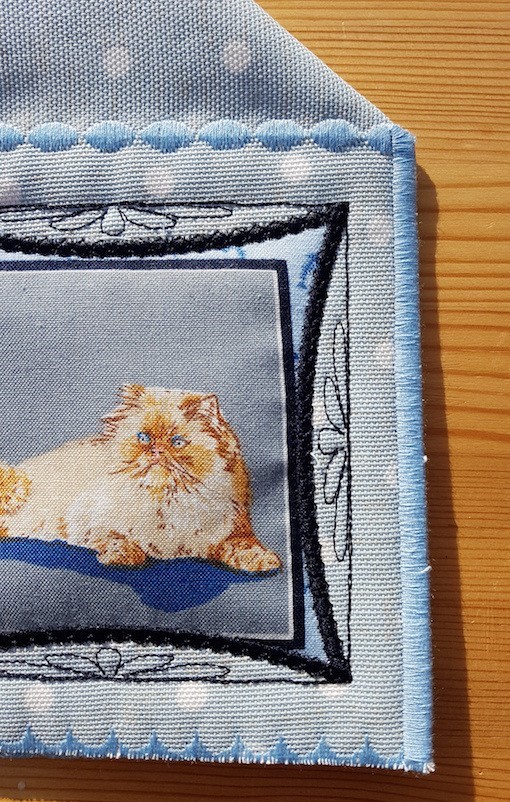
First step of the orange peel pattern is to stitch the frame to show you where to position the fancy appliqué panel.
STEP 4
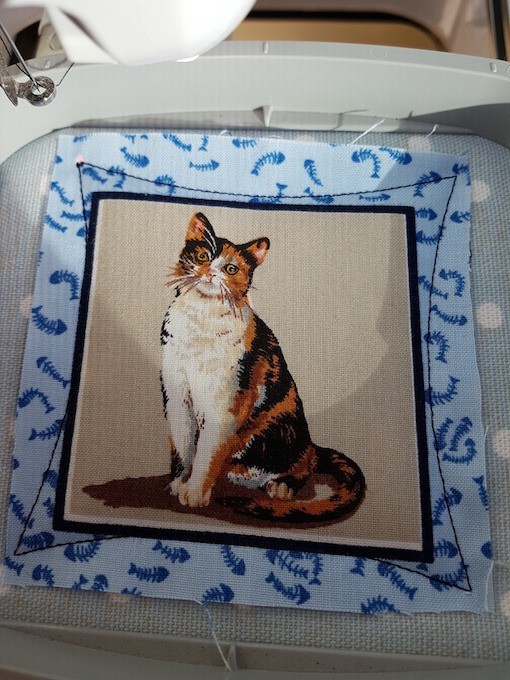
The next step of the orange peel pattern secures the fancy appliqué panel in place.
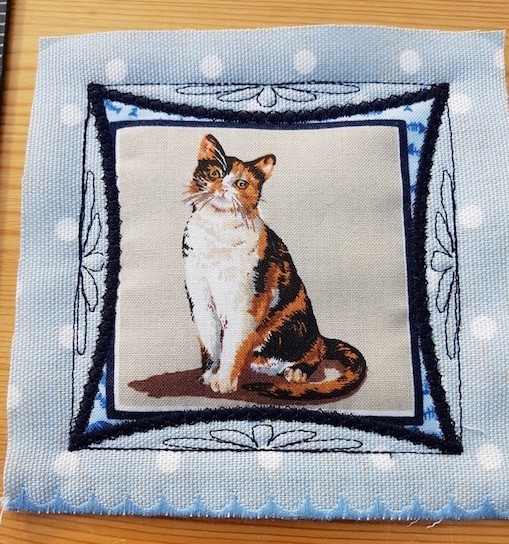
STEP 5
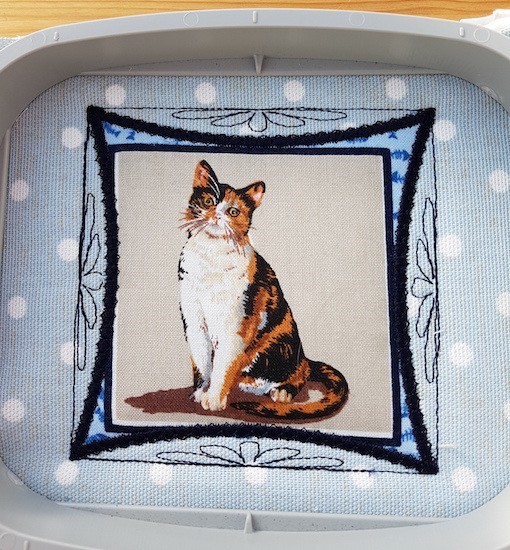
This is the finished result having embroidered the fussy cut appliqué panel to the side panel using the Orange Peel in the hoop 4 x 4 pattern available from Kreative Kiwi. (I missed out the stippling part of the design as did not wish to obstruct the picture.)
STEP 6 Trim side panels to size
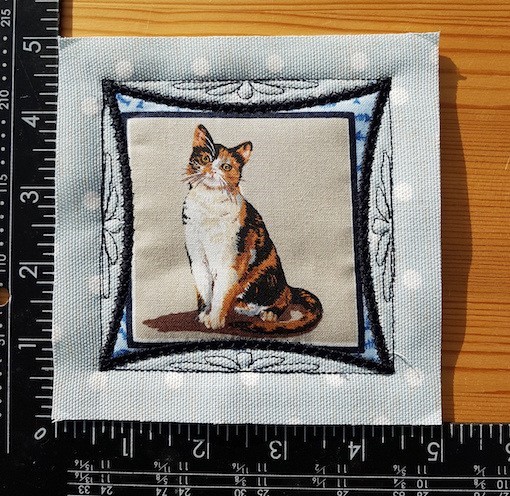
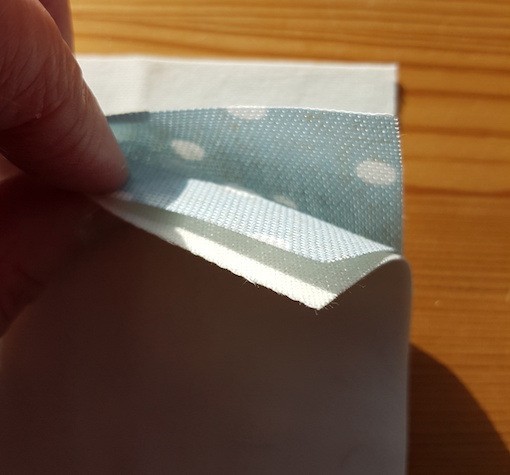
Trim the 4 side panels that started off as 6” x 6” down to their final size of 5” x 5”, taking care to centre the fussy cut panel.
STEP 7 – Finishing off the panel bottom
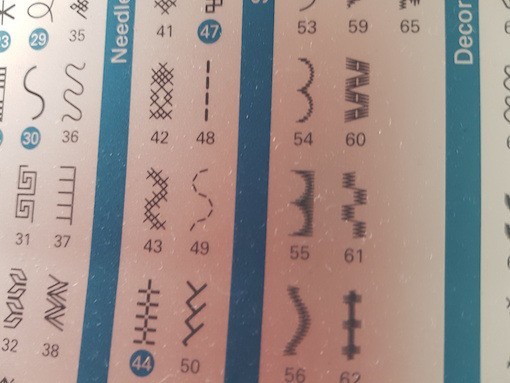
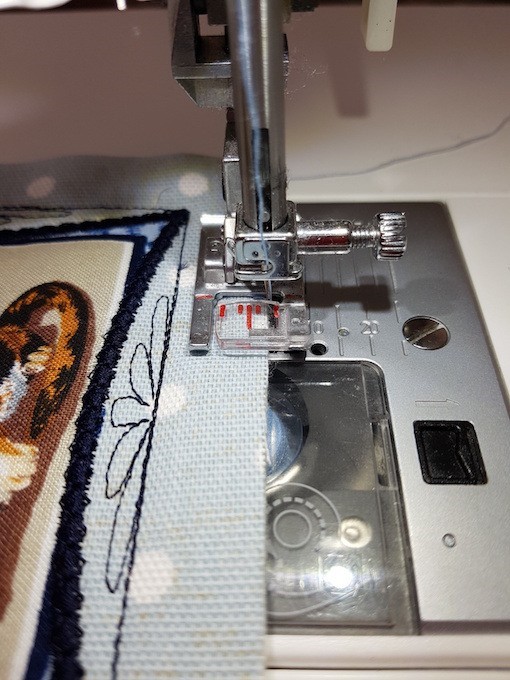
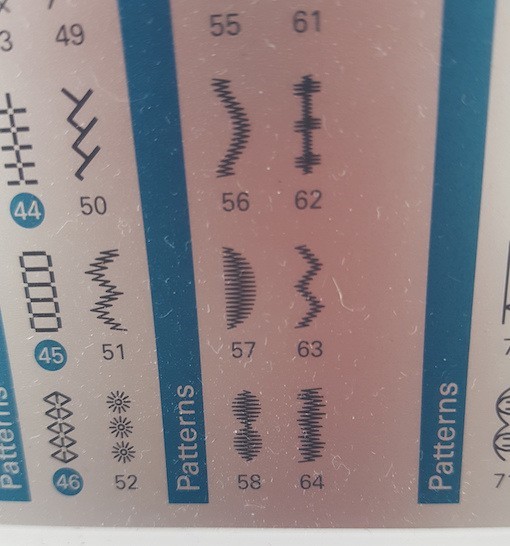
To finish the bottom edge of the panels off and to add some extra stiffness, I use a fancy machine satin stitch on my Pfaff sewing machine. For this design I use stitch number 55, but other similar long satin stitches would give the required practical and decorative result. This approach also helps address any potential fabric fraying issues, being similar to serging / overlocking.
STEP 8 – Tissue box lid
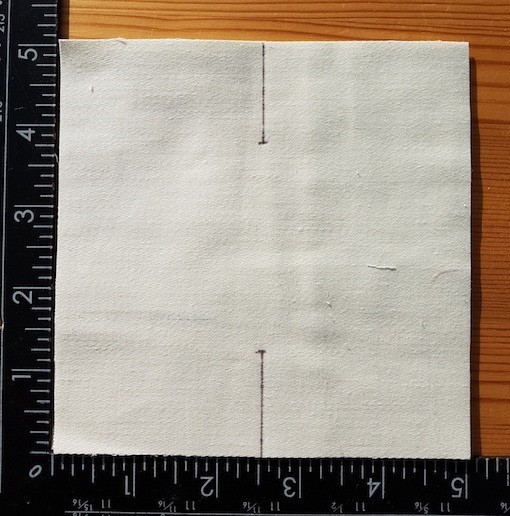
Place wadding on the back of each of the 5” square lid pieces, then place the two lid pieces right sides together, with the wadding on the outside to create a 4 layer sandwich.
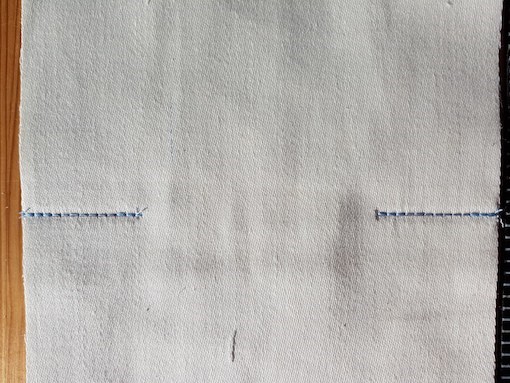
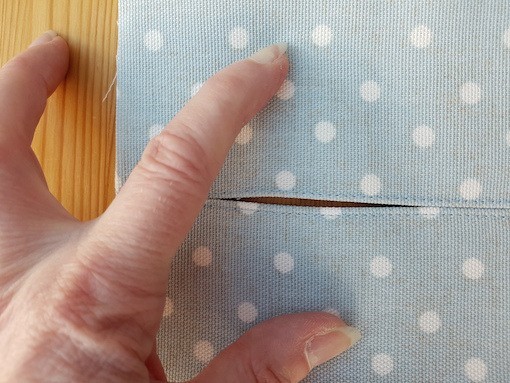
In the centre of the 5” square mark a line 1.25” long from each edge.
Sew along the two marked lines, forwards and back to create a strong seam, forming an opening where the tissues can be pulled through.
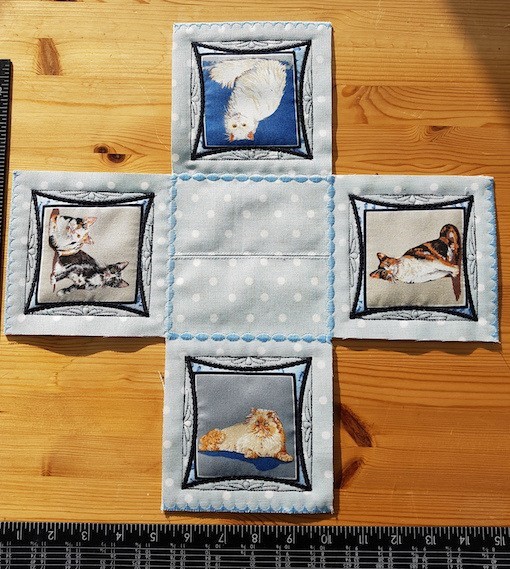
STEP 9 – Completing the lid
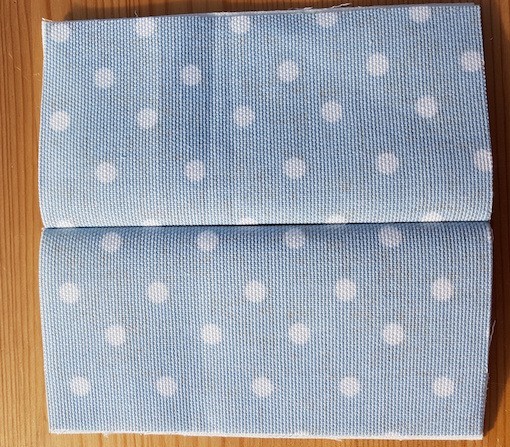
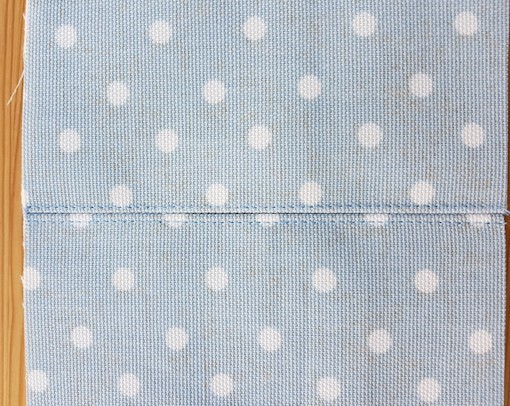
Open out, as shown in the pictures above to create the gap and then top sew an 1/8” seam either side of the resulting slit for the full width of the tissue box lid.
STEP 10 – Joining sides panels to lid.
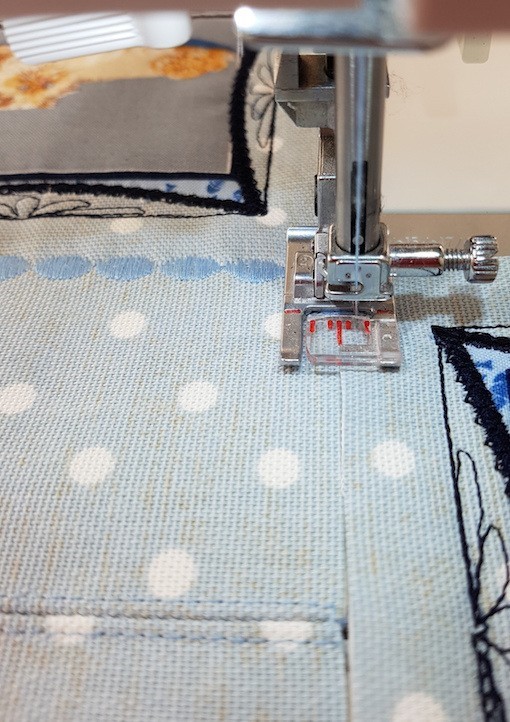
Using a long satin stitch, on your sewing machine, join the side panels to the lid as shown above. On my Pfaff sewing machine I use satin stitch number 58.
STEP 11 – Joining the sides panels together

Join the side panels together using a long satin stitch. As you can see above, I use little clips
(bulldog clips would also work) to hold the pieces together.
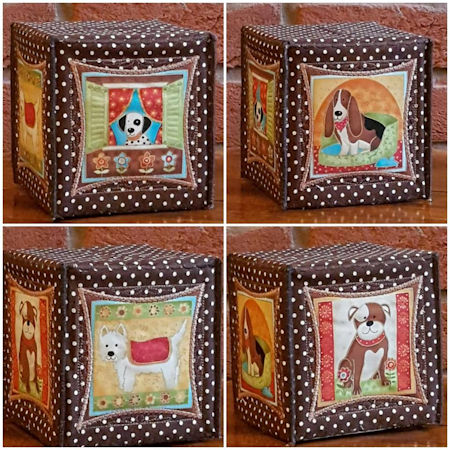
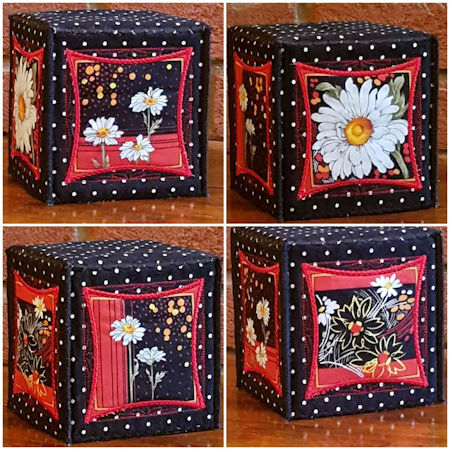
STEP 12 – Completed tissue box
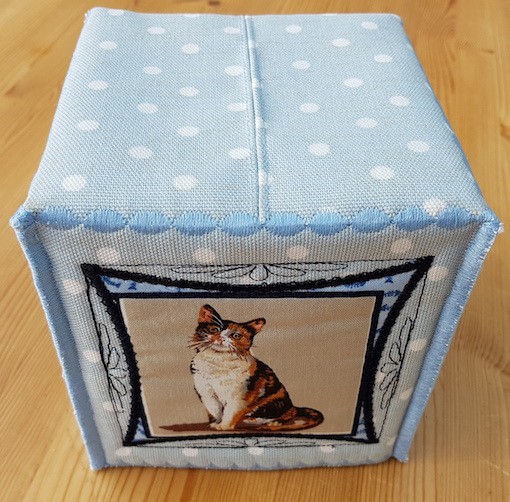
Hopefully, your completed tissue box should now look similar to the one above. I hope you have enjoyed making it, as much as I have.
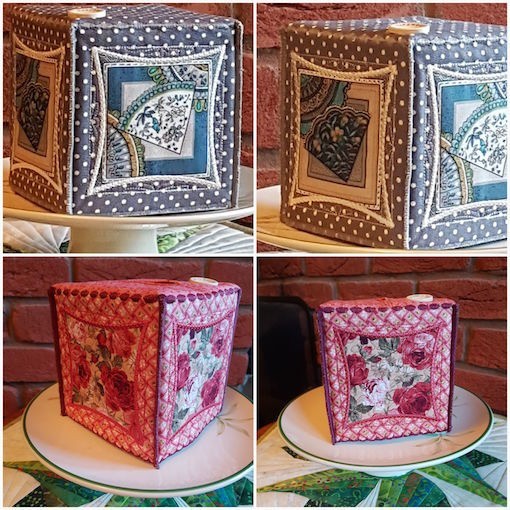
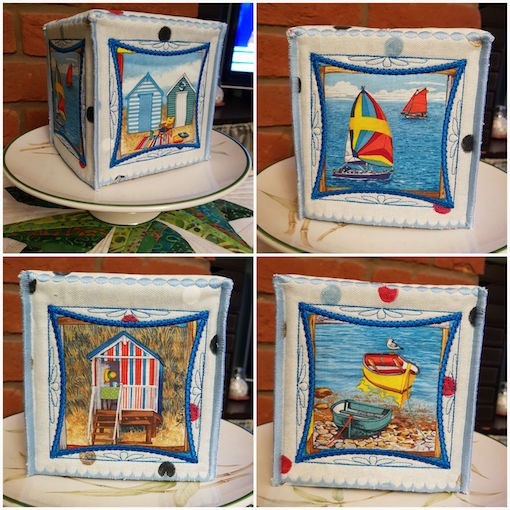
Variants
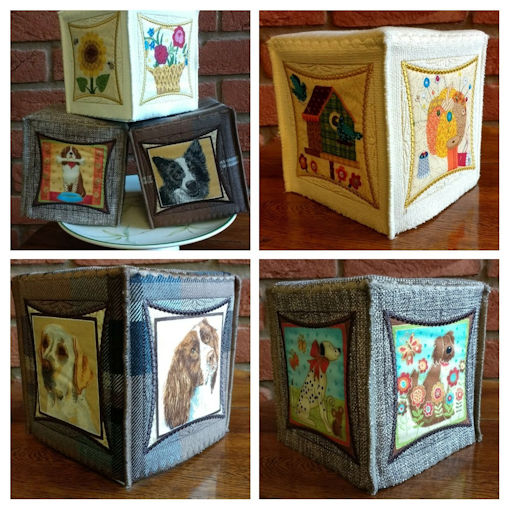
Note from Heather: Thank you so much Cathy for generously sharing your fantastic patterns with us all. I look forward to seeing all the beautiful photos of the completed Tissue Covers
View more of Cathy's detailed pattern's at her Website Pickle Creations
