How to make a Neck Warmer
Blog Post by Cathy of Pickle Creations
Description
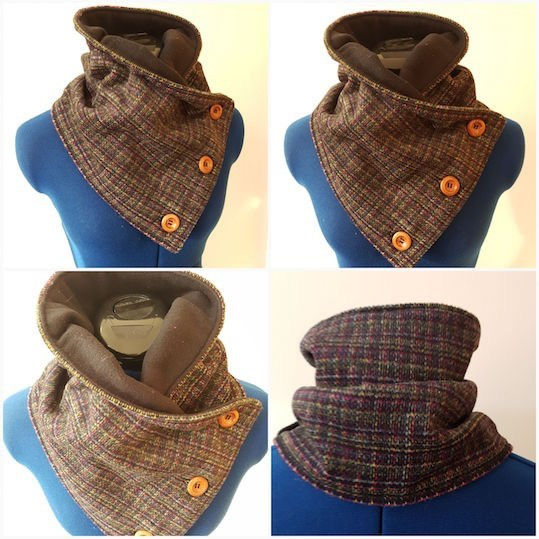
A simple project, to produce a stylish and cosy neck warmer. Total make time of about one hour.
Kreative Kiwi Design used:
Cutting List
|
Number Required |
Dimensions |
Material |
Comments |
|
2 |
11” x 34” |
Warm material for winter, so a good quality fleece, wool, tweed, etc. would be excellent. |
|
|
3 |
Large 1” |
Buttons |
For this example, I used wooden buttons. |
|
|
|
Velcro |
Optional fastening, although I feel buttons work better with fluffier materials that often clog velcro. |
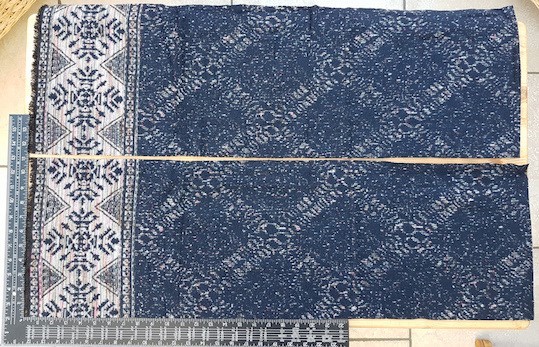
STEP 1 – Cutting out
|
|
|
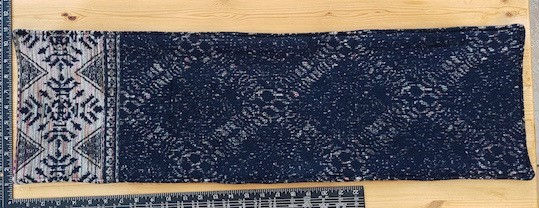
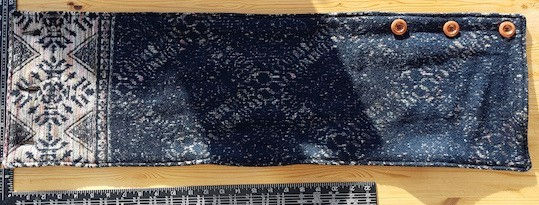
Cut two pieces of material 11” x 34”. Note: In this example I actually repurposed an existing heavy scarf, that was too bulky to work as a scarf for me, but was ideal to convert into a neck warmer. |
STEP 2
|
|
|
Pin the two pieces, right sides together. Machine using a 1/2” seam leaving a 5” opening, on one long side, to allow you to turn it right way out. |
STEP 3 – Finishing off
|
|
|
a) Clip some of the bulk material away on the corners, taking care not to cut the stitching, to give amore defined finish to the corner once turned right side out. b) Turn right side out. c) Top stitch 1/4” seam all the way round this will also close the 5” gap left earlier and to give a neat finish. |
STEP 4 – Position Button Holes
|
|
|
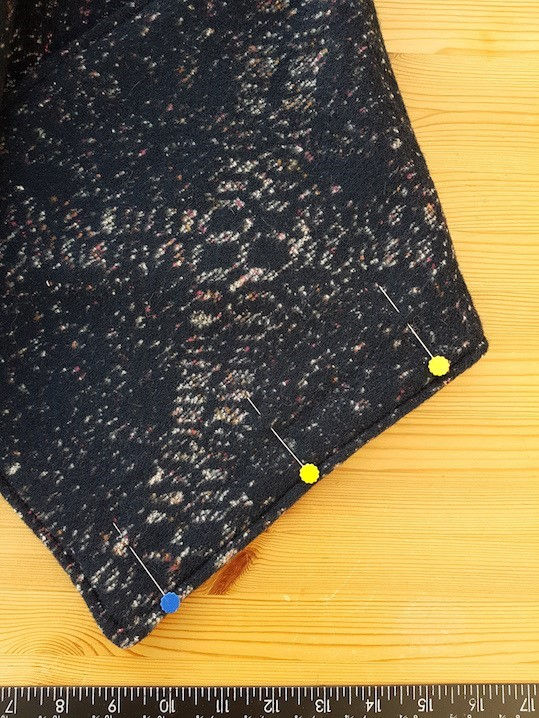
Position the button holes equally, along one short edge, with the start of the button hole 3/4” from the edge. Note: Velcro could also be used as an alternative fixing, with buttons used just for embellishment. |
STEP 5 – Button holes
|
|
|
Use sewing machine settings, specific to your machine and button size, to create the three button holes. |
STEP 6 - Buttons
|
|
|
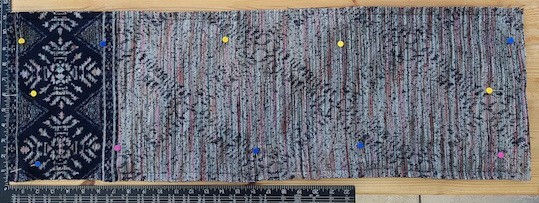
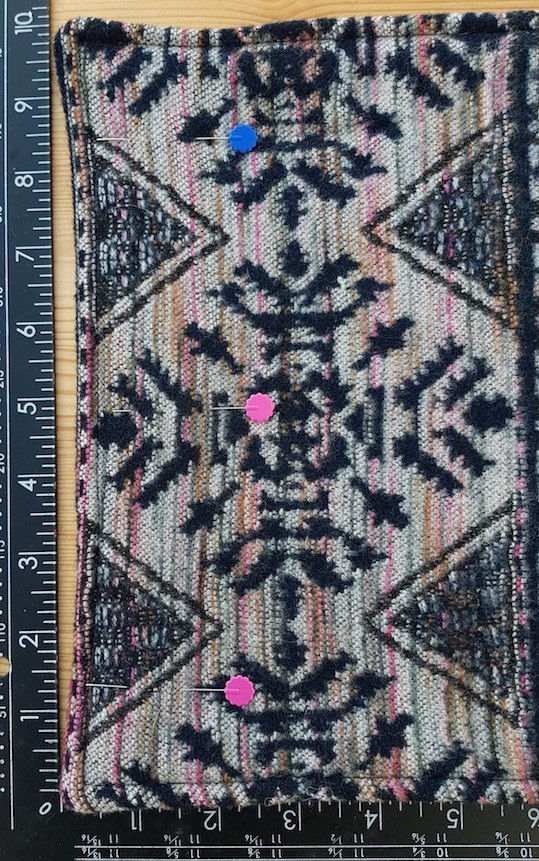
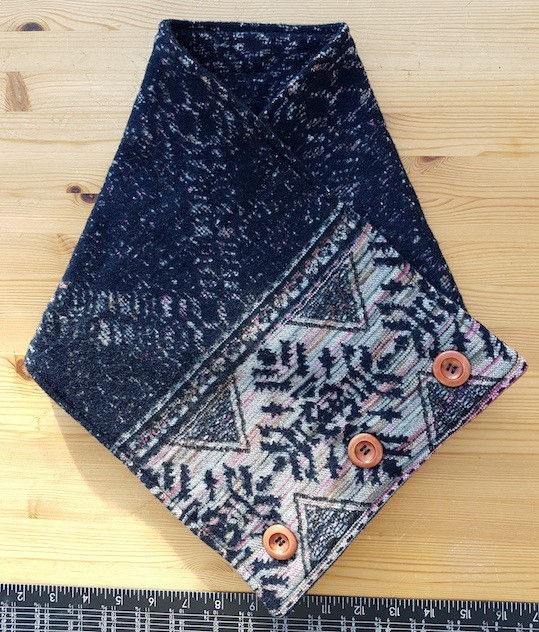
To position the buttons. Fold Neck warmer, into the position that it will be worn. Place a pin through the centre of each button hole, into the layer underneath. |

|
|
|
Carefully, lift the top away leaving the pins in the layer below. This will then give the exact positions, to place the buttons, to match the button holes when fastened. Take your time on this step, as accuracy here will ensure that the neck warmer sits nicely once fastened in position. |
|
|
|
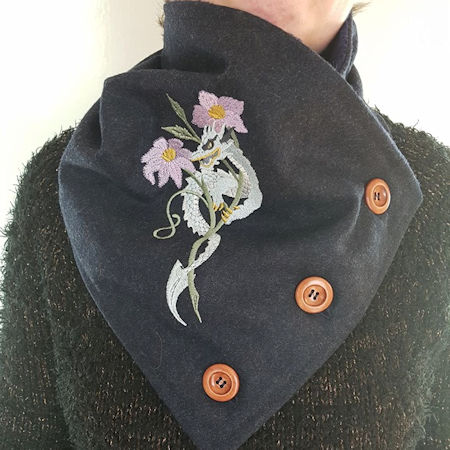
Sew the buttons on, in positions indicated earlier with pins. |
STEP 7
|
|
|
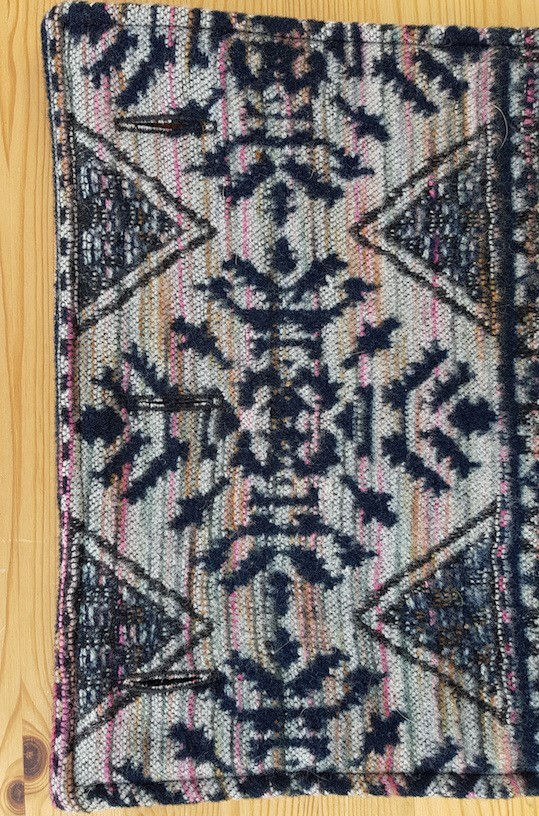
Finished item with nicely aligned edge and buttons. |
Variant – My proof of concept first attempt