
How to: Successfully Align Alphabet Machine Embroidery Designs
Successfully Aligning Alphabet Machine Embroidery Designs
Isn’t it frustrating when you buy gorgeous alphabet machine embroidery designs, but can’t line the alphabet up straight on your fabric? We’ve been there too! That’s why today we’re going to show you how to successfully line up alphabet machine embroidery designs, using paper templates.
If you have access to embroidery software, you will be able to align your designs in it before you sew.
While some machines have this built in, others don’t, requiring you to purchase additional software. Embird, Buzz Tools, Wilcom and Embrillance are some of the common embroidery software versions available on the market.
Aligning Your Alphabet Machine Embroidery Designs
We love digitising amazing machine embroidery designs, especially ones with letters. Ensuring all your embroidery designs line up can be the  stuff of nightmares. Your embroidery hoop has vertical and horizontal marks on, identifying the centre of the hoop. Use this to help you get the weave of your fabric straight, which also helps give you guiding lines for your design. These markings also help with positioning your design on the fabric.
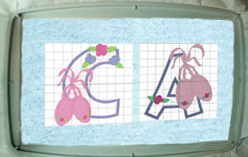
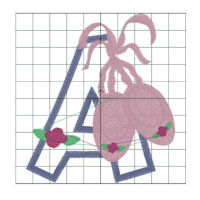 Manually lining up your embroidery designs is easy, but like everything, practice makes perfect. Print out a paper template of the alphabet letters you are using. Place them in your hoop to see if they fit. Cut the individual letters out, then draw a horizontal and vertical line across the middle of the letters you are using. This will help you keep the letters in a straight line and embroider them in the right places. Place them in your hoop to see if they fit. Once you are happy with their placement, poke a hole through the centre point of each paper template with a washable fabric marker. Remove the template and you will have a row of dots in a straight line. This is the starting point for your machine needle. Move the needle until it is in the right place above the dot and then start embroidering the letter.
Watch Kays step-by-step video
Ideas for Using Letter Machine Embroidery Designs
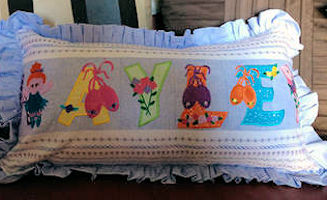
Now it’s time to get creative! There are so many wonderful projects you can sew letters onto. Bags, clothing, quilts, wall hangings, cushion covers, tea towels, towels and even placemats, to name a few.
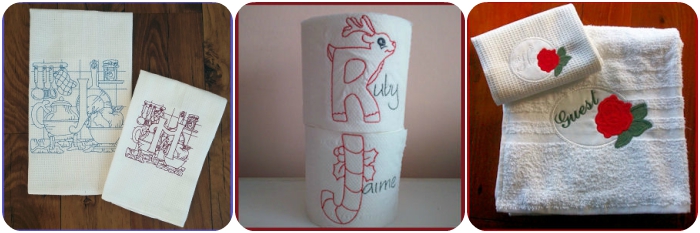
We’ve sewn our Rose Applique Alphabet onto towels as monograms. Our Kitchen Alphabet was embroidered onto tea towels and gifted as Christmas presents. For something a bit quirky, how about embroidering our Cute Christmas Alphabet on toilet paper! It’s sure to get a giggle.
Head over to our Alphabet Machine Embroidery page for more amazing designs and inspiration.
